소개
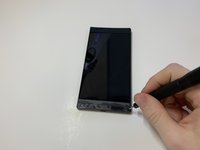
If your Razer Phone rear camera is slow, blurry, or unresponsive, this guide will teach you how to replace the part.
필요한 것
-
-
Remove the plastic speaker grills by using the metal spudger to pry underneath the strips.
-
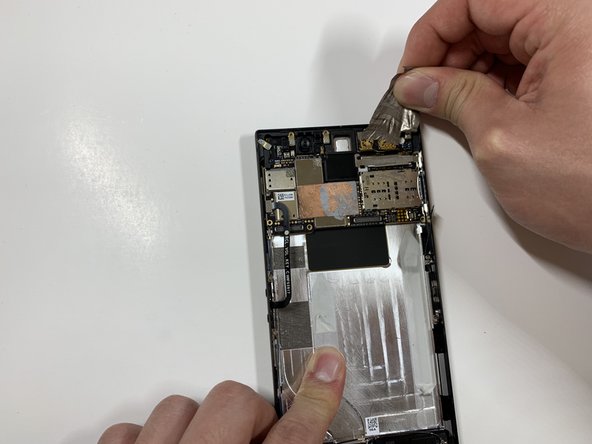
Peel off the plastic speaker grill to reveal the screws.
-
-
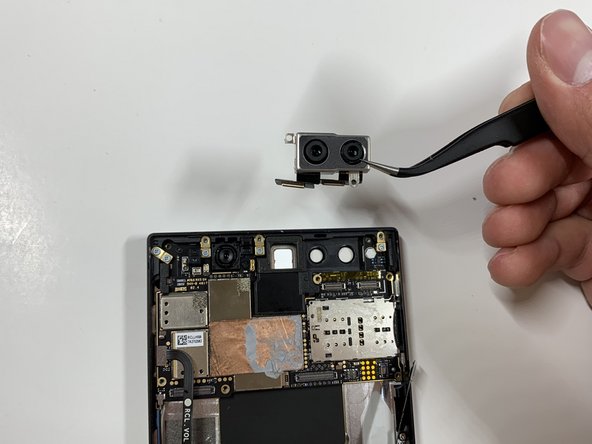
이 단계에 사용된 도구:Tweezers$4.99
-
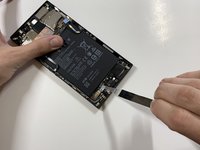
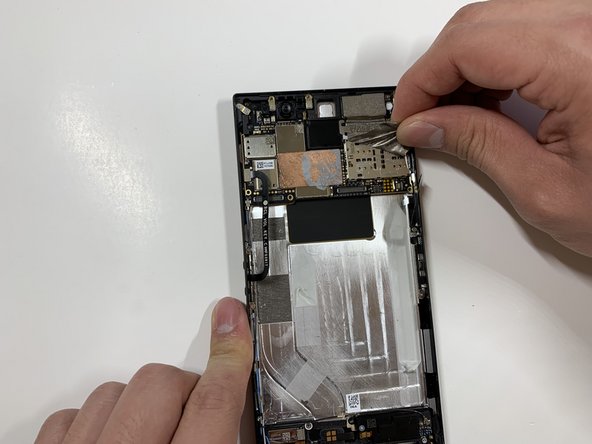
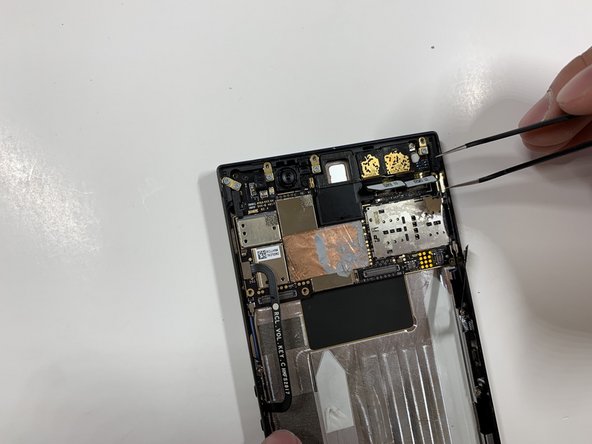
Grab hold of the connector on the right side of the phone (just above the battery) using the tweezers.
-
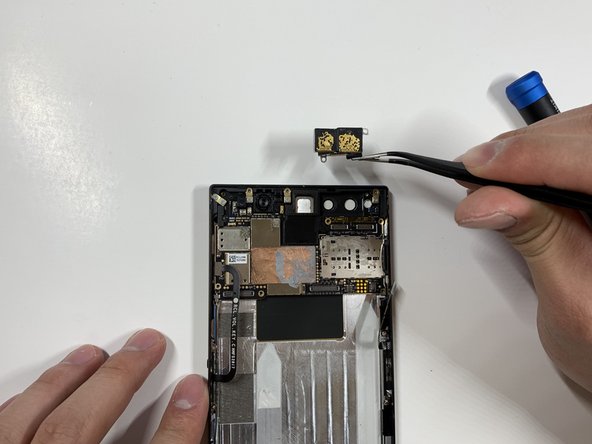
Remove the connector.
-
-
-
-
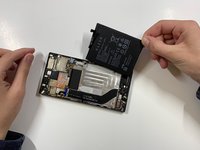
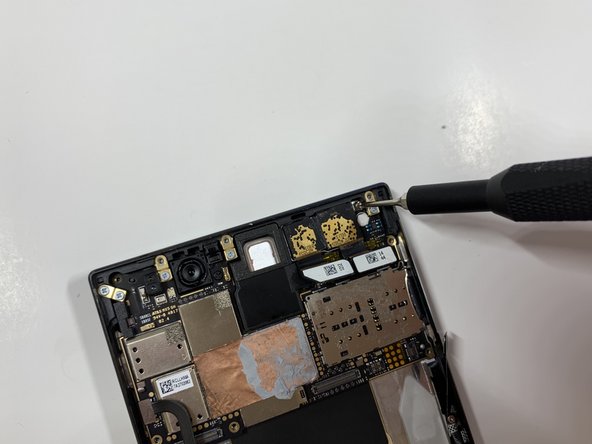
Using a Phillips #000 screwdriver, take out the seven 1 mm screws on the bottom panel of the device.
-


To reassemble your device, follow these instructions in reverse order.
팀

Cal Poly, Team S19-G6, White Winter 2019 Cal Poly, Team S19-G6, White Winter 2019 회원
CPSU-WHITE-W19S19G6
4 회원들
안내서 10개를 작성함