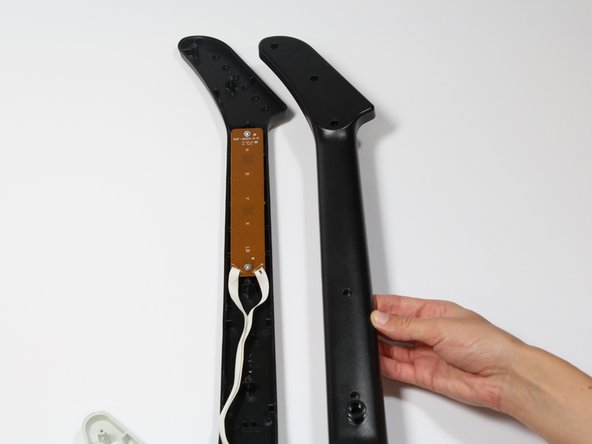
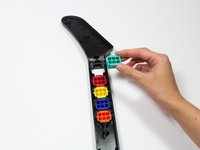
주요 콘텐츠로 건너뛰기

RedOctane X-Plorer Front Case Replacement

필요한 것

  1. RedOctane X-Plorer Front Case Replacement, Rear Case: 1 단계, 이미지 2개 중 1개 RedOctane X-Plorer Front Case Replacement, Rear Case: 1 단계, 이미지 2개 중 2개
    • Remove the strap by pulling it off of the mounts located on the body and neck.

  2. RedOctane X-Plorer Front Case Replacement: 2 단계, 이미지 3개 중 1개 RedOctane X-Plorer Front Case Replacement: 2 단계, 이미지 3개 중 2개 RedOctane X-Plorer Front Case Replacement: 2 단계, 이미지 3개 중 3개
    • Remove the nine 12mm Phillips #1 screws around the perimeter of the case with a screwdriver.

    • Remove the two 15mm Phillips #1 screws connecting the body panel to the neck panel with a screwdriver.

    • These screws can also be Torx on some models.

    • Pull off the rear case.

  3. RedOctane X-Plorer Front Case Replacement: 3 단계, 이미지 3개 중 1개 RedOctane X-Plorer Front Case Replacement: 3 단계, 이미지 3개 중 2개 RedOctane X-Plorer Front Case Replacement: 3 단계, 이미지 3개 중 3개
    • Remove the five 12mm Phillips #1 screws along the neck with a screwdriver.

    • Pull off the top shell of the neck to expose the internal features.

  4. RedOctane X-Plorer Front Case Replacement, Auxiliary Port: 4 단계, 이미지 3개 중 1개 RedOctane X-Plorer Front Case Replacement, Auxiliary Port: 4 단계, 이미지 3개 중 2개 RedOctane X-Plorer Front Case Replacement, Auxiliary Port: 4 단계, 이미지 3개 중 3개
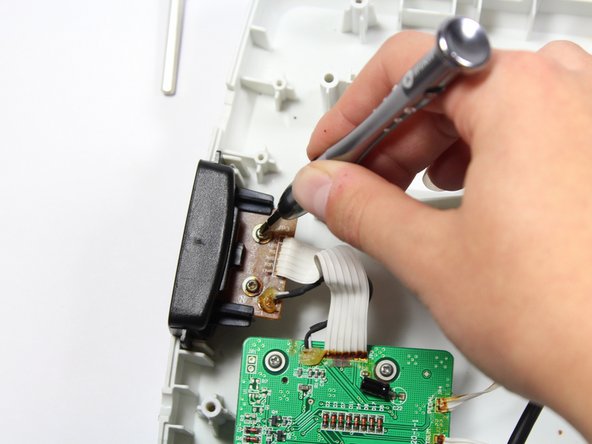
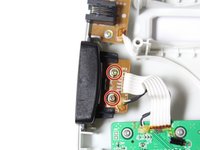
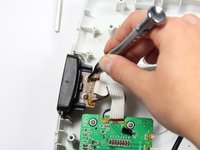
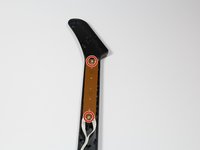
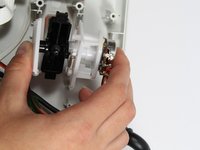
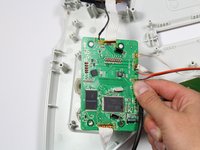
    • Remove the two 10mm Phillips #1 screws from the auxiliary port board using a screwdriver.

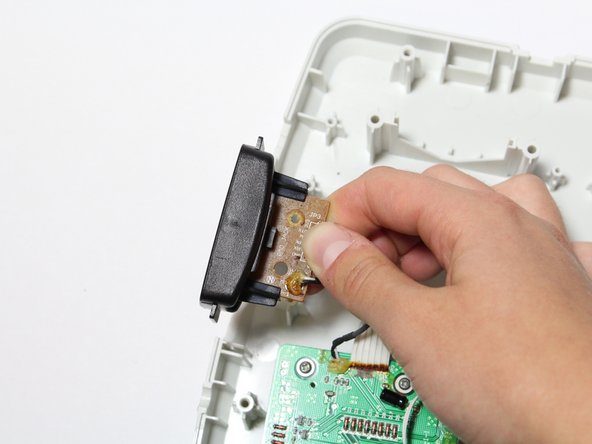
    • Gently lift up on the auxiliary port to remove it from the case.

  5. RedOctane X-Plorer Front Case Replacement, RJ-14 Connector: 5 단계, 이미지 3개 중 1개 RedOctane X-Plorer Front Case Replacement, RJ-14 Connector: 5 단계, 이미지 3개 중 2개 RedOctane X-Plorer Front Case Replacement, RJ-14 Connector: 5 단계, 이미지 3개 중 3개
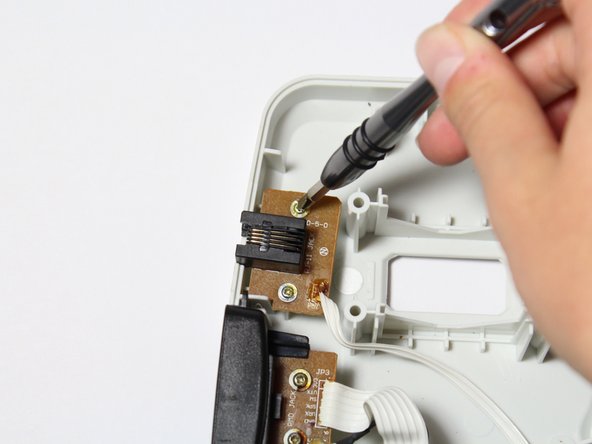
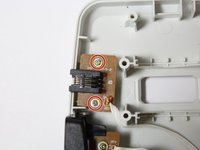
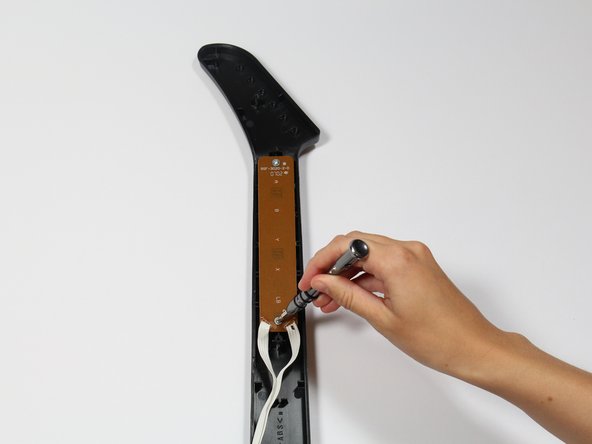
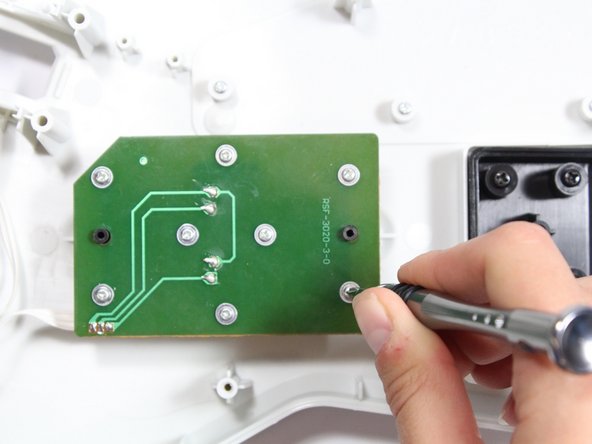
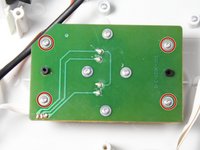
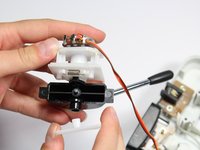
    • Remove the two 10mm Phillips #1 screws from the RJ-14 connector board.

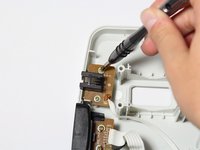
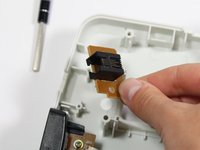
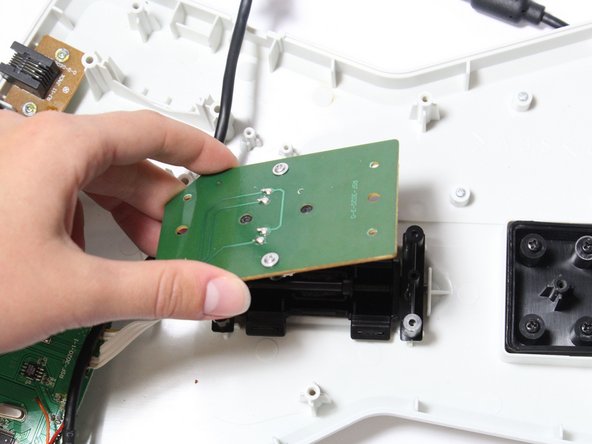
    • Lift the RJ-14 connector to remove it from the case.

  6. RedOctane X-Plorer Front Case Replacement, Keys: 6 단계, 이미지 3개 중 1개 RedOctane X-Plorer Front Case Replacement, Keys: 6 단계, 이미지 3개 중 2개 RedOctane X-Plorer Front Case Replacement, Keys: 6 단계, 이미지 3개 중 3개
    • Use a screwdriver to remove the 10 mm Phillips #1 screws from the key sensor board.

    • Lift up on the key sensor board to remove it from the guitar neck.

    • When using the screwdriver, make sure to avoid puncturing the wires.

  7. RedOctane X-Plorer Front Case Replacement: 7 단계, 이미지 1개 중 1개
    • Using your fingers, remove the rubber pad to expose the colored keys.

  8. RedOctane X-Plorer Front Case Replacement: 8 단계, 이미지 2개 중 1개 RedOctane X-Plorer Front Case Replacement: 8 단계, 이미지 2개 중 2개
    • Reach one finger under the guitar to push the key out of the casing.

    • Repeat this step for the four remaining keys.

  9. RedOctane X-Plorer Front Case Replacement, Strum Bar Sensor Board: 9 단계, 이미지 3개 중 1개 RedOctane X-Plorer Front Case Replacement, Strum Bar Sensor Board: 9 단계, 이미지 3개 중 2개 RedOctane X-Plorer Front Case Replacement, Strum Bar Sensor Board: 9 단계, 이미지 3개 중 3개
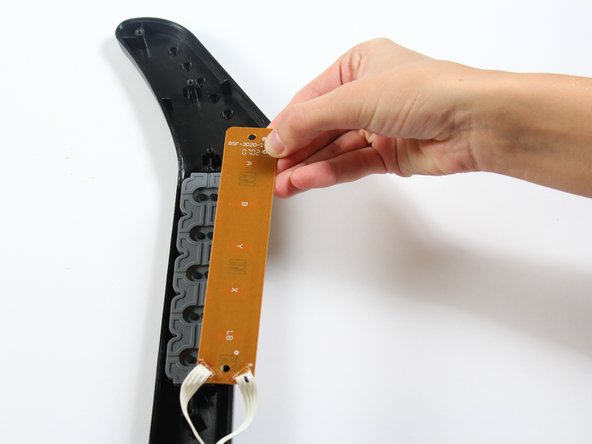
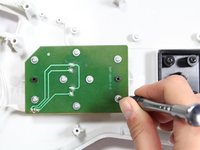
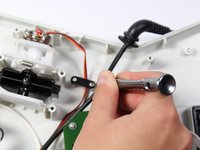
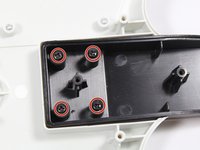
    • Use a screwdriver to remove the four 14mm Phillips #1 screws around the perimeter of the strum bar sensor board.

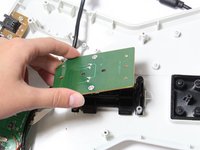
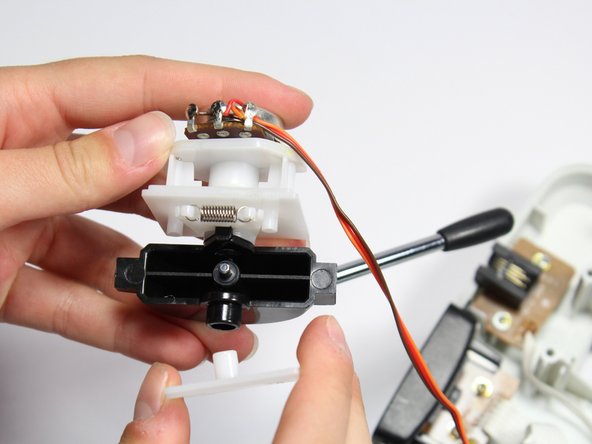
    • Lift up on the strum bar sensor board to remove it from the case.

  10. RedOctane X-Plorer Front Case Replacement, Whammy Bar Sensor: 10 단계, 이미지 3개 중 1개 RedOctane X-Plorer Front Case Replacement, Whammy Bar Sensor: 10 단계, 이미지 3개 중 2개 RedOctane X-Plorer Front Case Replacement, Whammy Bar Sensor: 10 단계, 이미지 3개 중 3개
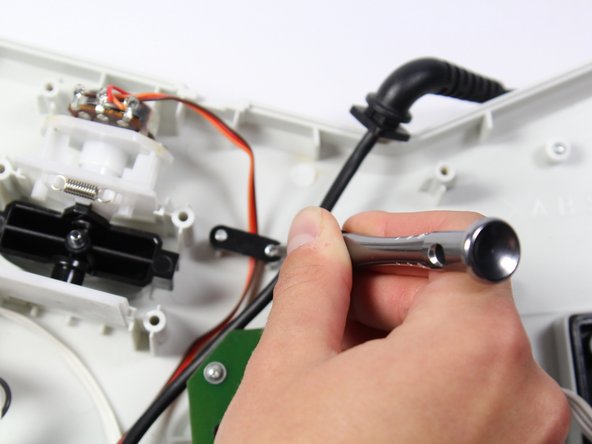
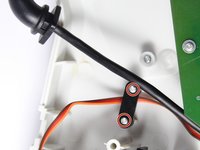
    • Remove the two 7mm Phillips #0 screws.

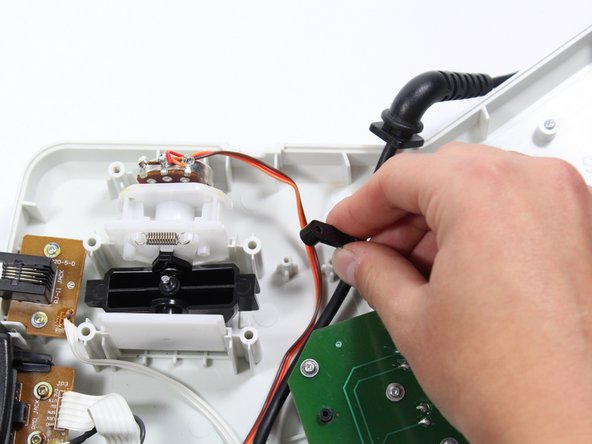
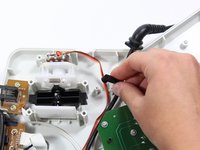
    • Using your fingers, remove the black wire retainer.

  11. RedOctane X-Plorer Front Case Replacement: 11 단계, 이미지 2개 중 1개 RedOctane X-Plorer Front Case Replacement: 11 단계, 이미지 2개 중 2개
    • Using one hand, remove the whammy bar and its attached components from the case.

  12. RedOctane X-Plorer Front Case Replacement: 12 단계, 이미지 1개 중 1개
    • Using two hands, remove the whammy bar sensor.

  13. RedOctane X-Plorer Front Case Replacement, Motherboard: 13 단계, 이미지 3개 중 1개 RedOctane X-Plorer Front Case Replacement, Motherboard: 13 단계, 이미지 3개 중 2개 RedOctane X-Plorer Front Case Replacement, Motherboard: 13 단계, 이미지 3개 중 3개
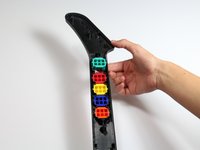
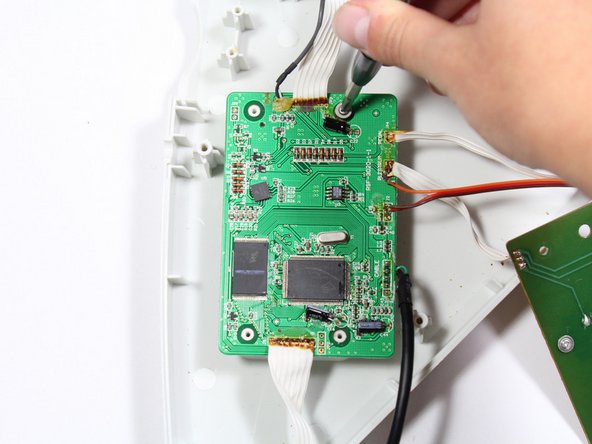
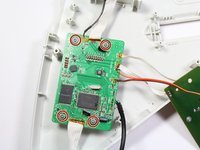
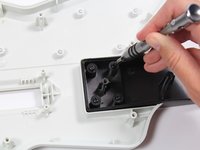
    • Remove the four 10mm Phillips #1 screws around the perimeter of the motherboard with a screwdriver.

    • Lift the motherboard to remove it from the case.

  14. RedOctane X-Plorer Front Case Replacement, Front Case: 14 단계, 이미지 2개 중 1개 RedOctane X-Plorer Front Case Replacement, Front Case: 14 단계, 이미지 2개 중 2개
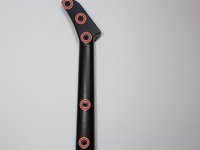
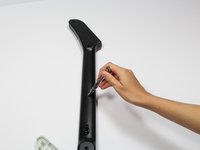
    • Remove the four 12mm Phillips #1 that connect the body to the neck using a screwdriver.

  15. RedOctane X-Plorer Front Case Replacement: 15 단계, 이미지 1개 중 1개
    • Remove the neck panel from the front body panel.

결론

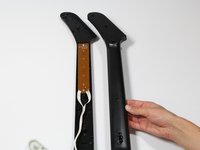
To reassemble your device, follow these instructions in reverse order.

작성자

4다른 기여자 명과 함께

Riley

회원 가입일: 04/18/18

703 평판

안내서 7개를 작성함

Cal Poly, Team S17-G1, Livingston Spring 2018 Cal Poly, Team S17-G1, Livingston Spring 2018 회원

CPSU-LIVINGSTON-S18S17G1

3 회원들

안내서 9개를 작성함

0가이드 댓글

댓글 쓰기

조회 통계:

지난 24시간: 0

지난 7일: 3

지난 30일: 15

전체 시간: 945