주요 콘텐츠로 건너뛰기

Redmi Note 9 Pro - Reboots, Power On flex Replacement

필요한 것

동영상 개요

Xiaomi Redmi Note 9 Pro restarts - Power On flex replacement

  1. Redmi Note 9 Pro - Reboots, Power On flex Replacement, Back cover removal: 1 단계, 이미지 3개 중 1개 Redmi Note 9 Pro - Reboots, Power On flex Replacement, Back cover removal: 1 단계, 이미지 3개 중 2개 Redmi Note 9 Pro - Reboots, Power On flex Replacement, Back cover removal: 1 단계, 이미지 3개 중 3개
    • Warm up the device to soften the adhesive.

    • Use plastic tools and a little isopropyl alcohol to separate the back cover.

  2. Redmi Note 9 Pro - Reboots, Power On flex Replacement, Motherboard plastic cover removal.: 2 단계, 이미지 3개 중 1개 Redmi Note 9 Pro - Reboots, Power On flex Replacement, Motherboard plastic cover removal.: 2 단계, 이미지 3개 중 2개 Redmi Note 9 Pro - Reboots, Power On flex Replacement, Motherboard plastic cover removal.: 2 단계, 이미지 3개 중 3개
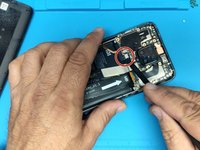
    • Remove the Phillips screws that secure the motherboard cover.

    • Use a plastic opening tool to remove the cover.

  3. Redmi Note 9 Pro - Reboots, Power On flex Replacement, Motherboard removal - part 1: 3 단계, 이미지 3개 중 1개 Redmi Note 9 Pro - Reboots, Power On flex Replacement, Motherboard removal - part 1: 3 단계, 이미지 3개 중 2개 Redmi Note 9 Pro - Reboots, Power On flex Replacement, Motherboard removal - part 1: 3 단계, 이미지 3개 중 3개
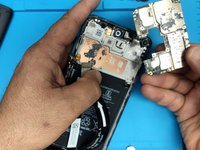
    • Lift up the flex connector to disconnect the battery.

    • Remove the main cameras.

    • Remove the SIM tray.

  4. Redmi Note 9 Pro - Reboots, Power On flex Replacement, Motherboard removal - part 2: 4 단계, 이미지 3개 중 1개 Redmi Note 9 Pro - Reboots, Power On flex Replacement, Motherboard removal - part 2: 4 단계, 이미지 3개 중 2개 Redmi Note 9 Pro - Reboots, Power On flex Replacement, Motherboard removal - part 2: 4 단계, 이미지 3개 중 3개
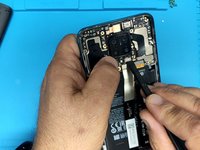
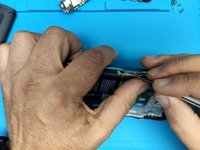
    • Disconnect all flex cables:

    • Fingerprint sensor flex cable

    • Screen flex cable

    • Main flex cable

    • Coaxial antenna cable

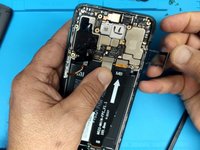
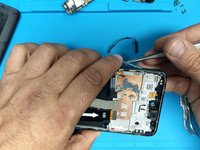
    • Remove the Phillips screws securing the motherboard to the middle frame

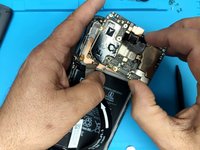
    • Remove the motherboard.

  5. Redmi Note 9 Pro - Reboots, Power On flex Replacement, Power on and volume buttons flex cable removal.: 5 단계, 이미지 3개 중 1개 Redmi Note 9 Pro - Reboots, Power On flex Replacement, Power on and volume buttons flex cable removal.: 5 단계, 이미지 3개 중 2개 Redmi Note 9 Pro - Reboots, Power On flex Replacement, Power on and volume buttons flex cable removal.: 5 단계, 이미지 3개 중 3개
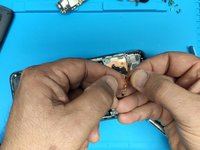
    • Remove the Fingerprint sensor.

    • Remove the volume buttons plastic cap.

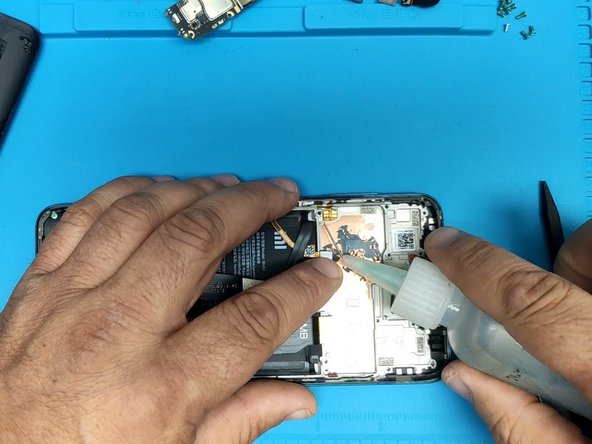
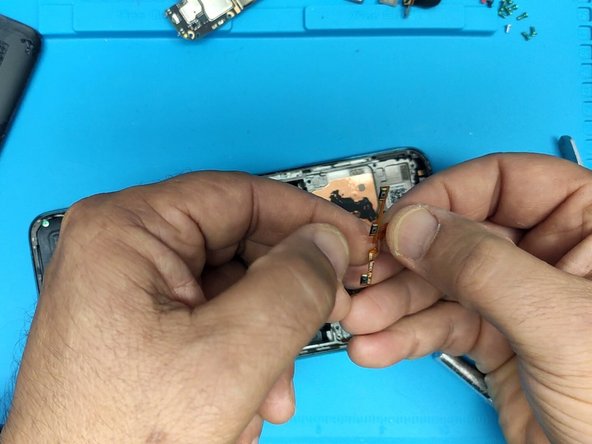
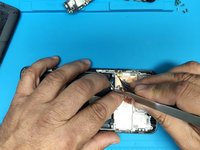
    • Use isopropyl alcohol to help remove the glued down flex cable.

  6. Redmi Note 9 Pro - Reboots, Power On flex Replacement, Power on and volume buttons flex cable removal: 6 단계, 이미지 3개 중 1개 Redmi Note 9 Pro - Reboots, Power On flex Replacement, Power on and volume buttons flex cable removal: 6 단계, 이미지 3개 중 2개 Redmi Note 9 Pro - Reboots, Power On flex Replacement, Power on and volume buttons flex cable removal: 6 단계, 이미지 3개 중 3개
    • Use playing cards to remove the flex cable.

결론

To reassemble your device, follow these instructions in reverse order.

다른 7명이 해당 안내서를 완성하였습니다.

작성자

4다른 기여자 명과 함께

ZFix

회원 가입일: 12/09/13

195,865 평판

안내서 330개를 작성함

Master Techs Master Techs 회원

Community

329 회원들

안내서 1,451개를 작성함

0가이드 댓글

댓글 쓰기

조회 통계:

지난 24시간: 8

지난 7일: 39

지난 30일: 159

전체 시간: 7,136