소개
This guide demonstrates how to remove and replace the internal speaker, as well as reconnect any wires to the device from the speaker. This replacement addresses issues with audio from the device speaker and other audio malfunctions.
필요한 것
-
-
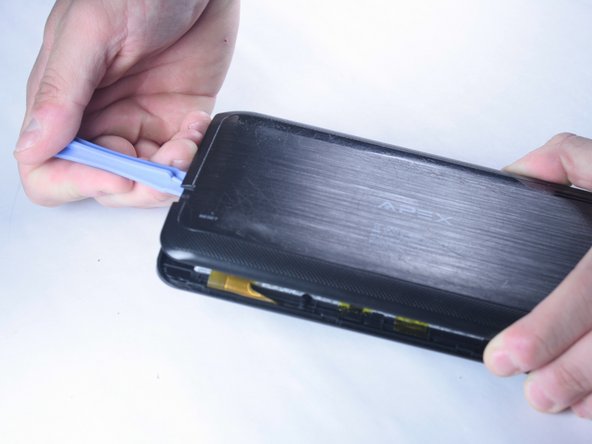
Unscrew the two 2.70 mm Phillips #00 screws on the side of the tablet that has the buttons and the headphone jack (bottom side when holding upright).
-
-
-
-
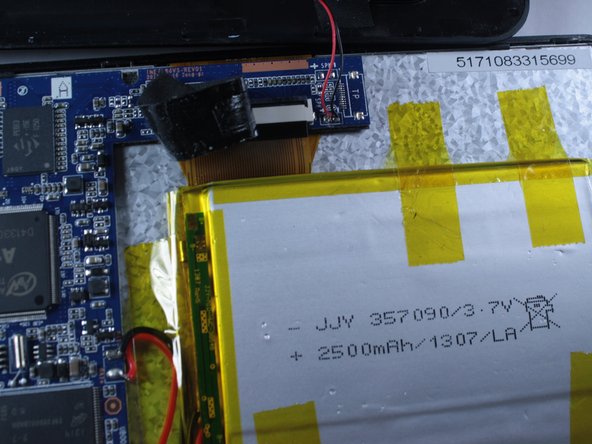
If wires to the speaker have become severed or damaged they will need to be repaired. Locate any damage to these wires. (The connection to the circuit board is commonly broken by removing the back panel.)
-
Locate the soldering points where the wires were originally connected.
-
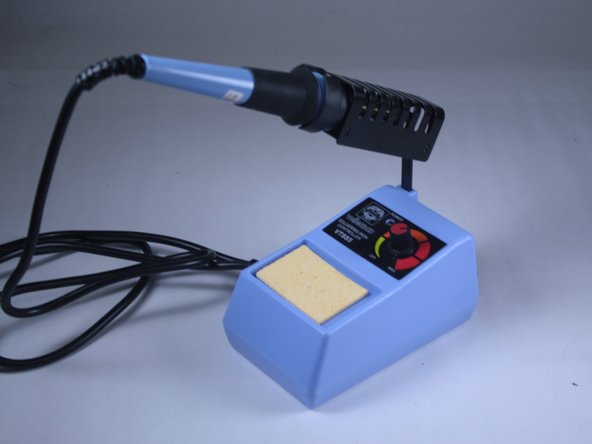
Plug in your soldering iron and wait for it to heat up.
-
-
-
Make sure the soldering iron is hot enough to melt solder, and prepare your soldering station.
-
You can make sure your iron is hot enough by touching the end of your roll of solder to the soldering iron tip.
-
Get a wet sponge or wet paper towel ready to wipe debris from the soldering iron tip.
-
If available, have a desoldering braid nearby to absorb excess solder blobs.
-
-
-
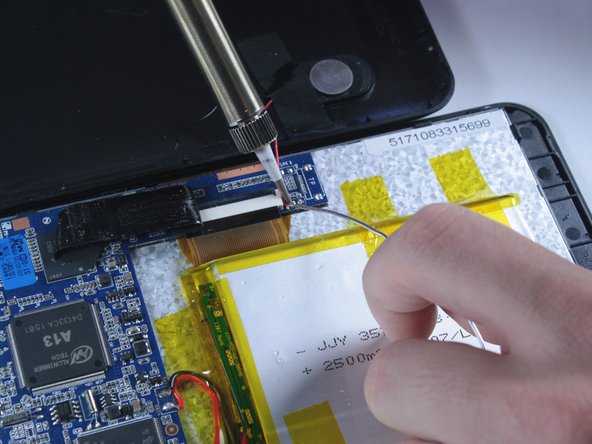
Solder the red wire to the location noted here.
-
You may need to replace or shorten your wire in order to make this connection.
-
If this wire is damaged or too short, a new wire will have to be soldered at the speaker and the circuit board.
-
CAUTION: The soldering iron is hot and can melt/burn-out other components on the tablet. Avoid applying heat to any part of the tablet for extended amounts of time.
-


To reassemble your device, follow these instructions in reverse order.
To reassemble your device, follow these instructions in reverse order.
팀

Baylor, Team 2-2, Grigsby Spring 2015 Baylor, Team 2-2, Grigsby Spring 2015 회원
BU-GRIGSBY-S15S2G2
4 회원들
안내서 10개 작성하였습니다