소개
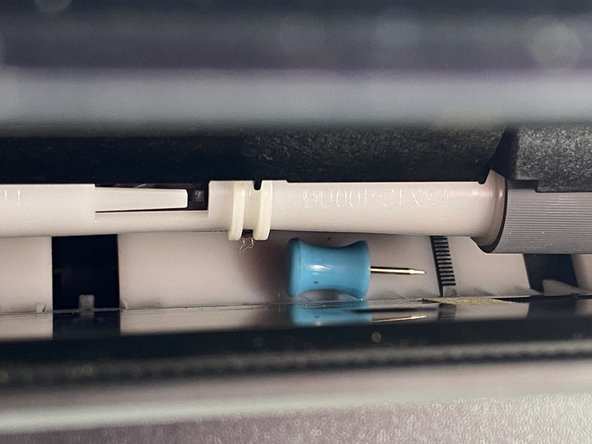
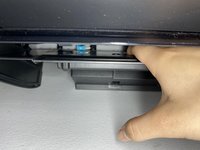
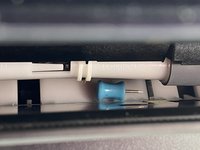
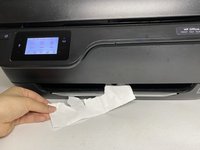
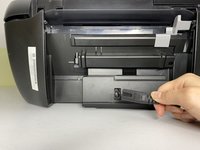
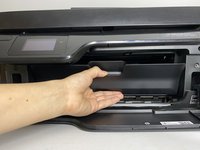
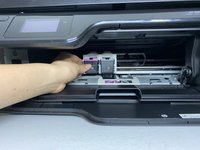
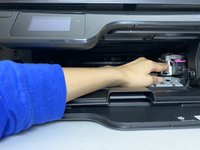
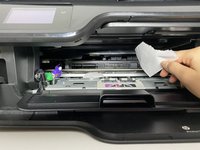
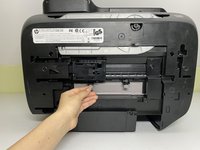
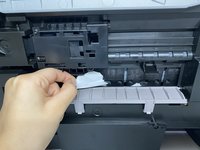
This guide will show you how to clear out a paper jam in an HP OfficeJet 3833 series (HP OfficeJet 3830 series) printer. Occasionally, the paper will not feed into a printer or will feed incorrectly due to a paper jam. Foreign objects, such as thumbtacks and push pins, can get stuck inside the paper feeder and cause a paper jam. This guide will also show you how to locate unwanted blockages from the printer.
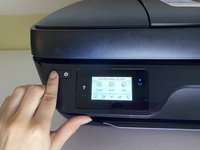
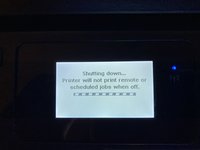
It is imperative to follow steps 5-6 to make sure to power is turned off correctly and disconnected from any external power source.
필요한 것


팀

University of Memphis, Team S1-G11, Bishop Fall 2020 University of Memphis, Team S1-G11, Bishop Fall 2020 회원
UM-BISHOP-F20S1G11
1 회원
안내서 1개 작성