주요 콘텐츠로 건너뛰기

Repairing a Ripped Winter Coat Sleeve

필요한 것

  1. Repairing a Ripped Winter Coat Sleeve, Repairing a Ripped Winter Coat Sleeve: 1 단계, 이미지 1/1
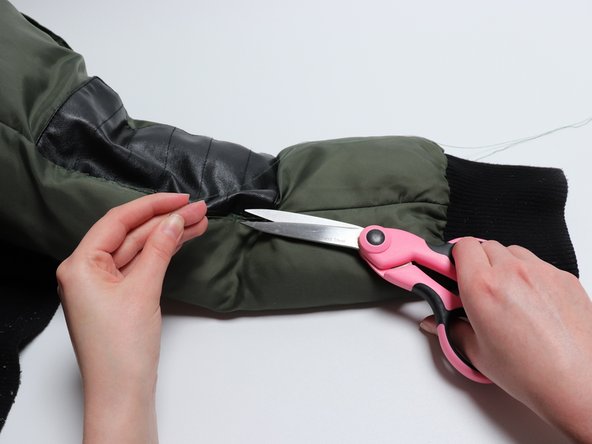
    • Carefully cut off any long frays from the tear.

  2. Repairing a Ripped Winter Coat Sleeve: 2 단계, 이미지 1/1
    • Apply a fray sealer to the edge of the tear to help prevent any further fraying.

    • Let the product dry before continuing to the next step.

  3. Repairing a Ripped Winter Coat Sleeve: 3 단계, 이미지 1/2 Repairing a Ripped Winter Coat Sleeve: 3 단계, 이미지 2/2
    • Thread a sewing needle.

    • Tie a secure knot at the end.

  4. Repairing a Ripped Winter Coat Sleeve: 4 단계, 이미지 1/1
    • Slightly fold the edges of the tear and bring them together.

  5. Repairing a Ripped Winter Coat Sleeve: 5 단계, 이미지 1/3 Repairing a Ripped Winter Coat Sleeve: 5 단계, 이미지 2/3 Repairing a Ripped Winter Coat Sleeve: 5 단계, 이미지 3/3
    • Push the needle from the inside of the edge closest to you.

    • Push the needle into the other side, joining the two edges together.

    • Push the needle back through the edge closest to you, pulling the needle and thread tightly.

    • Continue this motion across the rest of the tear, keeping the stitches tight and close together.

  6. Repairing a Ripped Winter Coat Sleeve: 6 단계, 이미지 1/3 Repairing a Ripped Winter Coat Sleeve: 6 단계, 이미지 2/3 Repairing a Ripped Winter Coat Sleeve: 6 단계, 이미지 3/3
    • Tie a secure knot after making the last stitch.

    • Trim the excess thread.

결승점

다른 한 분이 해당 안내서를 완성하였습니다.

Summer

회원 가입일: 03/07/19

160 평판

안내서 1개 작성함

Missouri Western, Team S1-G5, Cools Stephens Spring 2019 Missouri Western, Team S1-G5, Cools Stephens Spring 2019 회원

MWSU-COOLS STEPHENS-S19S1G5

1 회원

안내서 1개 작성하였습니다

댓글 0개

댓글 쓰기

조회 통계:

24 시간 전: 2

7일 전: 18

30일 전: 62

전체 시간: 7,362