소개
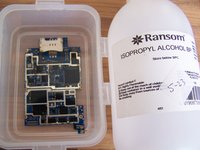
Refer to the iPhone repair guides for instructions on disassembling your iPhone. You may need a soft brush, isopropyl alcohol, and a container that is large enough to submerge your iPhones' logic board in alcohol. The cleaning steps may require several repetitions to achieve a good result. These cleaning suggestions may not restore your phone to working order, but once you have eliminated any liquid and cleaned away any corrosion or debris you may be able to determine if any parts need to be replaced.
For more information consult the iPhone Liquid Damage Repair guide.
필요한 것
-
-
Look for liquid or residue between the touchscreen and LCD. This phone shows water build-up between the touchscreen and LCD, and most likely contains more liquid inside.
-
In this case, there is no obvious damage or corrosion in the external dock connector.
-
There is no obvious damage or corrosion in the headphone jack.
 FixBot에 문의하기
-
-
-
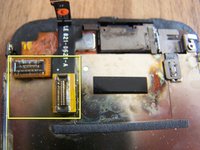
Lifting the front panel of this phone, the flex for the dock connector has stuck to the back of the midframe.
-
-
-
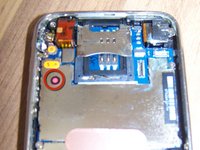
The water damage sticker is now pink, indicating that the inside of this phone was flooded with liquid.
-
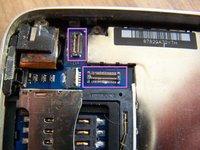
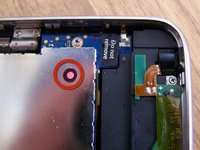
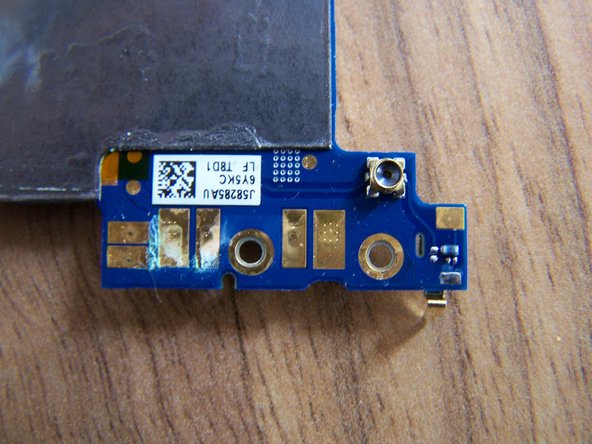
Residue and corrosion discoloration can clearly be seen on the connectors for the LCD, Digitizer, and proximity sensor, as well as the camera and SIM card slot.
-
-
-
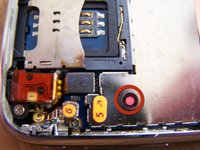
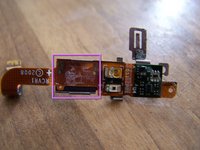
The dock connector water sensor sticker has turned pink too, indicating liquid flooding of this end of the phone.
-
The top of this dock connector looks fairly clean, with only a few green corrosive changes near connector 4.
-
-
-
-
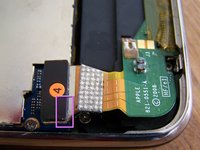
The rear of the display assembly shows more green corrosion and debris on the LCD and digitizer connectors.
-
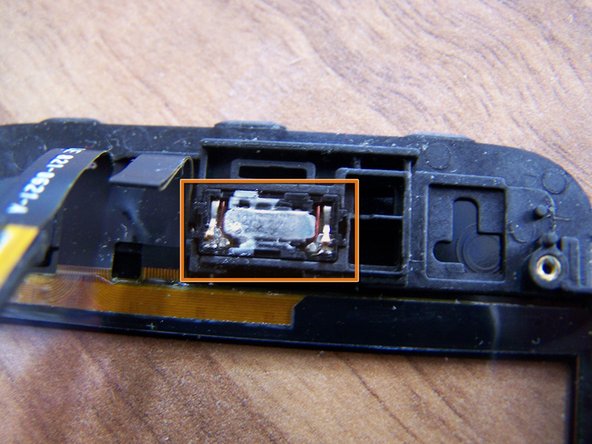
Removing the LCD and the back cover of the ear speaker and proximity sensor assembly reveals liquid damage to the speaker.
-
The proximity sensor is only lightly damaged.
-
-
-
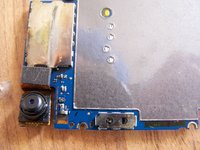
Closer inspection of proximity sensor/earpiece flex reveals more corrosion damage.
-
-
-
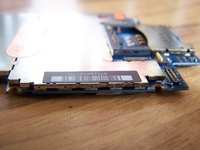
After removing the logic board, more liquid damage is visible.
-
The vibration motor has some rust.
-
The battery pins have corroded.
-
-
-
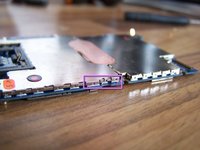
Headphone jack connector 5, the vibration motor, and the volume switch show some light corrosion.
-
-
이 단계에 사용된 도구:Spudger$3.99
-
Look for the dimpled tabs on the shield that reach down over the tabs attached to the mother board.
-
Using your plastic tool, catch the edge of a dimpled tab near a corner of the shield, and pry it up away from the logic board.
-
Being careful of all the tiny surface mounted components, work your way around the available edges until the shield comes free.
-
-
-
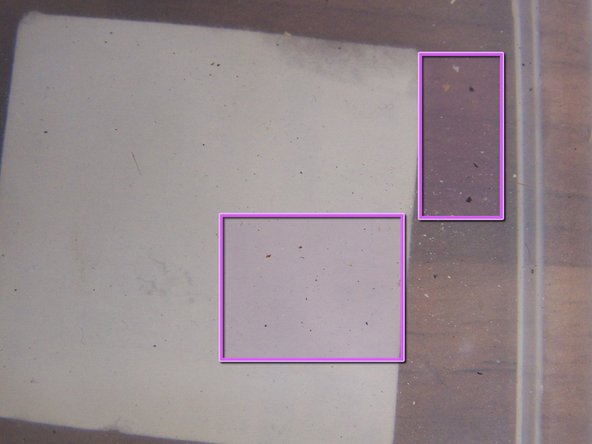
Submerge the logic board in isopropyl alcohol, and allow it to soak long enough to loosen hardened residue, and to displace any remaining water or other liquid. Use a soft brush to remove visible corrosion and residue.
-
Residue from motherboard left in isopropyl alcohol container.
-
Clean all flex ends, battery contacts, connectors, chips, and fuses on motherboard with a soft brush.
-
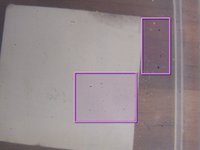
Repeat cleaning if necessary, or if traces of residue are still visible.
-
Allow the logic board or other parts to dry completely before reassembly.
-
-
-
Wipe LCD with cloth moistened with isopropyl alcohol. Immersion isn't advised, as liquid may leave a mark behind the LCD.
-
This is the screen after cleaning. Water mark is no longer visible.
-


To reassemble your device refer to the iPhone repair guides for your particular phone.
After repeated cleaning, this example phone needed connectors 1, 2, and 3 replaced on the logic board, a new LCD, and digitizer. Corrosion on the cable ends and connectors could not be adequately removed. All other functions worked and this iPhone is now back in working order. Good luck. Hopefully this guide demonstrates that liquid damage to your iPhone isn't always obvious or visible and that disassembly and cleaning may benefit some phones exposed to liquid.
다른 192명이 해당 안내서를 완성하였습니다.

팀

56가이드 댓글
Hi, I have a quick question. Is 70% Isopropyl alcohol good enough to clean the logic board or does it HAVE to be either 90% or 99%? Thank you so much for your help.