소개
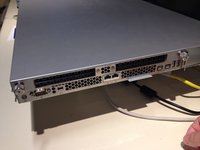
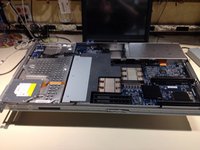
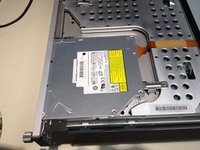
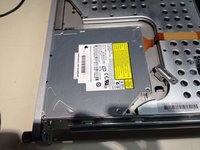
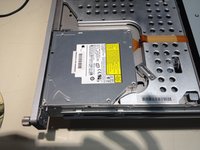
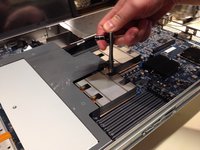
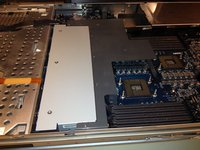
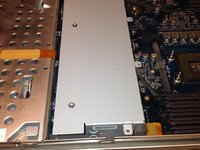
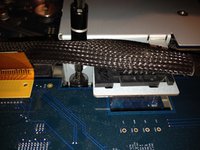
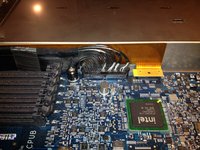
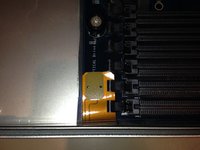
Disassemble Apple xServe 2009 to replace motherboard and fans
필요한 것
-
-
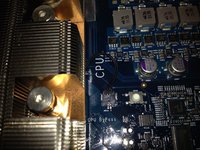
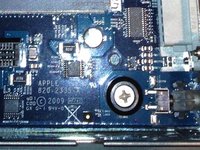
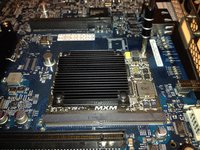
Notable specs:
-
Dual Xeon Nehalem CPU @ 2.26 GHz
-
No SSD
-
No Hardware RAID
-
-


결론
To reassemble your device, follow these instructions in reverse order.
다른 18명이 해당 안내서를 완성하였습니다.