주요 콘텐츠로 건너뛰기

Replace or add RAM

필요한 것

  1. Replace or add RAM, removal of bottom case: 1 단계, 이미지 1/2 Replace or add RAM, removal of bottom case: 1 단계, 이미지 2/2
    • remove the feet with a spudger

  2. Replace or add RAM: 2 단계, 이미지 1/2 Replace or add RAM: 2 단계, 이미지 2/2
    • Remove the 11 screw with a PH0 screwdriver.

    • The screws are identical

  3. Replace or add RAM: 3 단계, 이미지 1/2 Replace or add RAM: 3 단계, 이미지 2/2
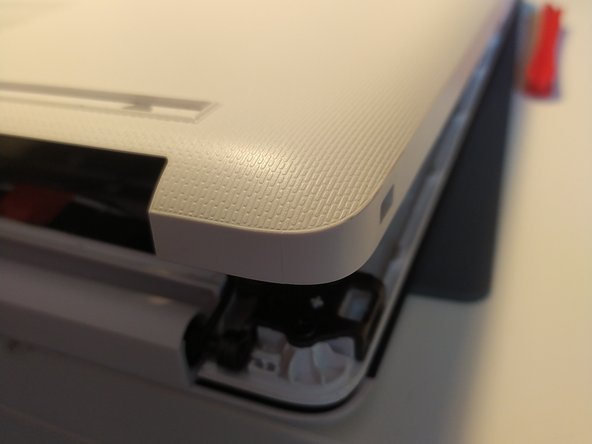
    • Insert a spudger between the bottom cover and the keyboard module, then go around the whole cover to uncip everything.

    • Remove the bottom cover from the computer.

  4. Replace or add RAM: 4 단계, 이미지 1/1
    • You now have acces to the inside of the machine.

  5. Replace or add RAM, RAM: 5 단계, 이미지 1/3 Replace or add RAM, RAM: 5 단계, 이미지 2/3 Replace or add RAM, RAM: 5 단계, 이미지 3/3
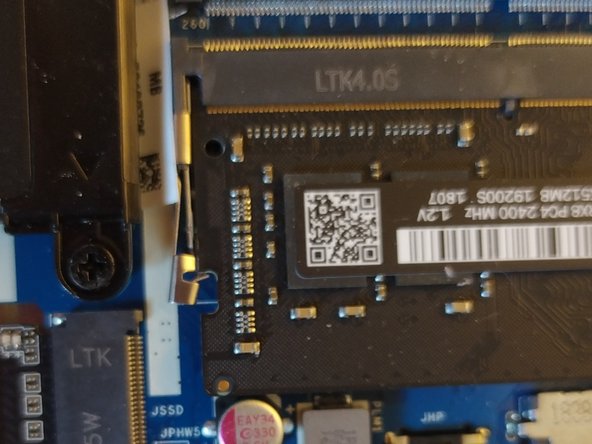
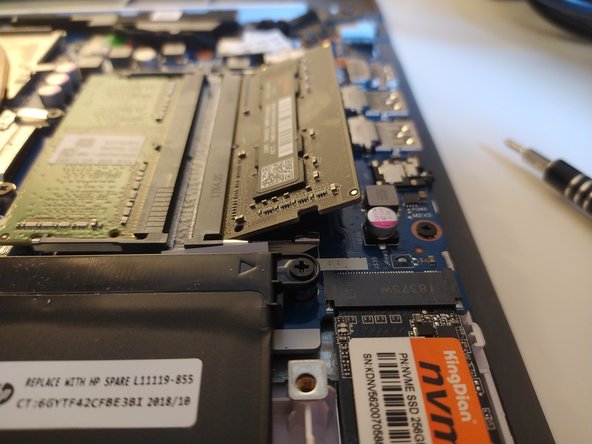
    • Flex the metal retaining clips on the side of the RAM away from one another.

    • If done correctly, the RAM will pop out of its lock.

    • To insert a module, angle it as shown in the third picture, then insert it and push it down until it locks.

결론

To reassemble your device, follow the steps in reverse order.

다른 3명이 해당 안내서를 완성하였습니다.

다음 번역가들에게 특별히 감사 드립니다:

fr en

100%

Léo FRAYSSE님은 저희가 세상을 수리하는데 동참하신 분입니다! 기여하시겠습니까?
번역 시작하기 ›

Léo FRAYSSE

회원 가입일: 09/03/18

1,212 평판

안내서 6개 작성하였습니다

댓글 0개

댓글 쓰기

조회 통계:

24 시간 전: 0

7일 전: 3

30일 전: 4

전체 시간: 785