주요 콘텐츠로 건너뛰기

Replacement of Hardware on a Crossbody bag

필요한 것

  1. Replacement of Hardware on a Crossbody bag, Hardware on a Crossbody bag: 1 단계, 이미지 1/2 Replacement of Hardware on a Crossbody bag, Hardware on a Crossbody bag: 1 단계, 이미지 2/2
    • Remove the old stitching with the seam ripper blade.

    • Use the seam ripper blade carefully as it is very sharp.

  2. Replacement of Hardware on a Crossbody bag: 2 단계, 이미지 1/2 Replacement of Hardware on a Crossbody bag: 2 단계, 이미지 2/2
    • Remove the previous hardware from the strap.

  3. Replacement of Hardware on a Crossbody bag: 3 단계, 이미지 1/1
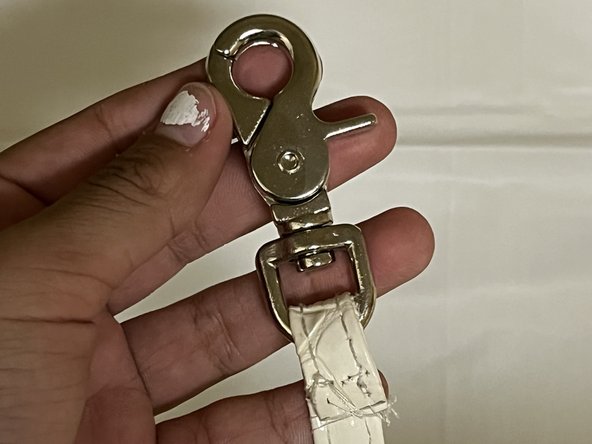
    • Measure, and ensure the new hardware fits.

    • Place the new hardware through the strap.

  4. Replacement of Hardware on a Crossbody bag: 4 단계, 이미지 1/2 Replacement of Hardware on a Crossbody bag: 4 단계, 이미지 2/2
    • Use the needle and thread to stitch the new hardware into place.

    • Using the adequate needle for the material you need is essential, as some materials may be thicker and need a larger needle.

    • Use needle and thread carefully, as the needle can be sharp.

  5. Replacement of Hardware on a Crossbody bag: 5 단계, 이미지 1/1
    • Verify the stitching is secure by hanging the crossbody bag.

결승점

다른 한 분이 해당 안내서를 완성하였습니다.

joanna

회원 가입일: 02/20/24

122 평판

안내서 1개 작성함

University of Arizona, Team 3-9, Cools Stephens Spring 2024 University of Arizona, Team 3-9, Cools Stephens Spring 2024 회원

ARIZONA-COOLS STEPHENS-S24S3G9

2 회원들

안내서 1개 작성하였습니다

댓글 0개

댓글 쓰기

조회 통계:

24 시간 전: 0

7일 전: 2

30일 전: 7

전체 시간: 57