필요한 것
-
-
Open the latch of the accumulator on the left side.
-
Open the battery latch on the right side.
-
Remove the accumulator by simultaneously holding the right-hand latch open.
-
-
-
-
Use the Philips screwdriver to remove the two screws at the bottom of the cover.
-
Lift the cover at the bottom right with the iFixit Opening Tool
-
Lift the cover at the bottom left with the iFixit Opening Tool
-
Finally, remove the cover to gain access to the most important components.
-
-
-
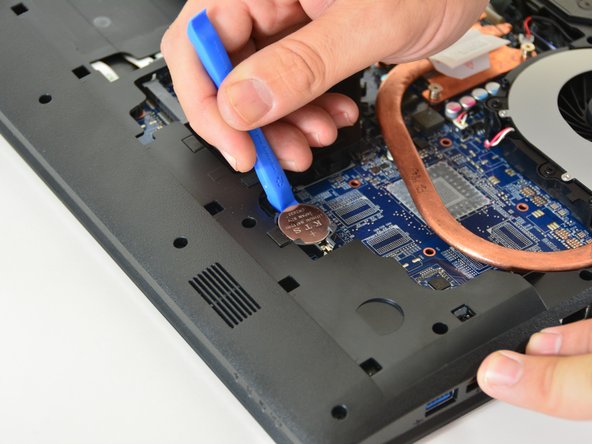
Be careful removing the BIOS battery from its holder.
-
Please do not throw the battery in the garbage. In Switzerland, the electrical shops are obliged to accept all batteries and accumulators for disposal.
-


Replacing the W670SZQ1 BIOS Battery
Replacing the W670SZQ1 BIOS Battery
다음 번역가들에게 특별히 감사 드립니다:
100%

Corey Meyer님은 저희가 세상을 수리하는데 동참하신 분입니다! 기여하시겠습니까?
번역 시작하기 ›