소개
You need to open or replace your Dell XPS 13 9380 back panel, this guide is for you!
필요한 것
-
-
Use a Torx T5 driver to unscrew the eight screws securing the back panel.
-
Use a spudger to pry up and loosen the back panel.
-
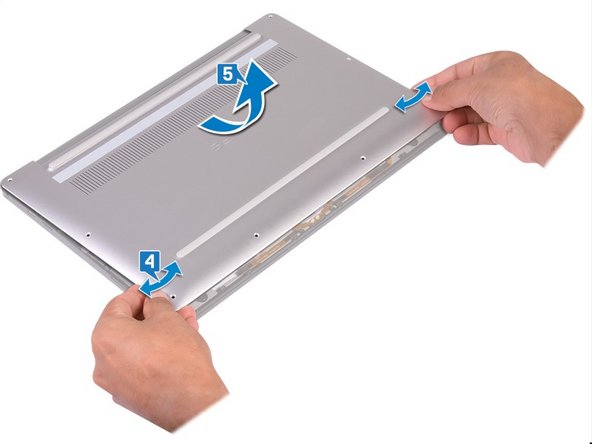
Lift the back panel up slightly from the non-hinged edge.
-
Pull the back panel away from the hinged edge, wiggling it back and forth to loosen the clips.
-
When the back panel clips are free, remove the back panel.
-
-


To reassemble your device, follow the instructions in reverse order.
To reassemble your device, follow the instructions in reverse order.
다른 한 분이 해당 안내서를 완성하였습니다.
다음 번역가들에게 특별히 감사 드립니다:
100%


이 번역자 분들은 저희가 세상을 수리하는데 동참해 주시는 분입니다! 기여하시겠습니까?
번역 시작하기 ›

팀
