이 버전에는 잘못된 편집 사항이 있을 수 있습니다. 최신 확인된 스냅샷으로 전환하십시오.
필요한 것
-
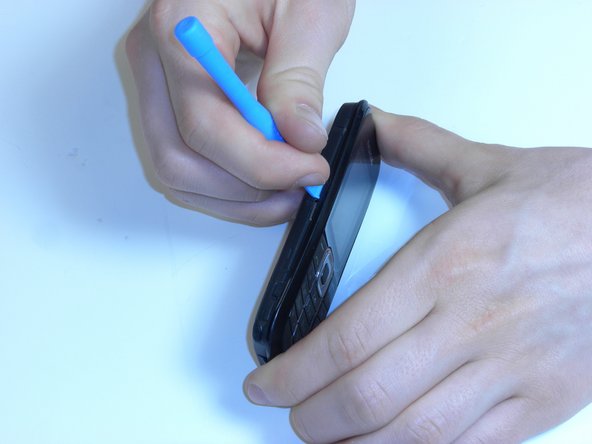
이 단계는 번역되지 않았습니다. 번역을 도와주십시오
-
Press down on the button located at the bottom of the phone, using the center ridge as a guide.
-
Pull the phone apart from the bottom, keeping the button pressed down.
-
-
-
이 단계는 번역되지 않았습니다. 번역을 도와주십시오
-
Place a finger or plastic opening tool in the gap between the battery and the phone.
-
Gently lift the battery out.
-
-
이 단계는 번역되지 않았습니다. 번역을 도와주십시오
-
Locate the plastic latches on the left and right sides of the phone.
-
Insert the plastic opening tool or a fingernail into each latch and pry them open individually.
-
-
이 단계는 번역되지 않았습니다. 번역을 도와주십시오
-
Turn the faceplate so the number pad faces downward.
-
Lift the number pad out of the faceplate.
-
Apply new faceplate.
-
Follow the instructions in reverse order to reassemble the phone.
-


팀

James Madison, Team 3-1, Klein Spring 2012 James Madison, Team 3-1, Klein Spring 2012 회원
JMU-KLEIN-S12S3G1
3 회원들
안내서 9개 작성하였습니다