주요 콘텐츠로 건너뛰기

Ricoh Super 8 800z Eyepiece Adjuster Replacement

필요한 것

  1. Ricoh Super 8 800z Eyepiece Adjuster Replacement, Eyepiece Adjuster: 1 단계, 이미지 1/3 Ricoh Super 8 800z Eyepiece Adjuster Replacement, Eyepiece Adjuster: 1 단계, 이미지 2/3 Ricoh Super 8 800z Eyepiece Adjuster Replacement, Eyepiece Adjuster: 1 단계, 이미지 3/3
    • Remove the rubber covering from the eyepiece by slowly pulling down on the cover from any direction.

  2. Ricoh Super 8 800z Eyepiece Adjuster Replacement: 2 단계, 이미지 1/3 Ricoh Super 8 800z Eyepiece Adjuster Replacement: 2 단계, 이미지 2/3 Ricoh Super 8 800z Eyepiece Adjuster Replacement: 2 단계, 이미지 3/3
    • Use Phillips #000 screwdriver to remove the three screws around the eyepiece lens.

    • Remove the metal plate from the eyepiece.

  3. Ricoh Super 8 800z Eyepiece Adjuster Replacement: 3 단계, 이미지 1/3 Ricoh Super 8 800z Eyepiece Adjuster Replacement: 3 단계, 이미지 2/3 Ricoh Super 8 800z Eyepiece Adjuster Replacement: 3 단계, 이미지 3/3
    • Turn the adjustment ring counter clockwise until it is as close to the lens as it will go.

  4. Ricoh Super 8 800z Eyepiece Adjuster Replacement: 4 단계, 이미지 1/3 Ricoh Super 8 800z Eyepiece Adjuster Replacement: 4 단계, 이미지 2/3 Ricoh Super 8 800z Eyepiece Adjuster Replacement: 4 단계, 이미지 3/3
    • Remove the screw on top of the back panel of the camera using a Phillips #000 screwdriver.

    • Use a plastic opening tool to lift the plastic covering to reveal a screw underneath it.

  5. Ricoh Super 8 800z Eyepiece Adjuster Replacement: 5 단계, 이미지 1/3 Ricoh Super 8 800z Eyepiece Adjuster Replacement: 5 단계, 이미지 2/3 Ricoh Super 8 800z Eyepiece Adjuster Replacement: 5 단계, 이미지 3/3
    • Continue to hold the plastic covering back with the plastic opening tool.

    • Use a #1 flathead screwdriver to remove screw in the oval opening beside the eyepiece. Be careful not to drop the screw into the camera body.

  6. Ricoh Super 8 800z Eyepiece Adjuster Replacement: 6 단계, 이미지 1/3 Ricoh Super 8 800z Eyepiece Adjuster Replacement: 6 단계, 이미지 2/3 Ricoh Super 8 800z Eyepiece Adjuster Replacement: 6 단계, 이미지 3/3
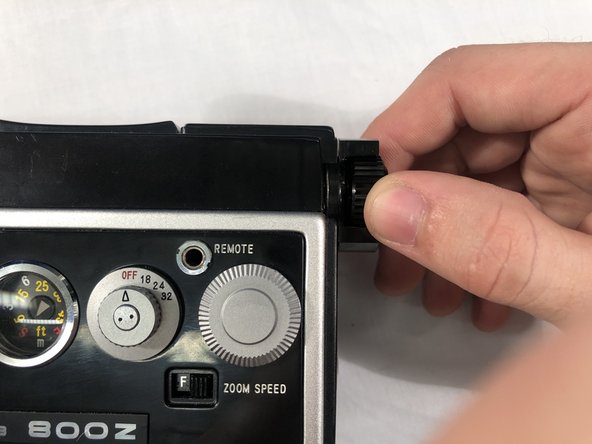
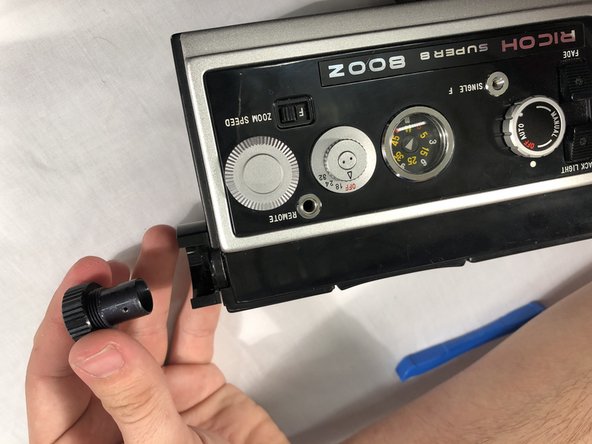
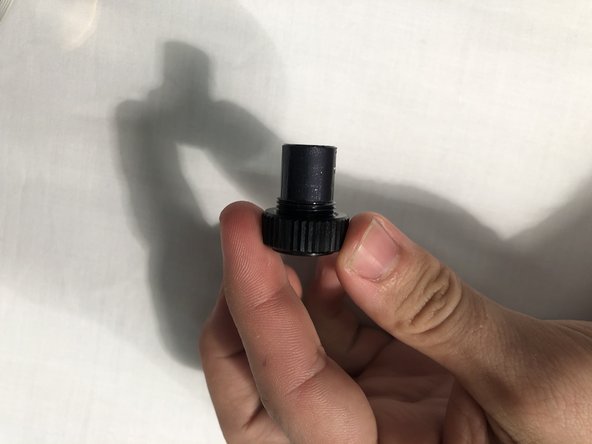
    • Slide the eyepiece adjuster out of the camera body.

결론

To reassemble your device, follow these instructions in reverse order.

Nicholas steven Thompson

회원 가입일: 01/26/20

268 평판

안내서 2개 작성하였습니다

댓글 0개

댓글 쓰기

조회 통계:

24 시간 전: 0

7일 전: 4

30일 전: 8

전체 시간: 277