소개
This guide is to replace the button mechanism for your Ricoh YF-20 Super. If the mechanism becomes faulty, this guide will show you how to replace the part and fix the mechanism.
Before we start, know that inside your camera, there's a special part that makes the buttons work. Over time, this part can get old or broken, making the buttons act funny. Keep in mind that this will require careful disassembly.
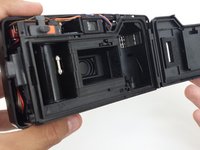
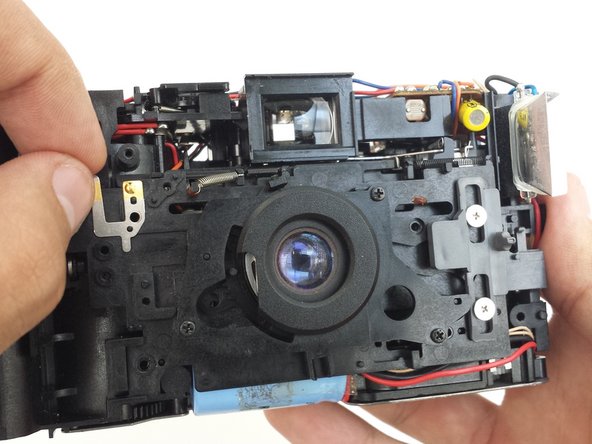
To get to this part, we need to take off the camera's outer covers. This means unscrewing some screws and gently separating the covers. Inside, we'll find the button part, usually near the top or front of the camera.
Watch out for any extra screws or clips holding the button part in place. We'll need to remove these before we can switch out the part.
Good luck with replacing the button mechanism on your Ricoh YF-20 Super! This guide aims to replace the button mechanism efficiently.
필요한 것
-
-
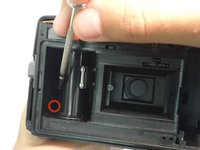
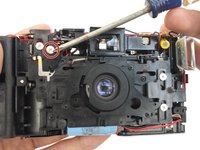
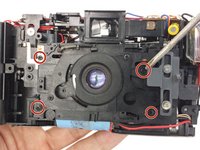
Use the screwdriver to unscrew the indicated screws from the left, right, bottom, and back sides of the camera.
-
-
-
-
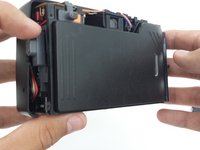
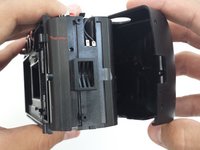
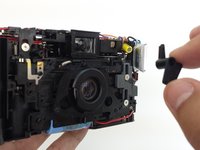
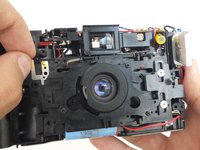
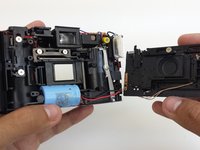
Remove and set the front and back covers aside
-
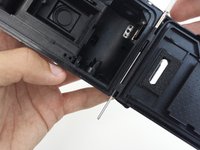
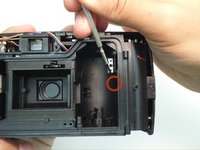
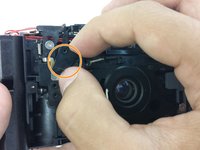
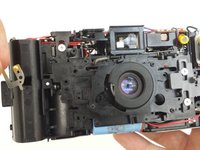
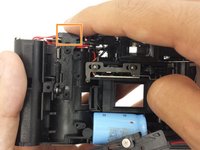
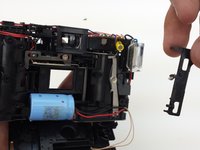
Unscrew the screw that holds the front plate brace in place.
-
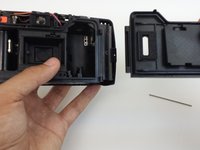
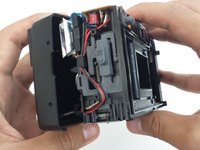
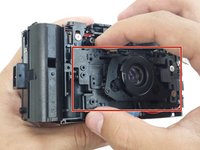
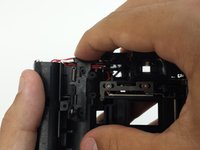
Take out the brace.
-


To reassemble your device, follow these instructions in reverse order. Take your e-waste to an R2 or e-Stewards certified recycler.
팀

Cal Poly, Team 6-21, Amido Spring 2012 Cal Poly, Team 6-21, Amido Spring 2012 회원
CPSU-AMIDO-S12S6G21
4 회원들
안내서 21개를 작성함