이 안내서에는 최근 변경 사항이 더 있습니다. 최신 비검증 버전으로 전환하십시오.
소개
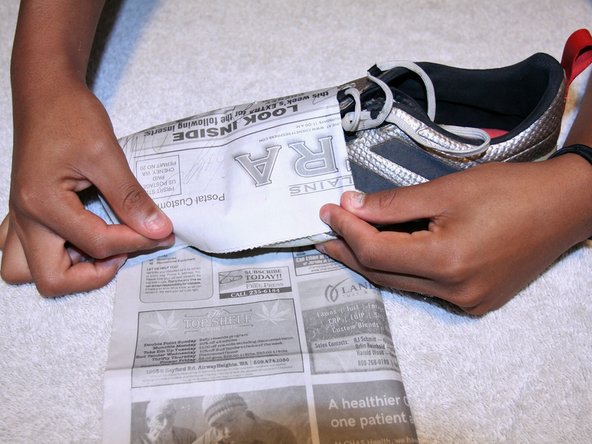
Ripped soccer cleats are a very common issue and many people think once ripped, the cleats are unusable. This FastFix guide will demonstrate exactly how to repair your ripped soccer cleats with step by step instructions using photos to help you. Fix your ripped cleats with assurance without buying or breaking in a new pair.
필요한 것
-
-
Using a toothbrush, clean the entire cleat, especially where the shoe is ripped.
-
-


Once the steps above are completed, your cleats should be repaired and ready for play!
Once the steps above are completed, your cleats should be repaired and ready for play!
다른 2명이 해당 안내서를 완성하였습니다.

팀

Eastern Washington University, Team S2-G1, Crane Summer 2018 Eastern Washington University, Team S2-G1, Crane Summer 2018 회원
EWU-CRANE-SU18S2G1
4 회원들
안내서 4개 작성하였습니다