주요 콘텐츠로 건너뛰기

Roborock Q5 LiDar Sensor Replacement

필요한 것

  1. Roborock Q5 LiDar Sensor Replacement, Side Brush: 1 단계, 이미지 1개 중 1개
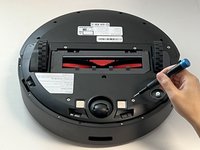
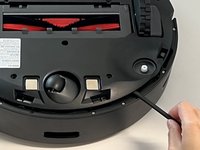
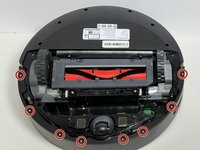
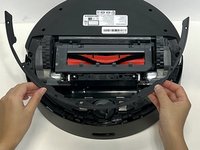
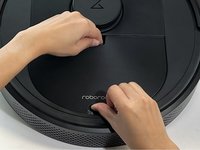
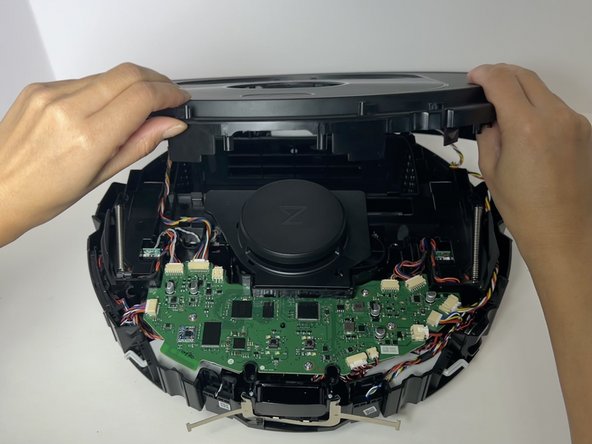
    • Power off your Roborock and place the device on a flat surface with the wheels facing up.

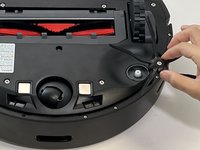
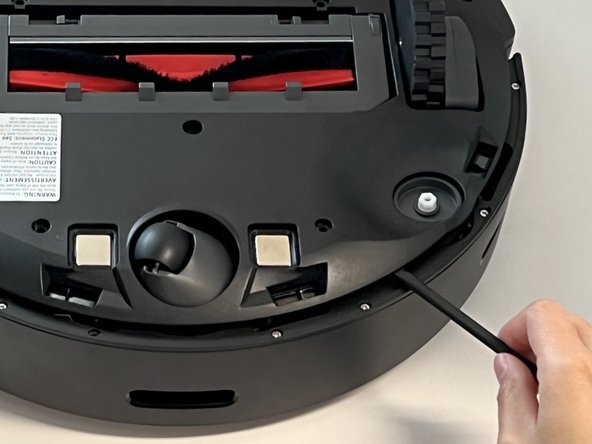
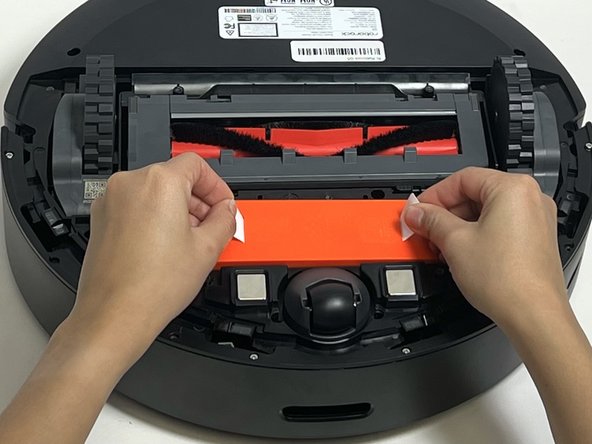
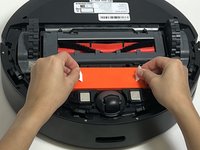
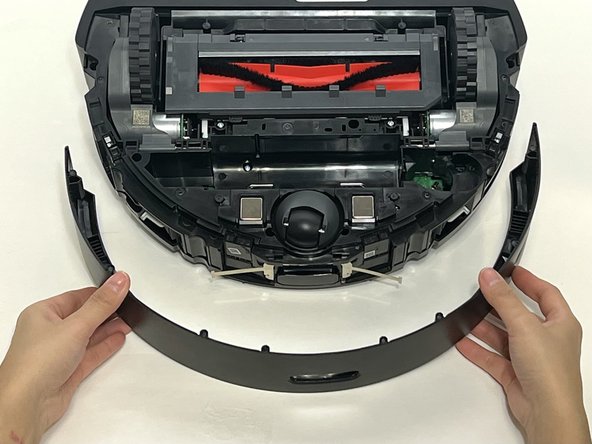
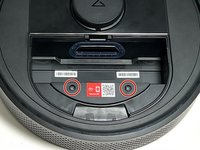
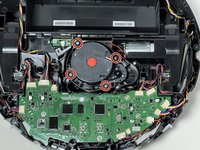
    • Position the robot so the five-pronged side brush is on the bottom right side.

  2. Roborock Q5 LiDar Sensor Replacement: 2 단계, 이미지 2개 중 1개 Roborock Q5 LiDar Sensor Replacement: 2 단계, 이미지 2개 중 2개
    • Use a Phillips #2 screwdriver to loosen the single captive side brush screw.

    • The screw is attached to the side brush so they cannot be separated.

  3. Roborock Q5 LiDar Sensor Replacement: 3 단계, 이미지 2개 중 1개 Roborock Q5 LiDar Sensor Replacement: 3 단계, 이미지 2개 중 2개
    • Lift the side brush up and off.

  4. Roborock Q5 LiDar Sensor Replacement, Battery: 4 단계, 이미지 3개 중 1개 Roborock Q5 LiDar Sensor Replacement, Battery: 4 단계, 이미지 3개 중 2개 Roborock Q5 LiDar Sensor Replacement, Battery: 4 단계, 이미지 3개 중 3개
    • Use a Phillips screwdriver to remove the seven 15 mm screws from the bottom panel.

  5. Roborock Q5 LiDar Sensor Replacement: 5 단계, 이미지 3개 중 1개 Roborock Q5 LiDar Sensor Replacement: 5 단계, 이미지 3개 중 2개 Roborock Q5 LiDar Sensor Replacement: 5 단계, 이미지 3개 중 3개
    • Gently lift off the bottom panel cover.

    • If the bottom panel is stuck, use a plastic spudger along the edges to gently lift it out of place, then remove it by hand.

  6. Roborock Q5 LiDar Sensor Replacement: 6 단계, 이미지 3개 중 1개 Roborock Q5 LiDar Sensor Replacement: 6 단계, 이미지 3개 중 2개 Roborock Q5 LiDar Sensor Replacement: 6 단계, 이미지 3개 중 3개
    • Use the two white straps to lift the battery out slightly to reveal the battery connector.

    • The battery is still connected to the robot vacuum. Take care not to strain the battery cable.

  7. Roborock Q5 LiDar Sensor Replacement: 7 단계, 이미지 3개 중 1개 Roborock Q5 LiDar Sensor Replacement: 7 단계, 이미지 3개 중 2개 Roborock Q5 LiDar Sensor Replacement: 7 단계, 이미지 3개 중 3개
    • Using moderate pressure, squeeze and pull on the four-wire connector to disconnect the battery from the robot vacuum.

  8. Roborock Q5 LiDar Sensor Replacement, LiDar Sensor: 8 단계, 이미지 3개 중 1개 Roborock Q5 LiDar Sensor Replacement, LiDar Sensor: 8 단계, 이미지 3개 중 2개 Roborock Q5 LiDar Sensor Replacement, LiDar Sensor: 8 단계, 이미지 3개 중 3개
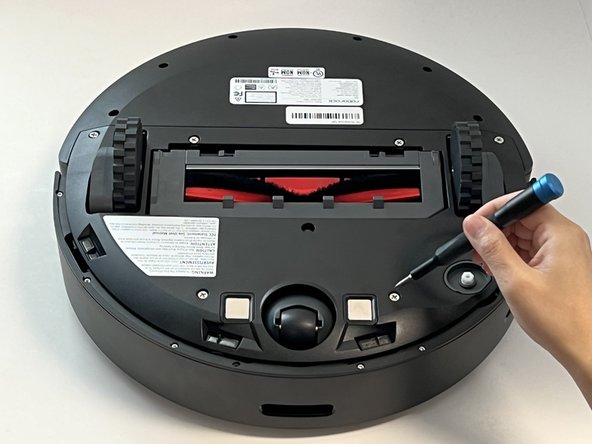
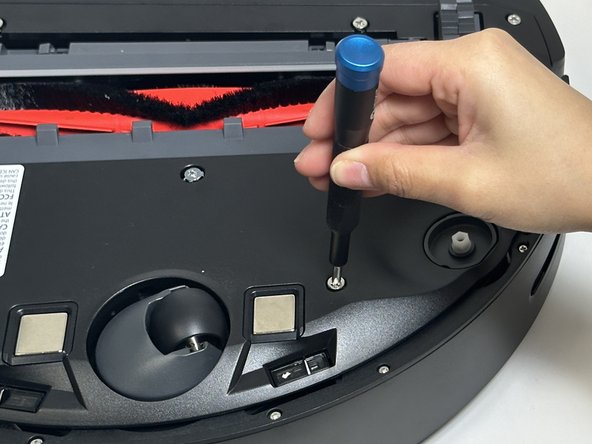
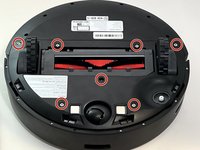
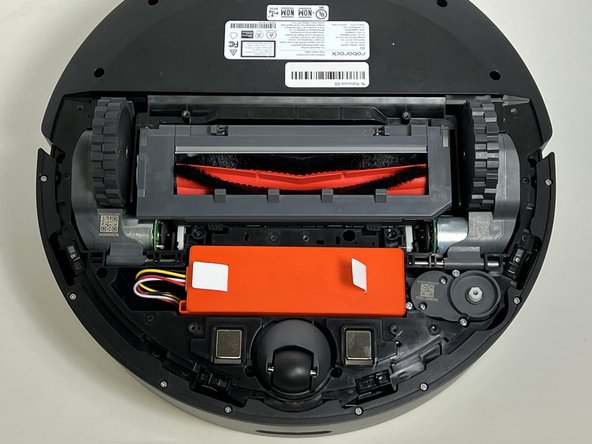
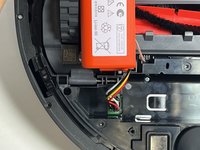
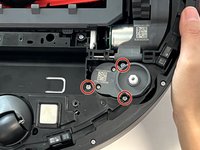
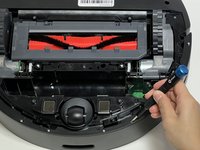
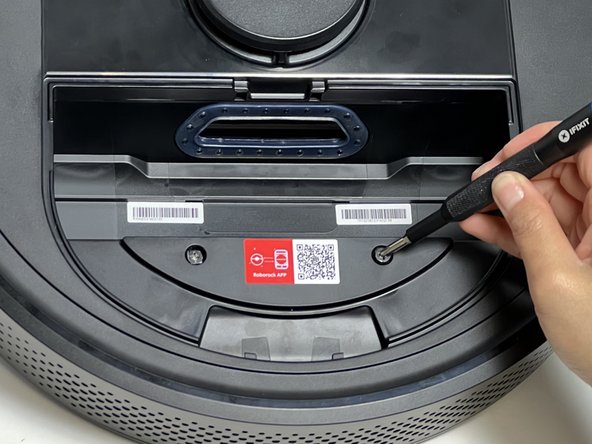
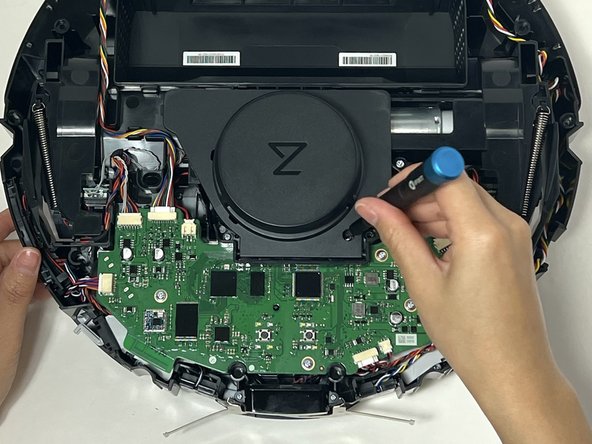
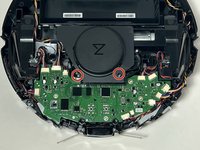
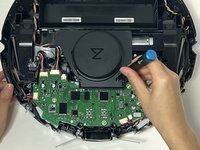
    • Remove the three 10 mm Phillips screws that secure the side brush motor.

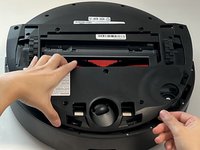
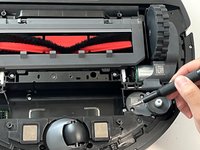
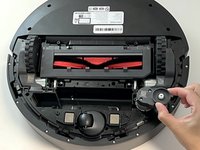
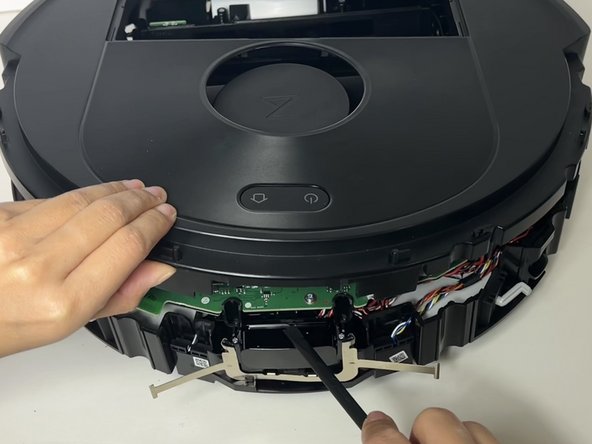
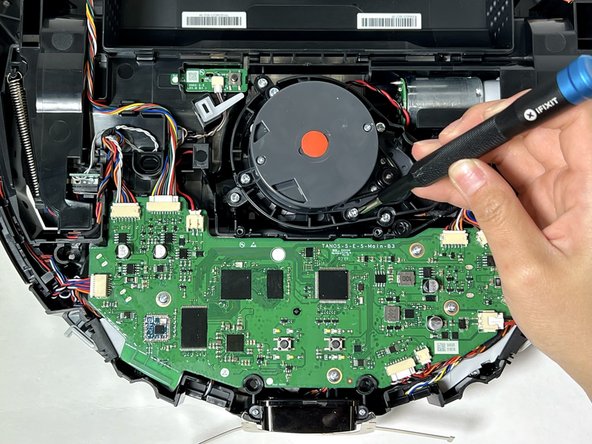
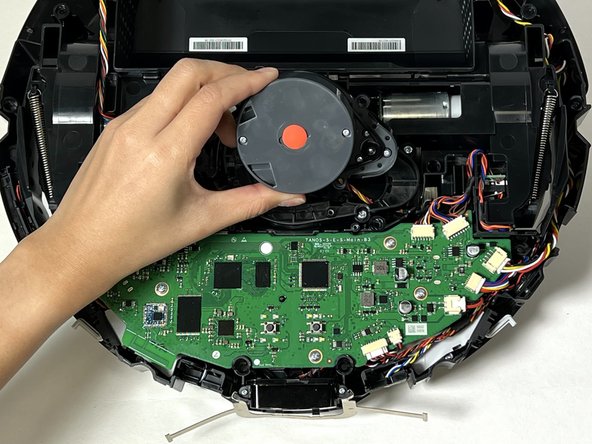
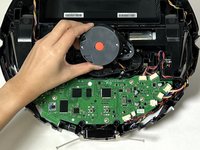
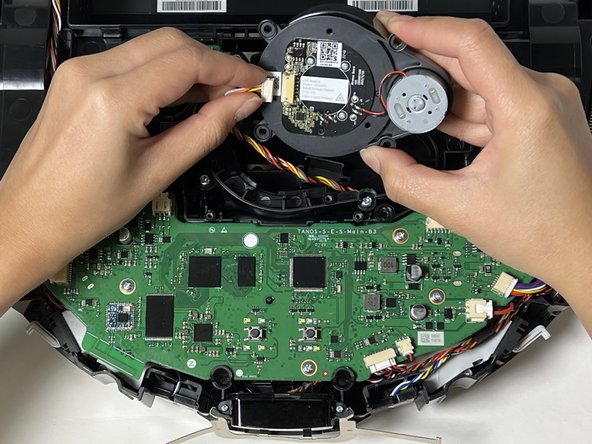
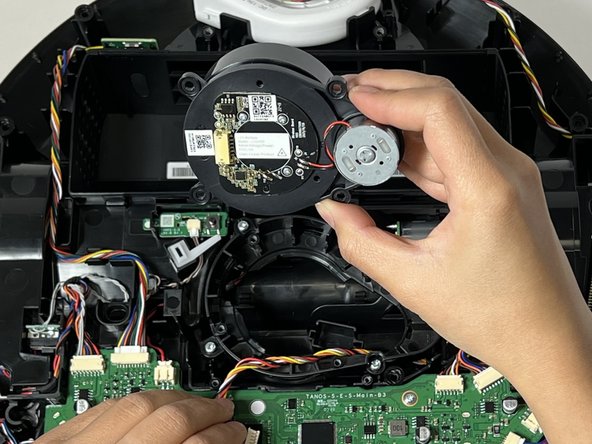
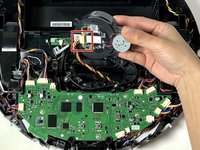
    • Lift the side brush motor up and out of its housing.

  9. Roborock Q5 LiDar Sensor Replacement: 9 단계, 이미지 2개 중 1개 Roborock Q5 LiDar Sensor Replacement: 9 단계, 이미지 2개 중 2개
    • Use a Phillips #1 screwdriver to remove the eight 11 mm screws from the front sensor panel cover.

  10. Roborock Q5 LiDar Sensor Replacement: 10 단계, 이미지 2개 중 1개 Roborock Q5 LiDar Sensor Replacement: 10 단계, 이미지 2개 중 2개
    • Gently lift and remove he thin black sensor housing bracket.

    • Pull the front sensor panel cover away from the robot.

  11. Roborock Q5 LiDar Sensor Replacement: 11 단계, 이미지 1개 중 1개
    • Use a Phillips screwdriver to remove one 14 mm Phillips screw from the battery housing.

    • Use a Phillips screwdriver to remove the eleven deep-set 14 mm Phillips screws from the bottom panel.

  12. Roborock Q5 LiDar Sensor Replacement: 12 단계, 이미지 2개 중 1개 Roborock Q5 LiDar Sensor Replacement: 12 단계, 이미지 2개 중 2개
    • Carefully flip the device and set it down.

    • Pinch together the two dustbin tabs and pull up on the dustbin to remove it.

  13. Roborock Q5 LiDar Sensor Replacement: 13 단계, 이미지 2개 중 1개 Roborock Q5 LiDar Sensor Replacement: 13 단계, 이미지 2개 중 2개
    • Use a Phillips #2 screwdriver to remove two 15 mm Phillips screws from the front panel cover.

  14. Roborock Q5 LiDar Sensor Replacement: 14 단계, 이미지 3개 중 1개 Roborock Q5 LiDar Sensor Replacement: 14 단계, 이미지 3개 중 2개 Roborock Q5 LiDar Sensor Replacement: 14 단계, 이미지 3개 중 3개
    • Gently lift and remove the top cover off of the robot vacuum.

    • If the top panel is stuck, use a plastic spudger along the edges to gently lift it out of place, then remove it by hand.

  15. Roborock Q5 LiDar Sensor Replacement: 15 단계, 이미지 3개 중 1개 Roborock Q5 LiDar Sensor Replacement: 15 단계, 이미지 3개 중 2개 Roborock Q5 LiDar Sensor Replacement: 15 단계, 이미지 3개 중 3개
    • Use a Phillips #1 screwdriver to remove the two 10 mm screws from the LiDar sensor cover.

    • Gently lift off the sensor cover.

  16. Roborock Q5 LiDar Sensor Replacement: 16 단계, 이미지 3개 중 1개 Roborock Q5 LiDar Sensor Replacement: 16 단계, 이미지 3개 중 2개 Roborock Q5 LiDar Sensor Replacement: 16 단계, 이미지 3개 중 3개
    • Use a Phillips #1 screwdriver to remove the four 9 mm screws that secure the LiDar sensor.

    • Lift the sensor from the vacuum.

  17. Roborock Q5 LiDar Sensor Replacement: 17 단계, 이미지 3개 중 1개 Roborock Q5 LiDar Sensor Replacement: 17 단계, 이미지 3개 중 2개 Roborock Q5 LiDar Sensor Replacement: 17 단계, 이미지 3개 중 3개
    • Grip and the white LiDar sensor cable connector and pull it directly out of its socket.

    • Remove the LiDar sensor.

결론

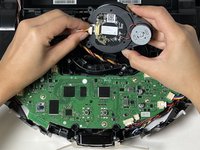
To reassemble your device, follow these instructions in reverse order.

다른 3명이 해당 안내서를 완성하였습니다.

작성자

3다른 기여자 명과 함께

Joyce T

회원 가입일: 01/29/24

313 평판

안내서 2개를 작성함

2가이드 댓글

The replacement lidar sensor is available on Ali Express. OEM model # is LDS04RR. Here's a link to the correct part (as of Sept 2025): Original Roborock LDS Replacement LDS04RR For Robot Vacuum Cleaner Q5 / Q7/ Q7 Max / S8 Series Accessories Laser Distance Sensor - AliExpress

Before replacing, take a good look at the motor shaft of the lidar sensor - it can get tangled with hair and lint and may be the reason your sensor is not spinning. Cleaning the shaft may save the need for a new part (but not the hassle of dissassembly)

Gullimukin - 답글

댓글 쓰기

조회 통계:

지난 24시간: 7

지난 7일: 51

지난 30일: 322

전체 시간: 4,192