소개
This guide will show you how to replace the Laser Distance Sensor (LDS or LiDAR) of Roborock's robotic vacuum S7.
You may want to do so if your robot reports "Error 1: Laser Distance Sensor blocked."
Within the guide I will also outline how to replace just the motor that spins the LDS, as well as how to clean it properly.
I recommend reading the entire guide before starting the disassembly, then following steps as needed during.
필요한 것
-
-
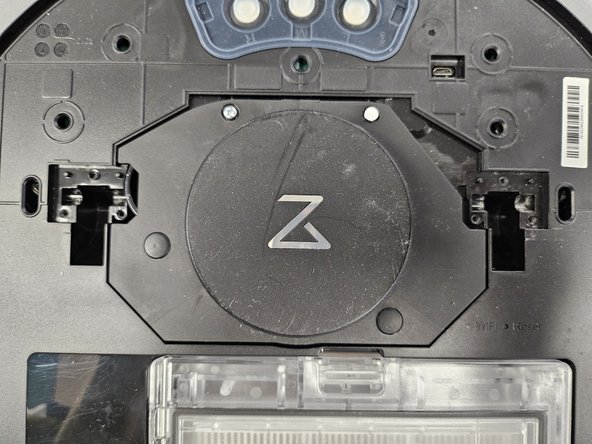
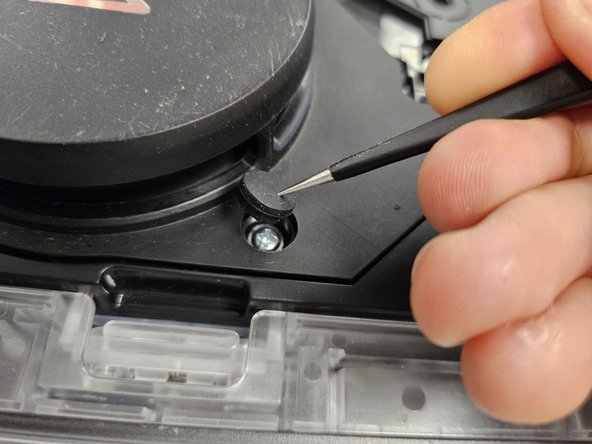
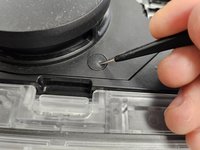
Remove the screws.
-
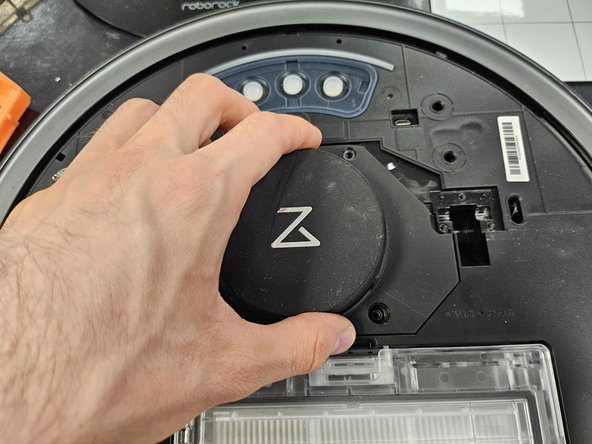
Remove the plastic tabs, then remove the back half of the top cover.
-
-
-
Remove the screws.
-
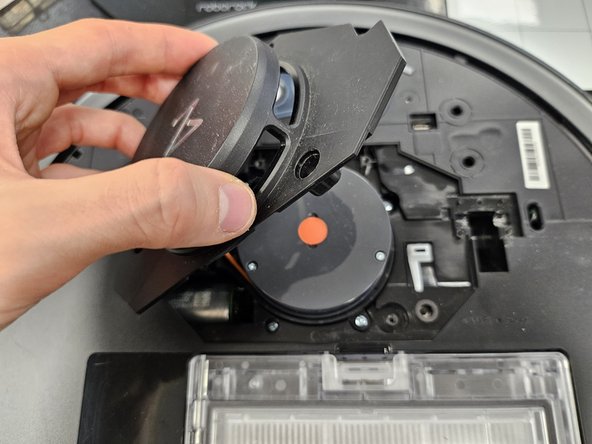
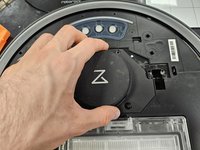
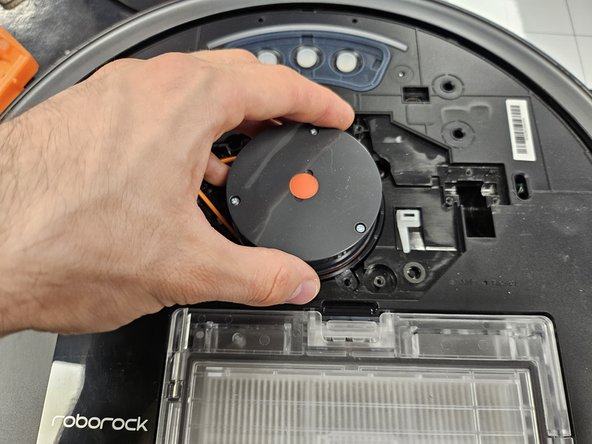
Then simply grab and lift the LDS cage off.
-
-
-
-
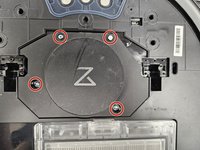
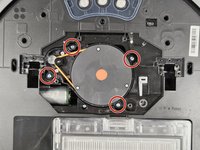
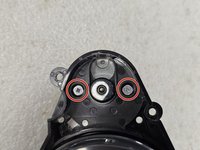
Remove the four marked screws.
-
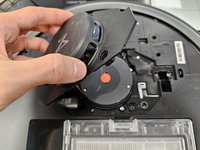
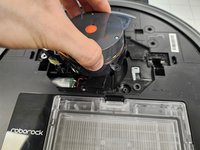
Then, much like the cage, simply lift the LDS out of the slot.
-
-
-
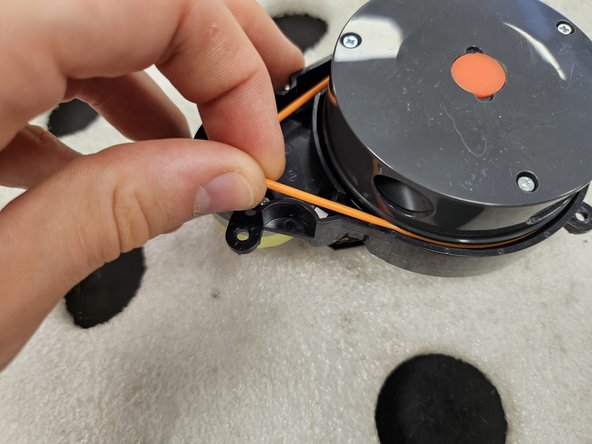
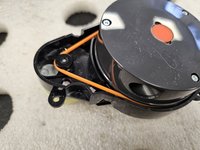
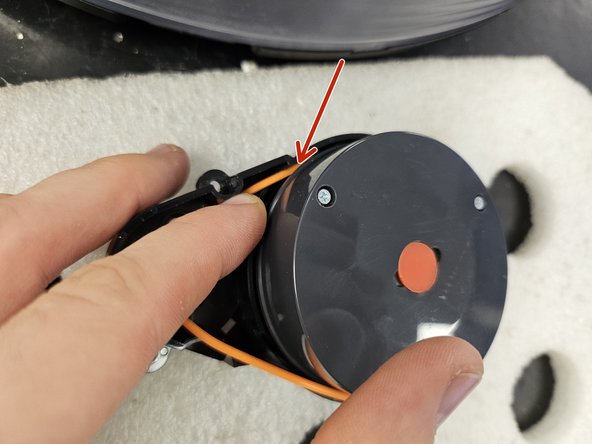
Simply remove the rubber band connecting the LDS and the motor.
-
-
-
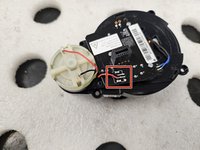
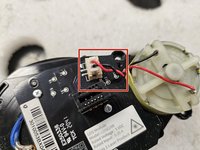
If it has a connector, disconnect it now.
-
-
-
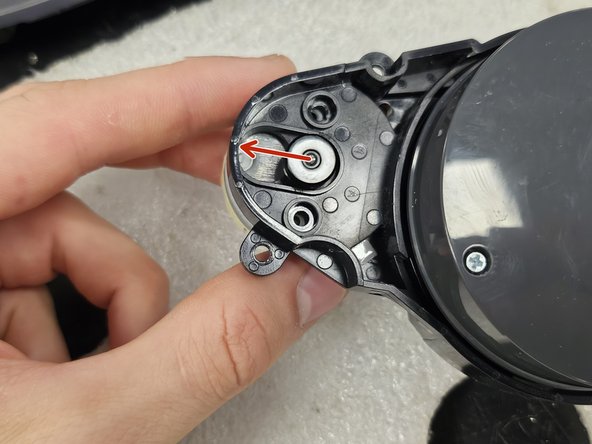
Remove the screws. Use a PH #00 precision screwdriver.
-
If your motor is soldered onto LDS PCBA and you haven't de-soldered it, slowly and carefully, slide it out.
-
-
-
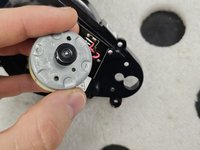
Once you have the motor out, check if the driving rod is clean. If not, clean it, then test if that resolves your Error 1.
-
-
-
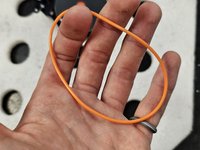
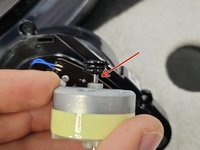
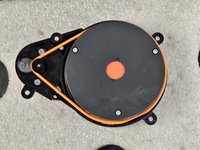
Fit the rubber band into the groove on the motor, and above the groove around the LDS.
-
Push the rubber band down, then rotate the LDS to drive the rubber band into the groove.
-
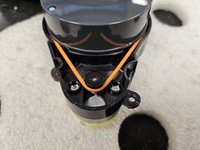
Do a full rotation and seat the entire rubber band.
-
Give the LDS a test spin. If it spins freely and comes to a slow stop, it's good. If it stops abruptly, you applied it wrong or something else is seizing the motor.
-


To reassemble your device, follow these instructions in reverse order.
다른 한 분이 해당 안내서를 완성하였습니다.
