주요 콘텐츠로 건너뛰기

Roll Pin Installation

필요한 것

  1. Roll Pin Installation, Install the Roll Pin: 1 단계, 이미지 1/1
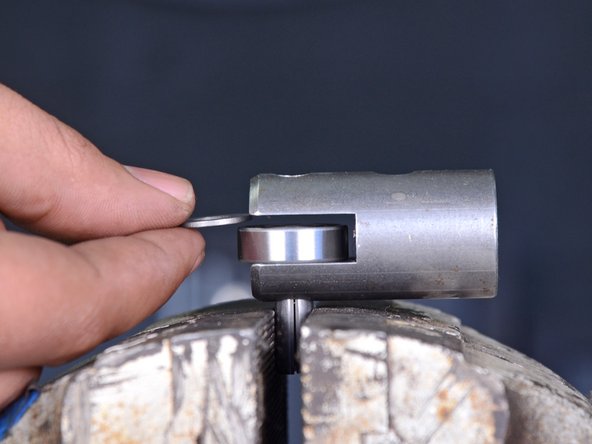
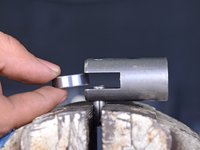
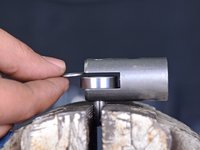
    • Use a vise to compress the roll pin until there is no longer space in the roll pin's slot.

  2. Roll Pin Installation: 2 단계, 이미지 1/3 Roll Pin Installation: 2 단계, 이미지 2/3 Roll Pin Installation: 2 단계, 이미지 3/3
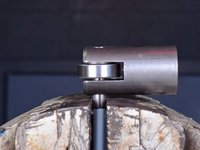
    • Use a dead blow hammer or mallet to tap down the bearing carrier onto the roll pin until the pin just begins to peek into the bearing channel.

    • Ensure you are using the correct bearing carrier for this step. The top bearing assembly uses the shorter carrier, while the two lower bearing assemblies use the longer carrier.

  3. Roll Pin Installation: 3 단계, 이미지 1/3 Roll Pin Installation: 3 단계, 이미지 2/3 Roll Pin Installation: 3 단계, 이미지 3/3
    • Insert a bearing and the bearing spacer into the bearing channel.

    • Ensure that the bearing and spacer are aligned with the roll pin and hole in the bearing carrier.

  4. Roll Pin Installation: 4 단계, 이미지 1/1
    • Continue to tap down the bearing carrier until the bearing and spacer are fully secured around the roll pin.

    • You will need to unclamp and reposition the roll pin upwards to continue tapping it into the bearing carrier. Do this as many times as is necessary to sufficiently support the roll pin.

  5. Roll Pin Installation: 5 단계, 이미지 1/1
    • Use a roll pin punch to finish seating the roll pin into place.

    • Place a piece of cloth or mat on top of the vise below the bearing carrier to prevent marring the outer surface of the bearing carrier.

    • Before moving to the next step, ensure the roll pin is fully seated and completely within the bearing carrier. A slightly exposed roll pin may damage the inside of your feeder body when the bearing carrier assembly is being installed.

결론

To reassemble your device, follow these instructions in reverse order.

Tarun Thiruma

회원 가입일: 11/20/19

35,571 평판

안내서 134개 작성하였습니다

댓글 0개

댓글 쓰기

조회 통계:

24 시간 전: 3

7일 전: 18

30일 전: 69

전체 시간: 3,204