소개
Before you start
For your safety, ensure the Ryobi D620H Hammer Drill is not connected to any power source before you perform any repairs.
It is very important to ensure that the electrical connections are correctly replaced in their designated area for the drill to function properly.
필요한 것
-
-
All nine 16mm long Torx20 screws (Circled in red).
-
Turn the screwdriver counterclockwise to loosen the screws.
-
Remove all nine screws completely.
-
-
-
-
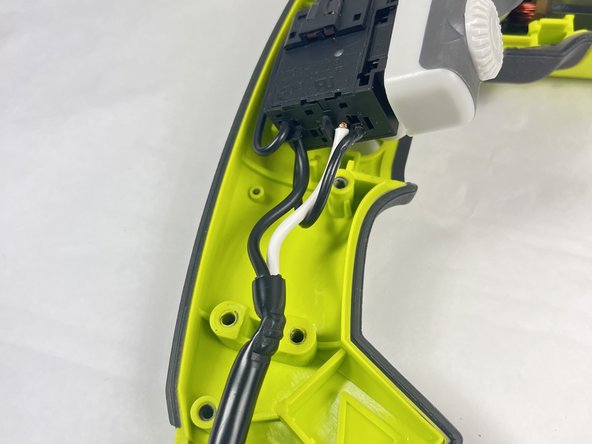
Follow the wires coming out of the bend relief cover to the white power cord clamp with the two 14 mm black PH1 screws.
-
-
-
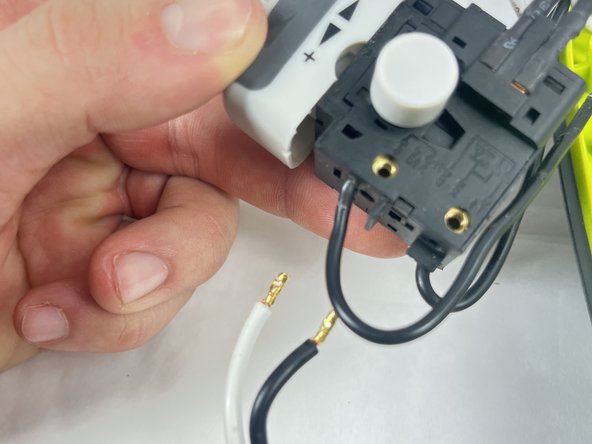
Remove the two little screws holding the brass terminal lugs in place. Although it is not required, you can remove the screws completely if you find that doing so is more convenient.
-
Gently pull the white positive and black negative wires that are connected to the switch box.
-
Slide the bend relief guard off the cord towards the loose connections.
-


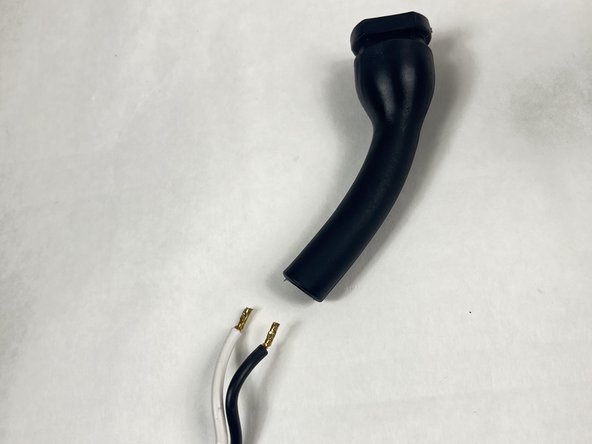
Slide the bend relief cover on the new power cord and reattach all of the electrical connections in reverse order.
Congratulations you've successfully replaced the power cord on your hammer drill!
Slide the bend relief cover on the new power cord and reattach all of the electrical connections in reverse order.
Congratulations you've successfully replaced the power cord on your hammer drill!

팀

UMass Dartmouth, Team 1-2, Petersen Fall 2023 UMass Dartmouth, Team 1-2, Petersen Fall 2023 회원
UMASSD-PETERSEN-F23S1G2
4 회원들
안내서 6개 작성하였습니다