소개
Use this guide to help replace the Ryobi RS290G Sander motor. The Ryobi RS290G uses a 2.6 AMP motor and 12,500 OPM (orbits per minute).
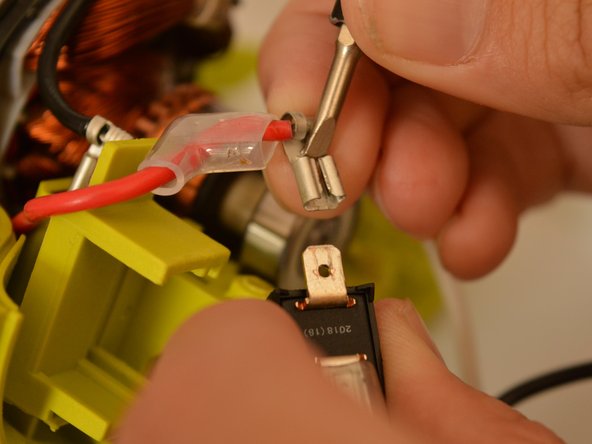
If you ordered the correct part, it should have the disconnect terminals already installed/crimped on.
Through out its use the motor may experience some damage, be faulty, and can eventually become unusable all together. With this guide, it can teach you how to salvage your Ryobi RS290G Sander and completely replace its old motor.
This is a pretty simple replacement and does not require much specialty skills. Have fun with it and enjoy your Ryobi RS290G sander.
필요한 것
-
-
Remove two 20mm and one 16mm Phillips #2 screws from the housing assembly and exhaust port.
-
-


To reassemble your device, follow these instructions in reverse order.
To reassemble your device, follow these instructions in reverse order.

팀

Embry-Riddle Aeronautical University, Team S22-G5, Branham Fall 2019 Embry-Riddle Aeronautical University, Team S22-G5, Branham Fall 2019 회원
ERAU-BRANHAM-F19S22G5
4 회원들
안내서 5개 작성하였습니다