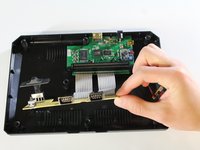
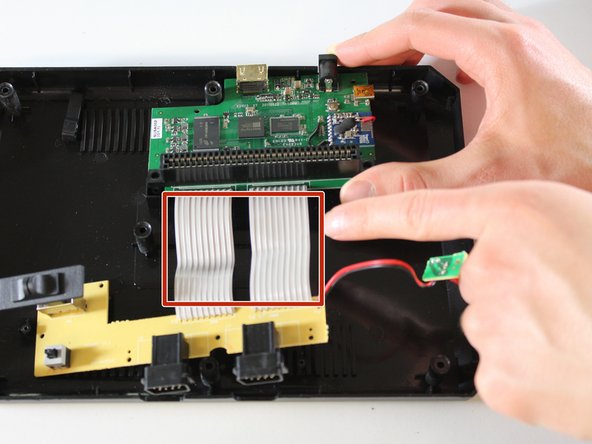
소개
Note: This guide should be used as a "last resort" after all of our other troubleshooting and repair guides fail to fix your problem. You will lose all system settings or save data after replacing the motherboard. Additionally, in order to perform the steps described in this guide, we encourage you to look at our "Back Cover Replacement Guide" here.
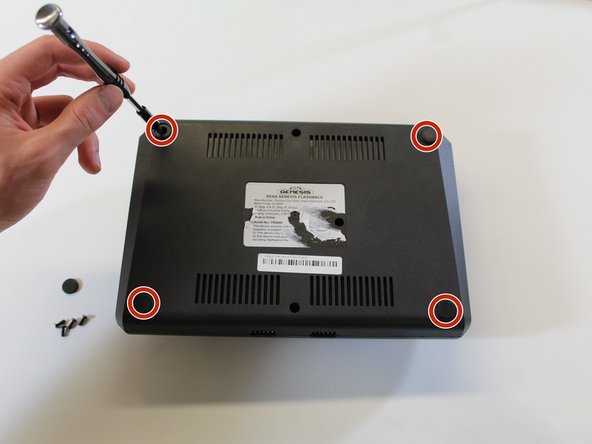
Note: Place all screws you remove in a safe location such as a magnetic project mat or plastic bag.
필요한 것
-
-
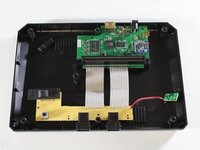
Scratch off the right-hand side of the sticker at the center of the bottom case using the spudger until the screw is visible.
-
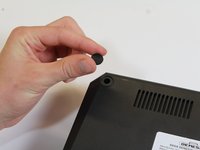
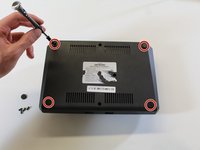
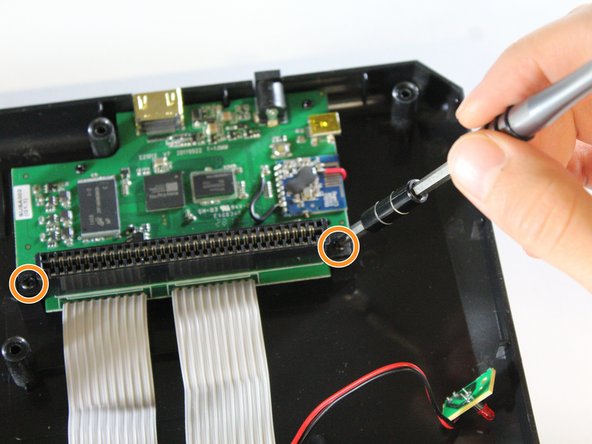
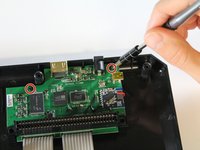
Remove this screw with the Phillips #000 screwdriver.
-
-
-
-
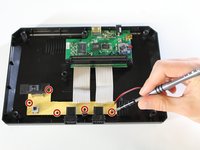
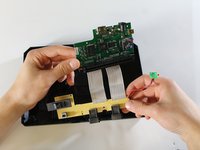
Unscrew the LED board on the inside of the top plate with the Phillips #000 screwdriver.
-


To reassemble your device, follow these instructions in reverse order. We have attached photos to assist you in replacing the LED bulb in the correct spot.
다른 한 분이 해당 안내서를 완성하였습니다.
팀

Cal Poly, Team S24-G12, Maness Spring 2018 Cal Poly, Team S24-G12, Maness Spring 2018 회원
CPSU-MANESS-S18S24G12
4 회원들
안내서 10개를 작성함
1가이드 댓글
Gday!
I recived a Sega HD Flashback 85 for Xmax. When I turned ON the game I have sound on the main menu but not when I played the game.
I went on the at@game to download there firware for the good console since my uptade I don’t have any video game anymore. I rename the file name on my SD Card like the instruction with anysucces. When I installed the SD card with the last firware and turn ON the console it update for ever without rest upload and turn ON the new update.
ERIC GUAY