소개
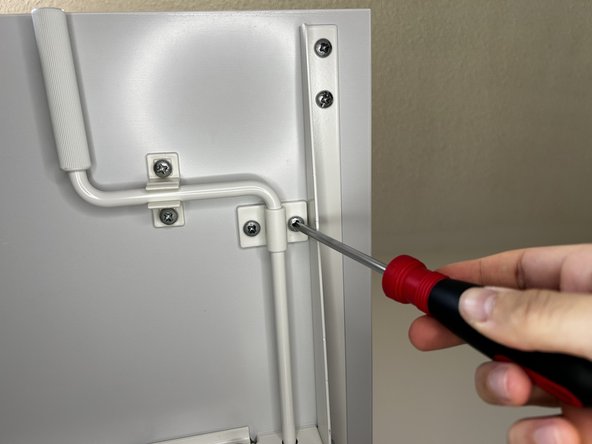
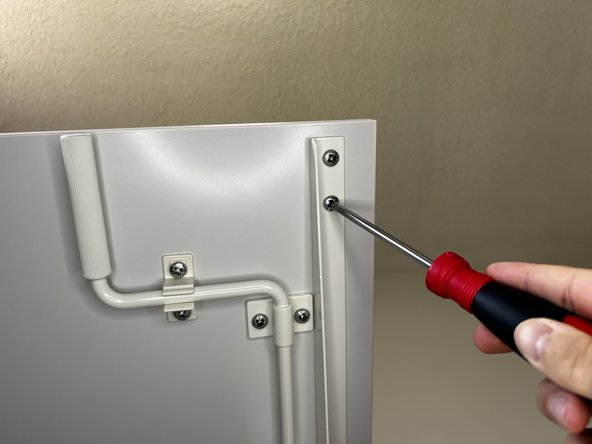
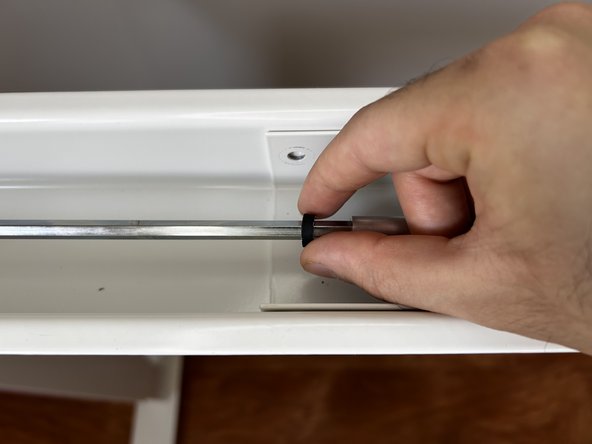
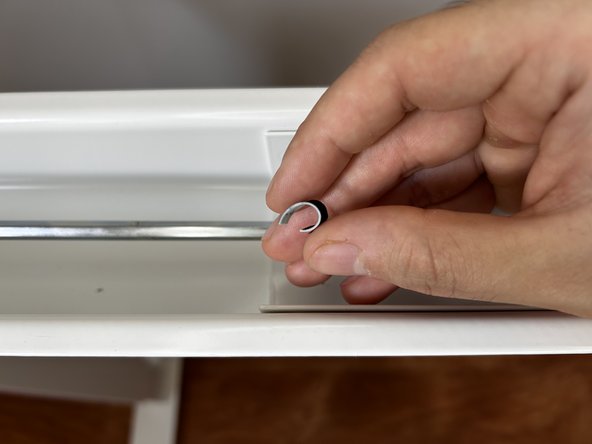
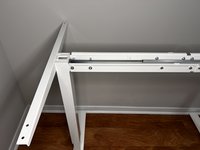
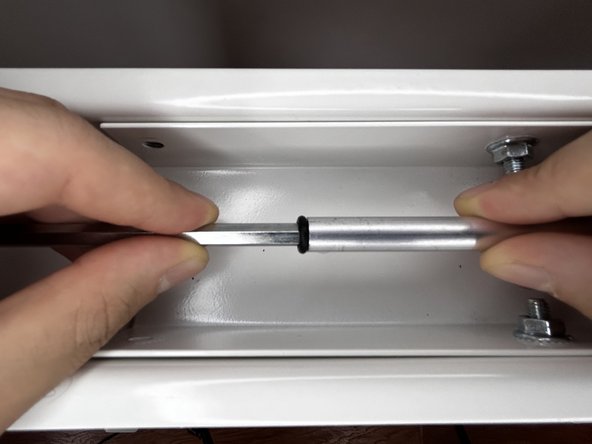
Over time, the O-ring in your manual standing desk may wear out, causing difficulties in height adjustment. This guide will walk you through the process of replacing the O-ring on the IKEA SKARSTA manual standing desk (model # 004.585.55), ensuring your desk continues to function smoothly.
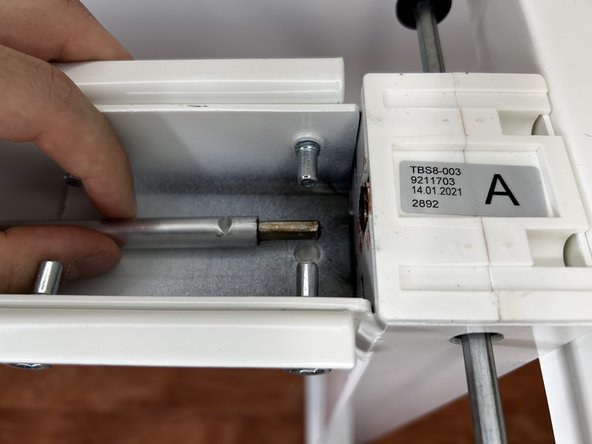
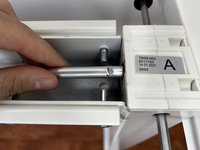
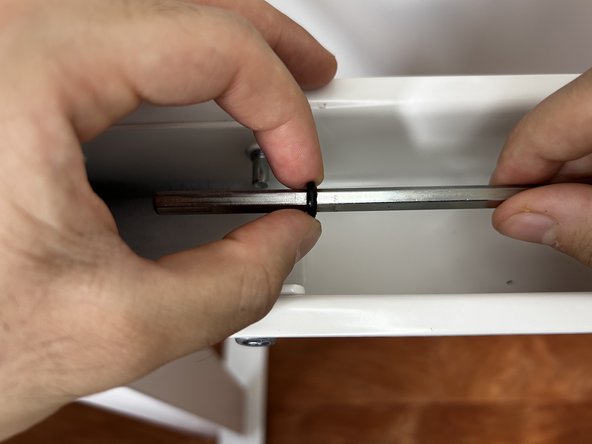
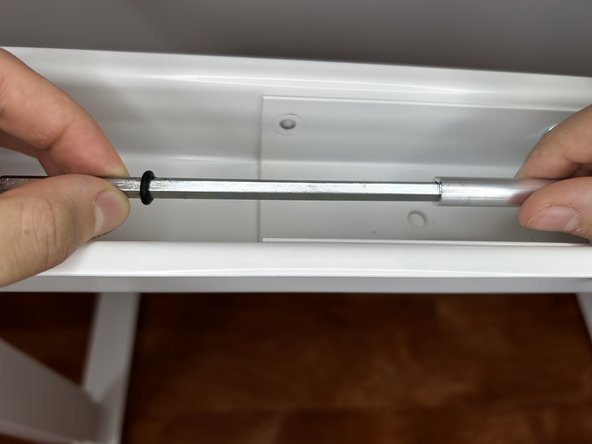
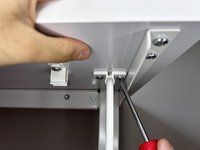
The O-ring plays a critical role in the desk's height adjustment mechanism. A worn-out O-ring can lead to uneven or difficult adjustments.
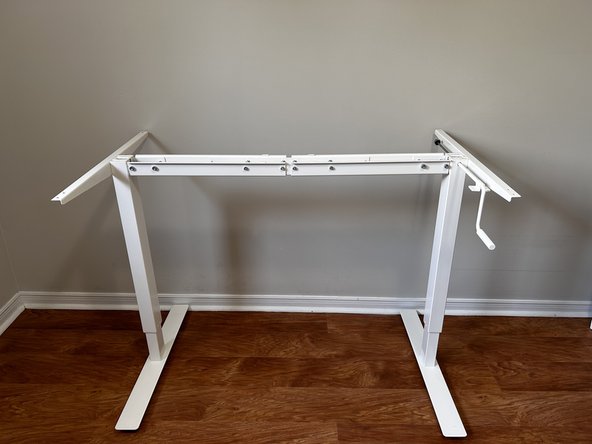
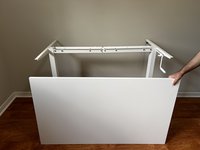
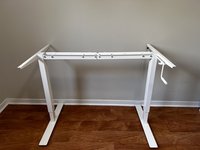
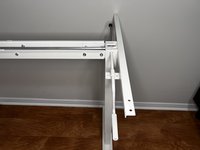
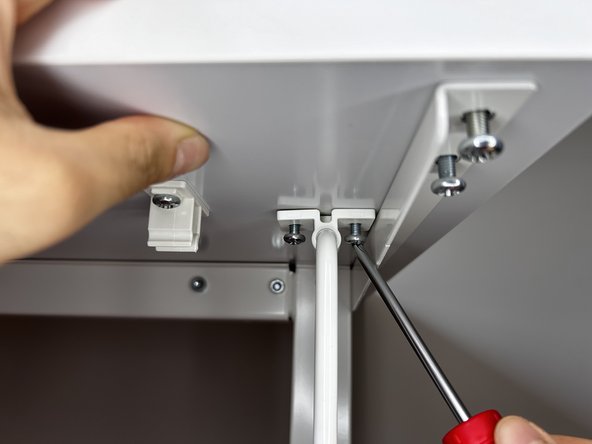
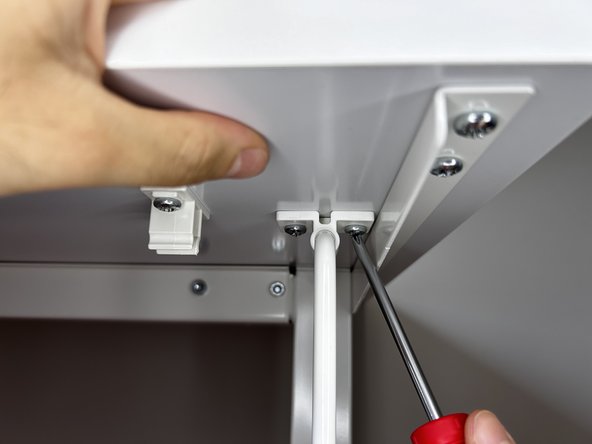
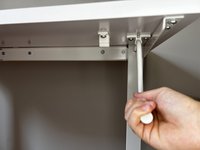
Before starting, ensure the desk is clear of items. In Steps 3 and 11, you may want assistance to lift the table off and back on the table stand.
필요한 것


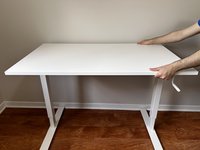


Congratulations! The repair is complete.

팀

York University, Team N-9, O'Regan Summer 2024 York University, Team N-9, O'Regan Summer 2024 회원
YORK-O'REGAN-SU24SNG9
1 회원
안내서 1개 작성