이 안내서에는 최근 변경 사항이 더 있습니다. 최신 비검증 버전으로 전환하십시오.
소개
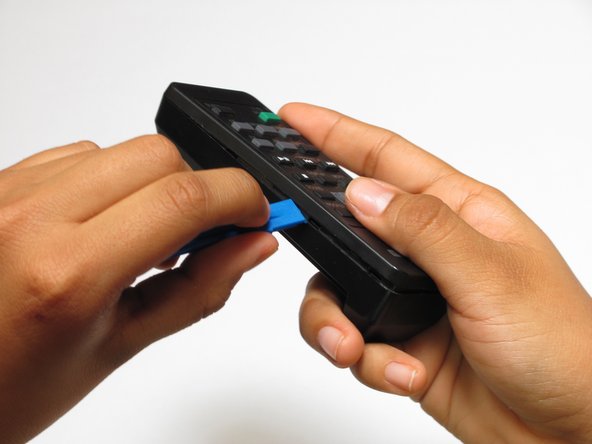
Remotes can wear out easily, specifically the contacts between the silicon button pad and the circuit board.
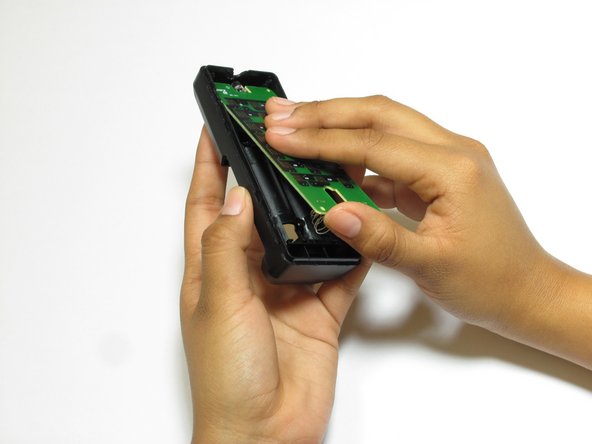
To fix this, and extend the life of your device's remote, this guide will show you how to replace the circuit board.
필요한 것


거의 끝나갑니다!
To reassemble your device, follow these instructions in reverse order.
결론
To reassemble your device, follow these instructions in reverse order.
