이 버전에는 잘못된 편집 사항이 있을 수 있습니다. 최신 확인된 스냅샷으로 전환하십시오.
필요한 것
-
이 단계는 번역되지 않았습니다. 번역을 도와주십시오
-
Locate the screw behind the battery pack.
-
Use a Phillips size 1 screwdriver to remove the 5/16in screw located inside the battery port.
-
-
-
이 단계는 번역되지 않았습니다. 번역을 도와주십시오
-
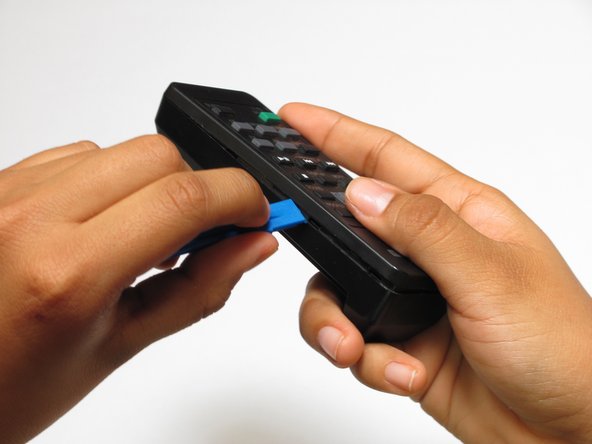
Use the plastic opening tool along the seam on the side of the remote until you hear a click. This means that the plastic tabs holding the remote together are coming loose.
-
Do this until the top half of the remote comes loose.
-
-
이 단계는 번역되지 않았습니다. 번역을 도와주십시오
-
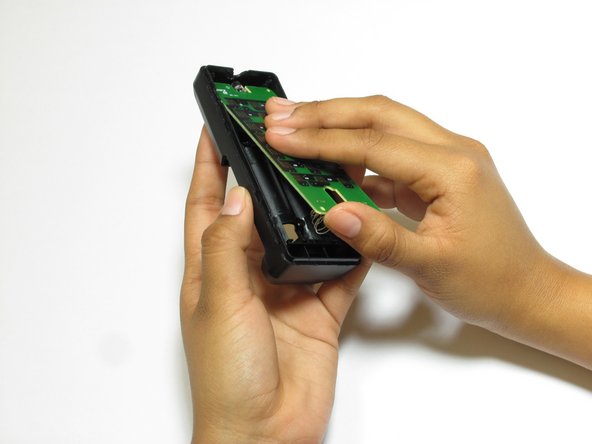
Carefully remove the top to reveal the button covers and the remote control board.
-


거의 끝나갑니다!
결승점
