이 버전에는 잘못된 편집 사항이 있을 수 있습니다. 최신 확인된 스냅샷으로 전환하십시오.
필요한 것
-
이 단계는 번역되지 않았습니다. 번역을 도와주십시오
-
Lift up the handle to reveal the screws.
-
Use your Phillips #2 screwdriver to remove the eight 1/2 inch screws.
-
-
이 단계는 번역되지 않았습니다. 번역을 도와주십시오
-
Flip your device over.
-
Use your Phillips #2 screwdriver to remove the six 3/4inch screws.
-
-
이 단계는 번역되지 않았습니다. 번역을 도와주십시오
-
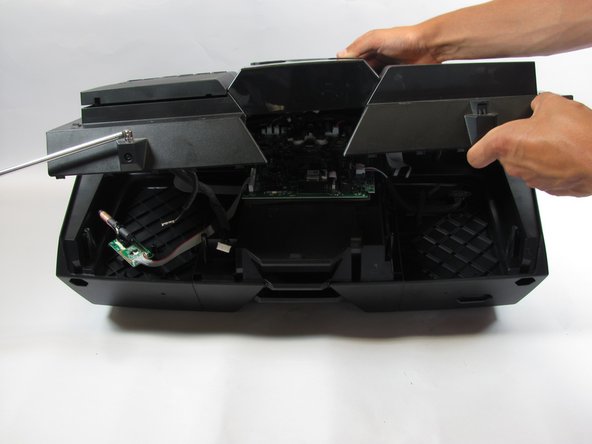
Flip your device back over to access the top of the device.
-
Use your plastic opening tool to pry up and remove the panel on the top, left hand side of the device.
-
-
이 단계는 번역되지 않았습니다. 번역을 도와주십시오
-
Use your Phillips #2 screwdriver to remove the two 1/2 inch screws underneath the now-removed panels.
-
-
-
이 단계는 번역되지 않았습니다. 번역을 도와주십시오
-
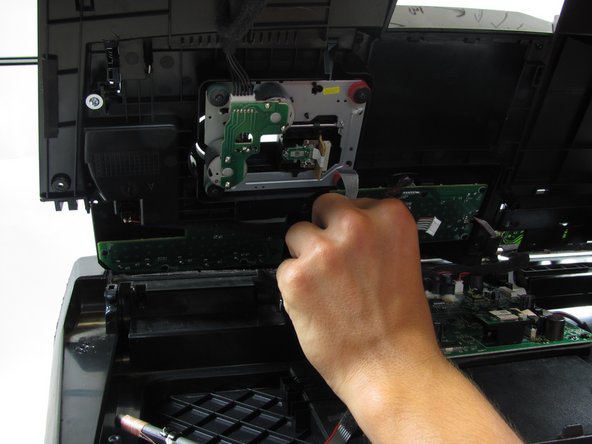
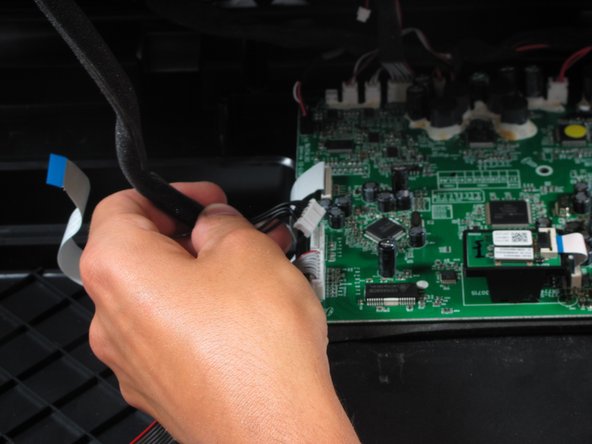
Once you have removed the top, we will begin removing the front of the device.
-
Begin by disconnecting the 6 cables that lead from the front of the device to the motherboard.
-
-
이 단계는 번역되지 않았습니다. 번역을 도와주십시오
-
Use your Philips #2 screwdriver to remove the two 1 inch screws on the outermost part of the device.
-
Use your Philips #2 screwdriver to remove the two 3/4 inch screws on the outermost part of the device.
-
Use your Philips #2 screwdriver to remove the one 5/6 inch screw on the middle part of the device.
-
-
이 단계는 번역되지 않았습니다. 번역을 도와주십시오
-
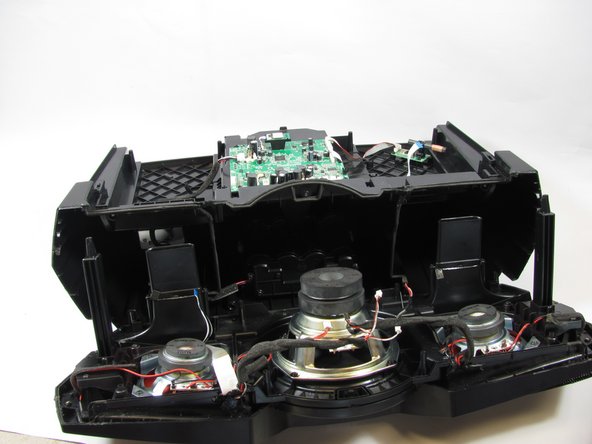
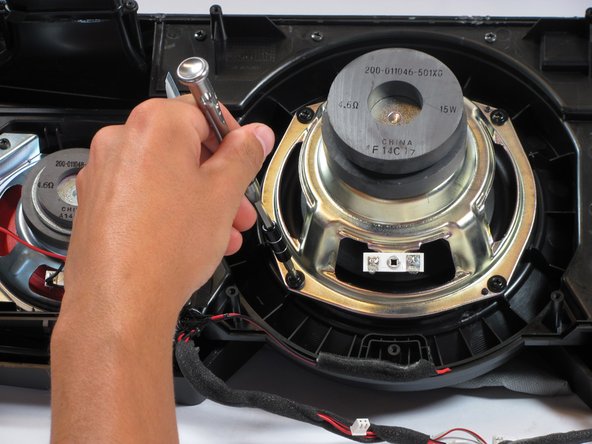
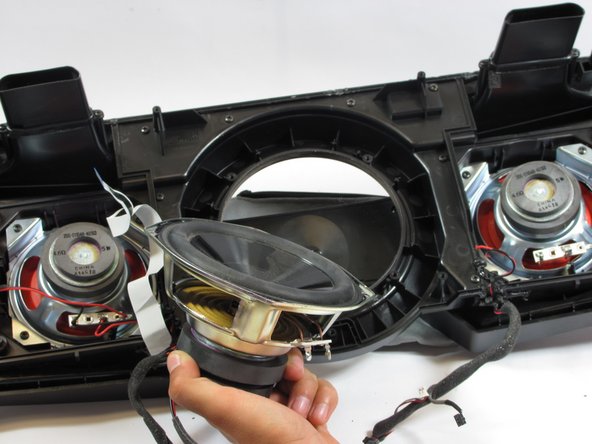
Begin with the front component after the disassembly prerequisite.
-
This guide is for the subwoofer seen in the middle of this image.
-
-
이 단계는 번역되지 않았습니다. 번역을 도와주십시오
-
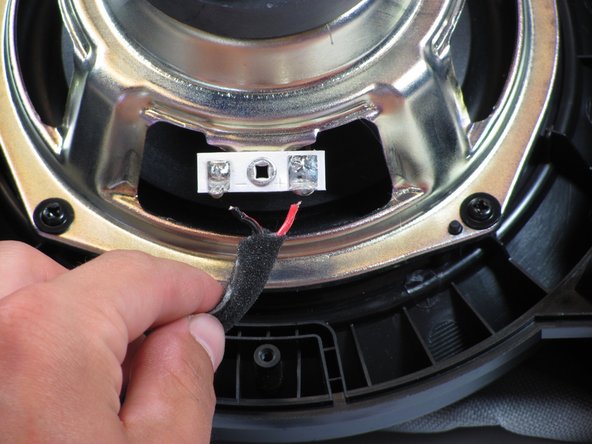
Desolder the two connector wires off the bottom plate on the speaker.
-
Note where each cable connects.
-


다른 한 분이 해당 안내서를 완성하였습니다.
