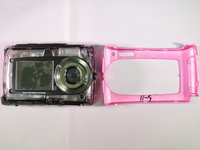
주요 콘텐츠로 건너뛰기

SVP 5800 Back Casing Replacement

필요한 것

  1. SVP 5800 Back Casing Replacement, Strap Hook: 1 단계, 이미지 1/3 SVP 5800 Back Casing Replacement, Strap Hook: 1 단계, 이미지 2/3 SVP 5800 Back Casing Replacement, Strap Hook: 1 단계, 이미지 3/3
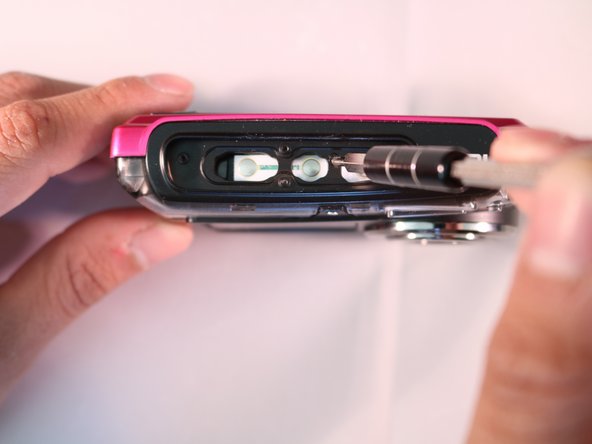
    • Locate the two 3.5 mm screws on the side of the device.

    • Apply pressure to the PH J000 philips head screwdriver and turn in a counter clockwise motion until the screw becomes loose enough to pull out.

  2. SVP 5800 Back Casing Replacement, Front Casing: 2 단계, 이미지 1/2 SVP 5800 Back Casing Replacement, Front Casing: 2 단계, 이미지 2/2
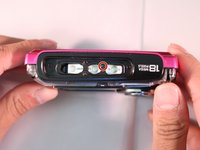
    • Once you have properly removed the strap hook, locate the two 3 mm screws located on the opposite side of the strap hook.

    • Refer to the prerequisite guide on removing the strap hook for instructions.

    • Place the PH J000 phillips head screwdriver on the head of screw; apply pressure and turn in a counter clockwise motion until screws come loose.

  3. SVP 5800 Back Casing Replacement: 3 단계, 이미지 1/2 SVP 5800 Back Casing Replacement: 3 단계, 이미지 2/2
    • Place the plastic opening tool on the crack between the front and back casings.

    • Apply pressure by pulling down on the plastic opening tool to pry the case apart.

  4. SVP 5800 Back Casing Replacement: 4 단계, 이미지 1/2 SVP 5800 Back Casing Replacement: 4 단계, 이미지 2/2
    • Wedge your fingers in the opening and slowly pull the front casing away from the bottom casing until it complete separates from the device.

    • Using too much force in this step can damage your device.

  5. SVP 5800 Back Casing Replacement, Top button Compartment: 5 단계, 이미지 1/3 SVP 5800 Back Casing Replacement, Top button Compartment: 5 단계, 이미지 2/3 SVP 5800 Back Casing Replacement, Top button Compartment: 5 단계, 이미지 3/3
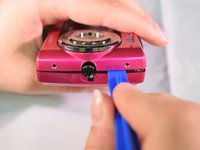
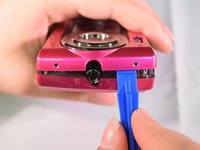
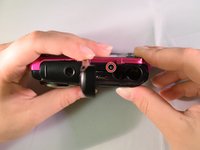
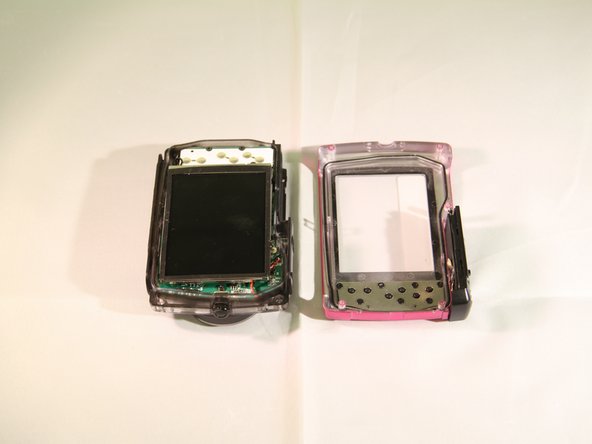
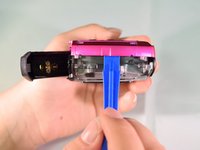
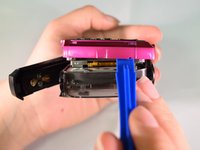
    • Insert the flat end of wide metal spudger into the seam of the plastic buffer surrounding the buttons and pry it open.

  6. SVP 5800 Back Casing Replacement: 6 단계, 이미지 1/3 SVP 5800 Back Casing Replacement: 6 단계, 이미지 2/3 SVP 5800 Back Casing Replacement: 6 단계, 이미지 3/3
    • Use A #00 Phillips head screwdriver and turn counterclockwise to remove the four indicated screws.

    • Set the screws aside.

  7. SVP 5800 Back Casing Replacement: 7 단계, 이미지 1/2 SVP 5800 Back Casing Replacement: 7 단계, 이미지 2/2
    • Apply pressure and turn counterclockwise to remove the indicated 2.5 mm screw.

  8. SVP 5800 Back Casing Replacement, Back Casing: 8 단계, 이미지 1/2 SVP 5800 Back Casing Replacement, Back Casing: 8 단계, 이미지 2/2
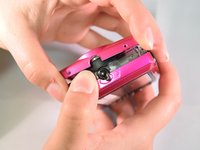
    • Locate the 2 mm screw that is next to the battery compartment.

    • Using the PH J000 phillips head screwdriver, apply pressure to the screw head and turn in a counter clockwise motion until the screw is loose.

    • You do not have to completely remove the 2 mm screw. To prevent losing the screw, you may leave it loosely in its place.

  9. SVP 5800 Back Casing Replacement: 9 단계, 이미지 1/3 SVP 5800 Back Casing Replacement: 9 단계, 이미지 2/3 SVP 5800 Back Casing Replacement: 9 단계, 이미지 3/3
    • Slide the flat edge of the plastic opening tool between the inner casing and the back outer casing.

    • Push up on the plastic opening tool so that the back casing starts to lift from the inner casing.

    • Lifting the casing too far may result in damage. Lift the casing slowly.

결론

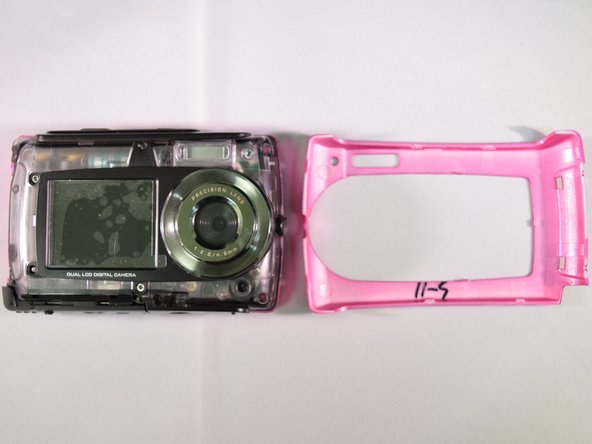
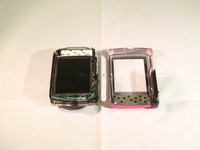
To reassemble your device, follow these instructions in reverse order.

다른 한 분이 해당 안내서를 완성하였습니다.

Cheyenne Heinen

회원 가입일: 03/07/16

358 평판

안내서 3개 작성하였습니다

Marist, Team 1-3, Laflen Spring 2016 Marist, Team 1-3, Laflen Spring 2016 회원

MARS-LAFLEN-S16S1G3

2 회원들

안내서 5개 작성하였습니다

댓글 0개

댓글 쓰기

조회 통계:

24 시간 전: 0

7일 전: 0

30일 전: 0

전체 시간: 369