소개
If the boiler is leaking or needs to be descaled, it can be removed quite easily. This is shown here. Compare also with the similar La Pavoni Espresso Plus.
These instructions may also help with other Saeco models and with coffee makers from Philips and Gaggia—they are all made by the same manufacturer and have a very similar design.
필요한 것
-
-
You can find the model designation SIN017 on the bottom of the machine.
-
Pull off the steam valve knob. To do this, you must pull hard.
-
Remove all attachments, i.e. the water tank and the drip tray.
-
Pull off the Cappucinatore.
-
-
-
Unscrew the two Phillips screws on the back.
-
Lay the machine on its side. Unscrew the two Phillips screws at the front of the underside.
-
Lift off the top cover and set it aside.
-
Do not remove the cover completely. It is connected with many cables. You may be able to disconnect the yellow-green cable from the hot plate, then you have more room to move.
-
-
-
-
Lay the machine on its side. Unscrew the four 8mm cap nuts on the portafilter holder.
-
The bracket is loose, but only goes out the top.
-
-
-
Place the machine upright again.
-
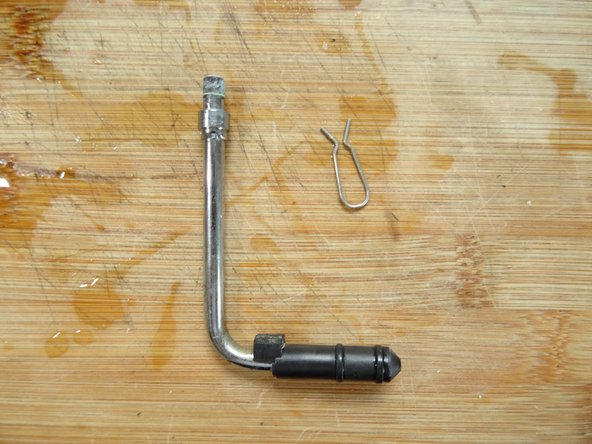
Unscrew the four 8mm screws holding the boiler together with a suitable nut. You may need to counter the nut underneath with an 8mm open-end wrench.
-
Detach the upper half of the boiler. Pay attention to the cables and hoses.
-
Now you can also lift out the bottom part of the boiler completely. Make sure that the holder of the portafilter rests on four nuts.
-
Now is also a good time to check and possibly replace the portafilter seals and the brew screen. Coat the seals with food-grade silicone grease.
-


Work through the steps in reverse order to reassemble your device.
Work through the steps in reverse order to reassemble your device.
다른 한 분이 해당 안내서를 완성하였습니다.
다음 번역가들에게 특별히 감사 드립니다:
100%


이 번역자 분들은 저희가 세상을 수리하는데 동참해 주시는 분입니다! 기여하시겠습니까?
번역 시작하기 ›
팀
