필요한 것
-
-
Two screws hold the part, loosen. A seal becomes free, pick up well, better still replace later.
-
Inside is a feather and a small glass ball. Store carefully.
-
-
-
With a 6mm Allen key (or the key that comes with the machine), the brewing sieve can be unscrewed. It strongly determines the aroma, if it is dirty the coffee tastes bad.
-
-
-
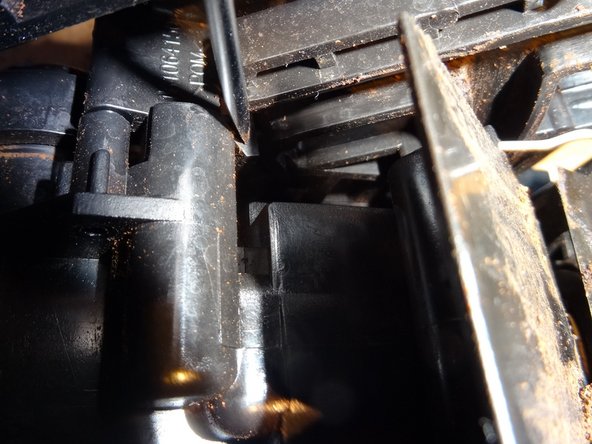
He is held in place by four latches. These impress, e.g. with a screwdriver, then the piston can be pushed down.
-
The new sealing ring is already waiting, but first it has to be cleaned properly.
-
-
-
-
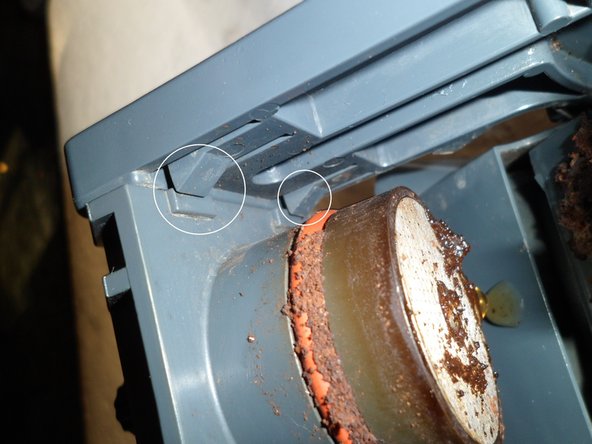
Through the hole on the opposite side of the fixing screw can be solved. The inlet is plugged in and held by a latch, which you have to push away.
-
-
-
Three screws hold the brew groups together, loosen.
-
The whole mechanics can now be broken down into three big parts. The coffee funnel can stay.
-
-
-
That's the trickiest part: you have to lever this lever out of its camp. To do this you drive with a screwdriver between the lever and the carrier and press it really very strong outwards. Now he grabs out - hopefully!
-
-
-
That's why we did it. All parts are thoroughly cleaned. For this purpose, a solution of machine detergent is good. (Use rubber gloves!) Clean all channels with pipe cleaners. The brewing sieve is like new again! Allow to dry well.
-
Then apply new gaskets, in particular to the crema valve and piston and lubricate with food-grade grease.
-
Fat also belongs to the bearings of the rocker arm and into the slides, the piston skirt, as well as into the water inlet
-


Repeat the steps in order to reassemble your device.
Repeat the steps in order to reassemble your device.
다른 3명이 해당 안내서를 완성하였습니다.
다음 번역가들에게 특별히 감사 드립니다:
100%


이 번역자 분들은 저희가 세상을 수리하는데 동참해 주시는 분입니다! 기여하시겠습니까?
번역 시작하기 ›
팀

댓글 5개
i dismantled only the square part to clean the metal filter. A 1mm seal fell out of no where and wasnt sure where to put it back. I placed it back into that L shape piece on top of it and now there is some coffe leaking into the square piece. Please help. I have the diagram to show the exact piece i mentioned but how do i show it here?
I suppose it is the seal visible in Saeco Brühgruppe zerlegen, step 1, picture 3. Be sure to put in the little ball, the spring and the seal, before you tighten the screws on the L-shaped hose. There is another gasket on the axis in step 2, picture 1, perhaps you removed it?
VauWeh -
Once I saw someone put the L-shaped hose in the wrong way. The exit must point into the machine.
VauWeh -