주요 콘텐츠로 건너뛰기

Samsubg Galaxy Tab A 10.1 S-Pen Home Button Replacement

필요한 것

  1. Samsubg Galaxy Tab A 10.1 S-Pen Home Button Replacement, Battery: 1 단계, 이미지 1/2 Samsubg Galaxy Tab A 10.1 S-Pen Home Button Replacement, Battery: 1 단계, 이미지 2/2
    • Remove all external power and turn off the tablet.

    • Insert a plastic opening tool between the screen and rear casing.

    • Pry the screen and rear casing apart.

  2. Samsubg Galaxy Tab A 10.1 S-Pen Home Button Replacement: 2 단계, 이미지 1/3 Samsubg Galaxy Tab A 10.1 S-Pen Home Button Replacement: 2 단계, 이미지 2/3 Samsubg Galaxy Tab A 10.1 S-Pen Home Button Replacement: 2 단계, 이미지 3/3
    • Remove the three green pieces of tape covering the white, black, and gold ribbon cables.

    • Use a spudger to flip up the retaining flap on the three ribbon cable ZIF sockets.

    • Pull the ribbon cables out of the sockets.

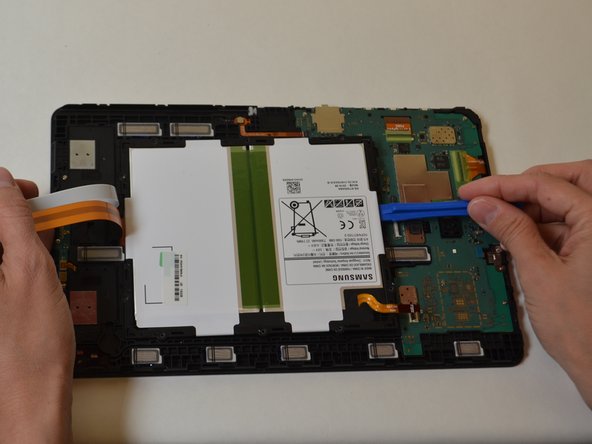
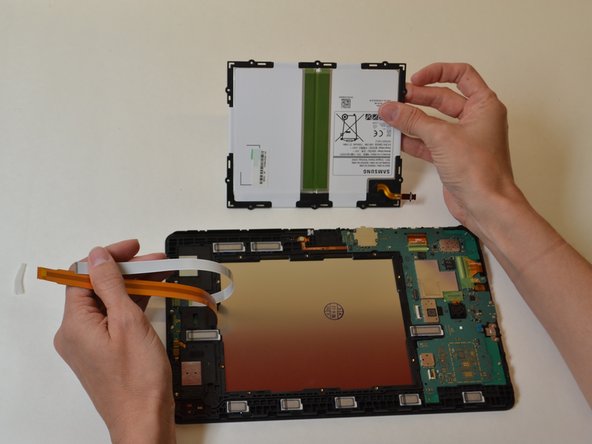
  3. Samsubg Galaxy Tab A 10.1 S-Pen Home Button Replacement: 3 단계, 이미지 1/3 Samsubg Galaxy Tab A 10.1 S-Pen Home Button Replacement: 3 단계, 이미지 2/3 Samsubg Galaxy Tab A 10.1 S-Pen Home Button Replacement: 3 단계, 이미지 3/3
    • Remove the ten 4mm Phillips #000 screws from the battery.

    • Use a plastic opening tool to pry up the battery.

    • Remove the battery.

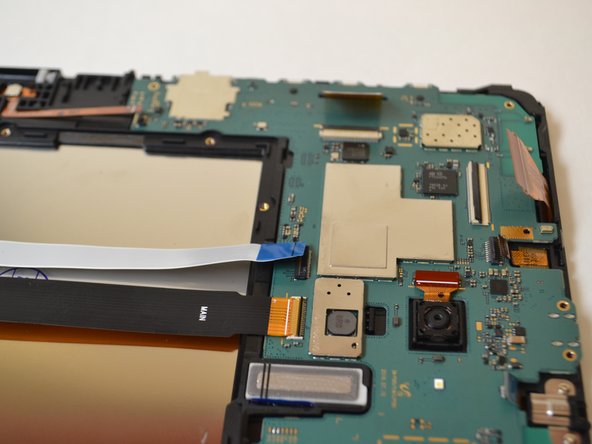
  4. Samsubg Galaxy Tab A 10.1 S-Pen Home Button Replacement, Home Button: 4 단계, 이미지 1/2 Samsubg Galaxy Tab A 10.1 S-Pen Home Button Replacement, Home Button: 4 단계, 이미지 2/2
    • Remove the green protective tape from the three ZIF connectors on the motherboard.

    • Use a spudger to flip up the retaining flap on the three ribbon cable ZIF sockets.

    • Pull the ribbon cables out of their sockets.

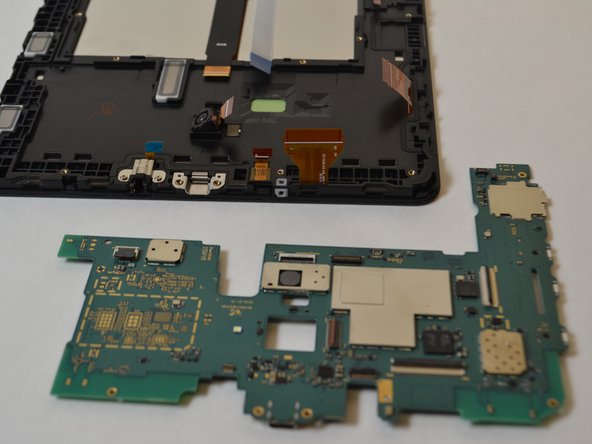
  5. Samsubg Galaxy Tab A 10.1 S-Pen Home Button Replacement: 5 단계, 이미지 1/2 Samsubg Galaxy Tab A 10.1 S-Pen Home Button Replacement: 5 단계, 이미지 2/2
    • Remove the six 4mm Phillips #000 screws from the motherboard.

    • Remove the motherboard.

  6. Samsubg Galaxy Tab A 10.1 S-Pen Home Button Replacement: 6 단계, 이미지 1/2 Samsubg Galaxy Tab A 10.1 S-Pen Home Button Replacement: 6 단계, 이미지 2/2
    • Insert a plastic opening tool between the screen and bezel.

    • Slide the plastic opening tool around the perimeter while applying a prying motion.

    • Remove the screen from the display.

    • Applying heat may be needed to loosed the glue.

  7. Samsubg Galaxy Tab A 10.1 S-Pen Home Button Replacement: 7 단계, 이미지 1/2 Samsubg Galaxy Tab A 10.1 S-Pen Home Button Replacement: 7 단계, 이미지 2/2
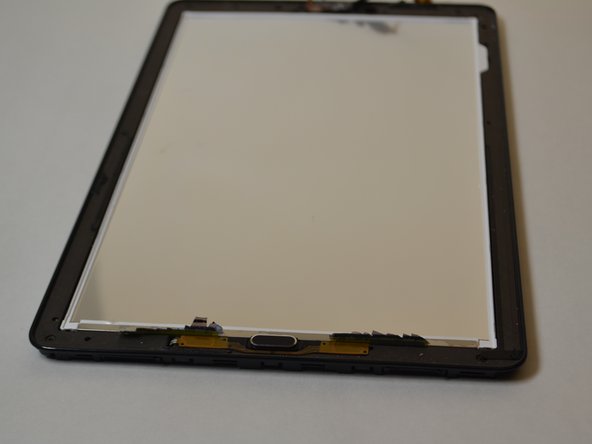
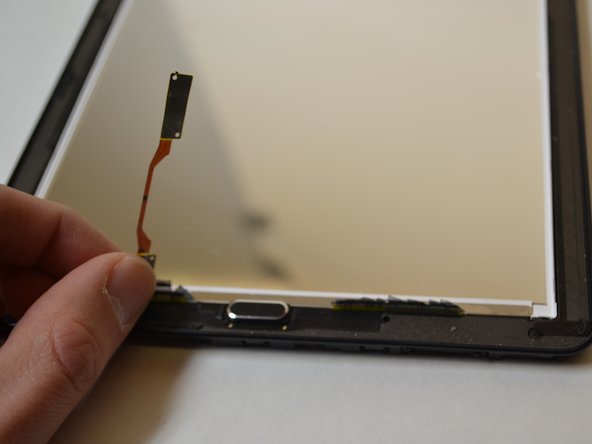
    • Locate the Home button on the front of the panel and carefully lift the gold ribbon surrounding it from RIGHT to LEFT.

  8. Samsubg Galaxy Tab A 10.1 S-Pen Home Button Replacement: 8 단계, 이미지 1/1
    • Using your Phillips #000 screwdriver Remove the two 4mm Phillips #000 screws from the home button.

  9. Samsubg Galaxy Tab A 10.1 S-Pen Home Button Replacement: 9 단계, 이미지 1/1
    • Remove the home button by sliding it to the left or right while pulling up.

결론

To reassemble your device, follow these instructions in reverse order.

다른 한 분이 해당 안내서를 완성하였습니다.

Guneet Bawa

회원 가입일: 04/12/18

679 평판

안내서 4개 작성하였습니다

UW Tacoma, Team S1-G5, Liner Spring 2018 UW Tacoma, Team S1-G5, Liner Spring 2018 회원

UWT-LINER-S18S1G5

5 회원들

안내서 8개 작성하였습니다

댓글 0개

댓글 쓰기

조회 통계:

24 시간 전: 1

7일 전: 5

30일 전: 20

전체 시간: 1,976