이 버전에는 잘못된 편집 사항이 있을 수 있습니다. 최신 확인된 스냅샷으로 전환하십시오.
필요한 것
-
이 단계는 번역되지 않았습니다. 번역을 도와주십시오
-
Use Phillips 0 Screwdriver to remove two (2), 10 mm rear screws.
-
Use the iFixit opening tool to help separate the top plastic casing from the bottom metal casing.
-
-
이 단계는 번역되지 않았습니다. 번역을 도와주십시오
-
Use Phillips 0 screwdriver to remove two (2), 10 mm screws from the plastic cover.
-
Remove plastic cover from board.
-
-
이 단계는 번역되지 않았습니다. 번역을 도와주십시오
-
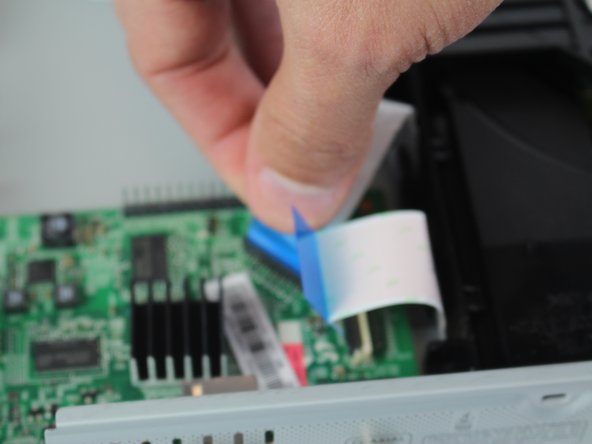
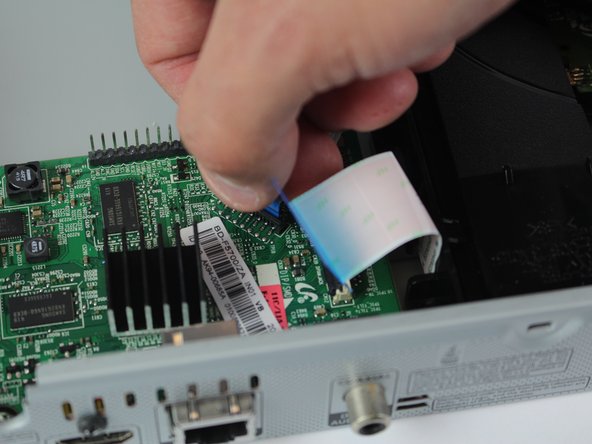
Pull upward on back of the black and white wire to dislocate the black tab piece from device.
-
To remove the cord from the device entirely, press on the white tab in the device and gently pull.
-
-
이 단계는 번역되지 않았습니다. 번역을 도와주십시오
-
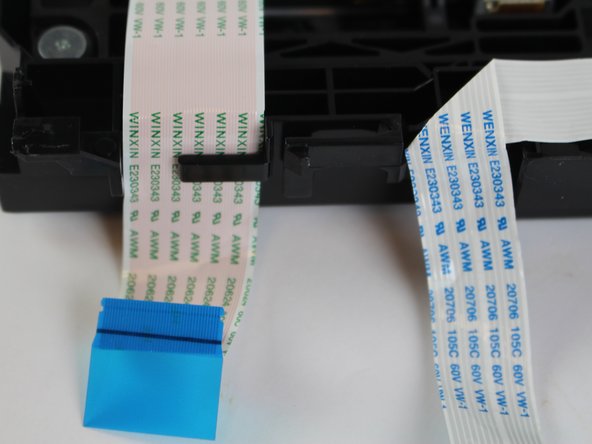
Insert the iFixit Opening tool into the black tab on the power cord, and use leverage to open the black tab.
-
Pull the tab off the wire so that it can be placed on the replacement cord.
-
-
-
이 단계는 번역되지 않았습니다. 번역을 도와주십시오
-
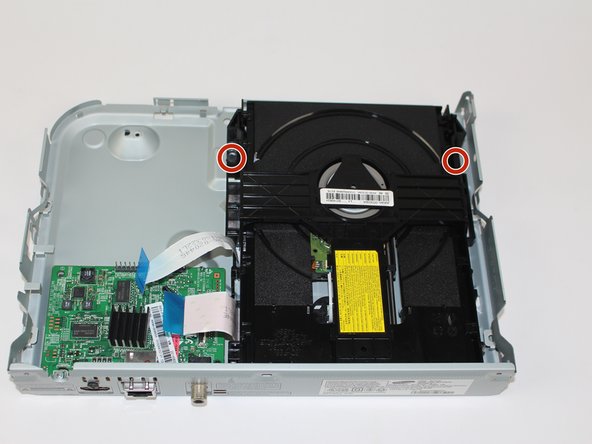
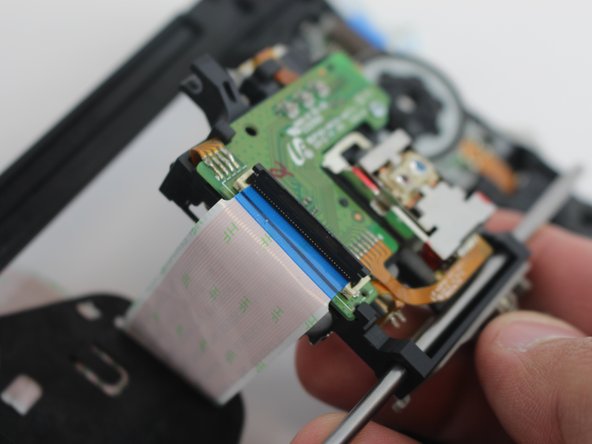
Firmly grip the hard plastic tab attached to the base and pull upwards.
-
-
이 단계는 번역되지 않았습니다. 번역을 도와주십시오
-
Pinch both tabs on the side of the disc tray, push towards the front, and lift the disc tray out to remove.
-
-
이 단계는 번역되지 않았습니다. 번역을 도와주십시오
-
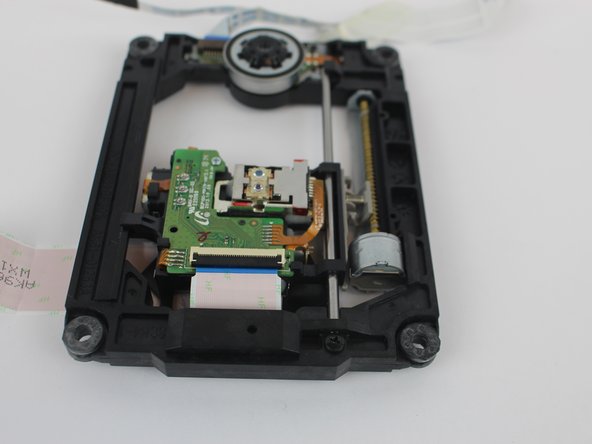
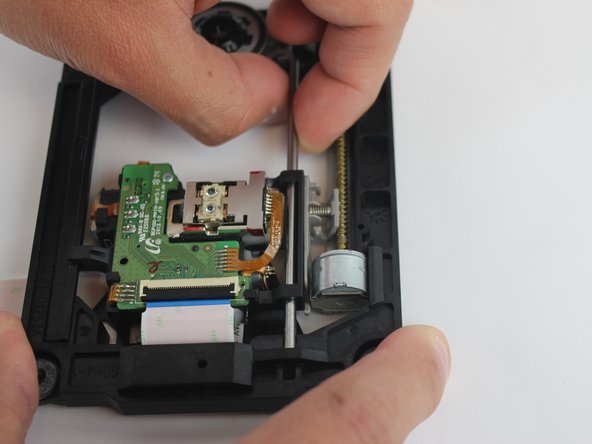
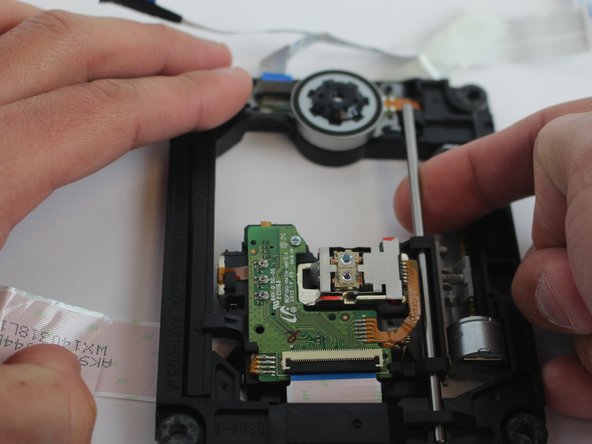
Remove the 10 mm screw using a Phillips #1 screwdriver.
-
Remove the small metal bar by pulling it outwards.
-
-
이 단계는 번역되지 않았습니다. 번역을 도와주십시오
-
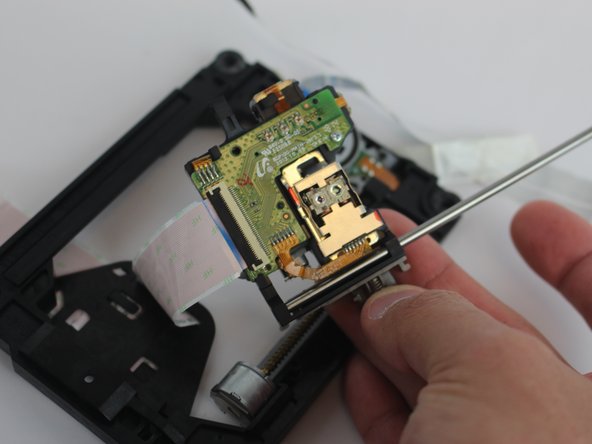
Flip the disc tray over so the laser points downward.
-
Pull the disc reader out of the disc tray.
-


다른 2명이 해당 안내서를 완성하였습니다.
팀

USF Tampa, Team S16-G4, Boczar Spring 2018 USF Tampa, Team S16-G4, Boczar Spring 2018 회원
USFT-BOCZAR-S18S16G4
4 회원들
안내서 4개 작성하였습니다