주요 콘텐츠로 건너뛰기

Samsung Blackjack Motherboard Replacement

필요한 것

  1. Samsung Blackjack Motherboard Replacement, Back Phone Casing: 1 단계, 이미지 1/2 Samsung Blackjack Motherboard Replacement, Back Phone Casing: 1 단계, 이미지 2/2
    • Use the spudger to remove the rubber stoppers from the top of the cover.

    • Use the Phillips 00 screw driver to remove the screws from each of the four corners and the two on sides (six total).

  2. Samsung Blackjack Motherboard Replacement: 2 단계, 이미지 1/3 Samsung Blackjack Motherboard Replacement: 2 단계, 이미지 2/3 Samsung Blackjack Motherboard Replacement: 2 단계, 이미지 3/3
    • Use the spudger to loosen and separate the front and back covers.

    • Pick up the back cover once loosened.

    • The front and back covers will be attached to each other by a gold wire.

    • Remove the gold wire connecting the back cover to the motherboard to completely separate the covers.

  3. Samsung Blackjack Motherboard Replacement, Volume/Scroll Wheel: 3 단계, 이미지 1/2 Samsung Blackjack Motherboard Replacement, Volume/Scroll Wheel: 3 단계, 이미지 2/2
    • Use the screwdriver to unscrew the four screws that hold the scroll wheel in place.

    • Use your fingers to remove the scroll wheel and the metal plate that it is attached to.

  4. Samsung Blackjack Motherboard Replacement: 4 단계, 이미지 1/2 Samsung Blackjack Motherboard Replacement: 4 단계, 이미지 2/2
    • Use the spudger to unsnap the gold wire connection that connects the back casing to the logic board.

    • Use the spudger to unsnap the gold wire connection that connects the scroll wheel assembly to the logic board.

  5. Samsung Blackjack Motherboard Replacement, Motherboard: 5 단계, 이미지 1/2 Samsung Blackjack Motherboard Replacement, Motherboard: 5 단계, 이미지 2/2
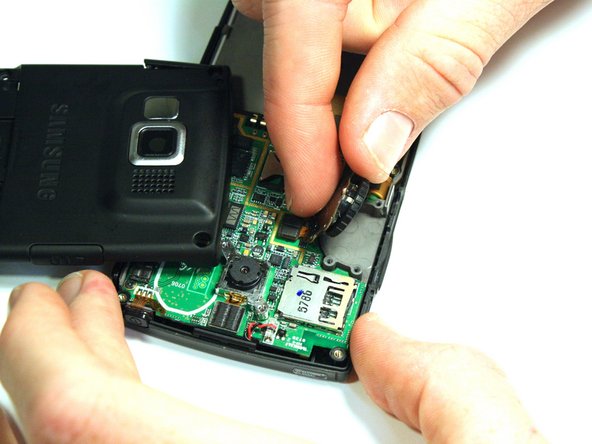
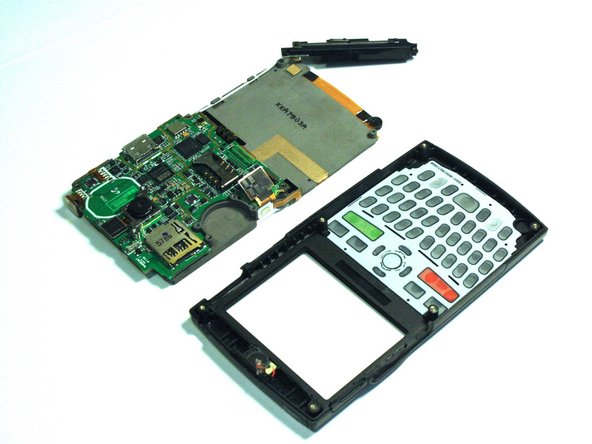
    • Use the spudger to unsnap the black rectangular connection from the motherboard.

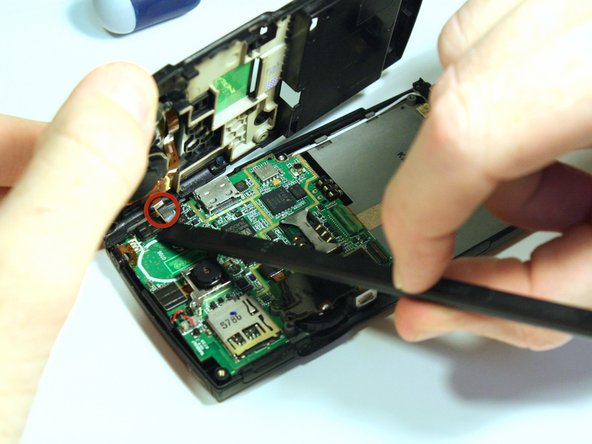
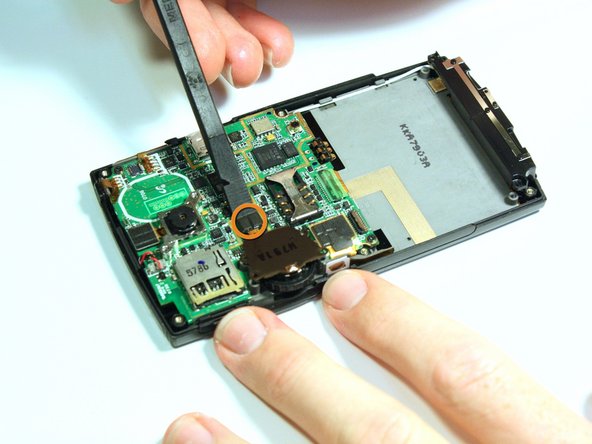
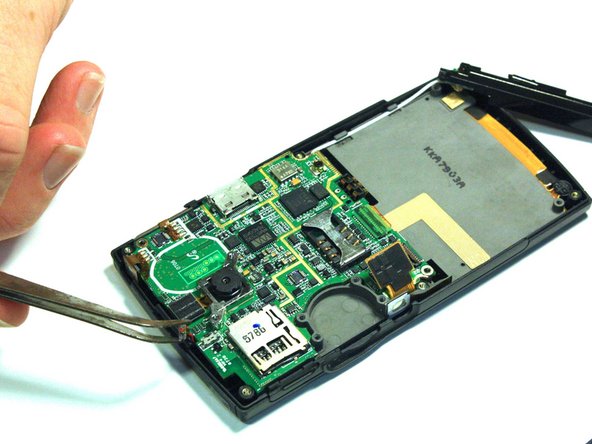
    • Use the Phillips 00 screwdriver to remove all of the screws that hold the motherboard in place.

  6. Samsung Blackjack Motherboard Replacement: 6 단계, 이미지 1/2 Samsung Blackjack Motherboard Replacement: 6 단계, 이미지 2/2
    • Use the tweezers to unsnap the connection between the motherboard and the speaker. The speaker is attached to the front casing.

  7. Samsung Blackjack Motherboard Replacement: 7 단계, 이미지 1/2 Samsung Blackjack Motherboard Replacement: 7 단계, 이미지 2/2
    • Once all of the connections have been snapped off of the motherboard, the motherboard can be removed.

    • Lift up on the motherboard and it will come free of the front casing.

결론

To reassemble your device, follow these instructions in reverse order.

Kristin Manna

회원 가입일: 10/22/12

29 평판

안내서 10개 작성하였습니다

Clemson, Team 14-4, Benson Fall 2012 Clemson, Team 14-4, Benson Fall 2012 회원

CLEM-BENSON-F12S14G4

3 회원들

안내서 14개 작성하였습니다

댓글 0개

댓글 쓰기

조회 통계:

24 시간 전: 0

7일 전: 0

30일 전: 0

전체 시간: 471