이 버전에는 잘못된 편집 사항이 있을 수 있습니다. 최신 확인된 스냅샷으로 전환하십시오.
필요한 것
-
이 단계는 번역되지 않았습니다. 번역을 도와주십시오
-
Remove the back cover by pressing on the bottom section of the phone and sliding the bottom piece downward.
-
Lift up the back cover.
-
-
이 단계는 번역되지 않았습니다. 번역을 도와주십시오
-
Insert the spudger underneath the bottom section of the phone.
-
Gently lift and push the spudger to slide the bottom section down to reveal two hidden screws.
-
-
-
이 단계는 번역되지 않았습니다. 번역을 도와주십시오
-
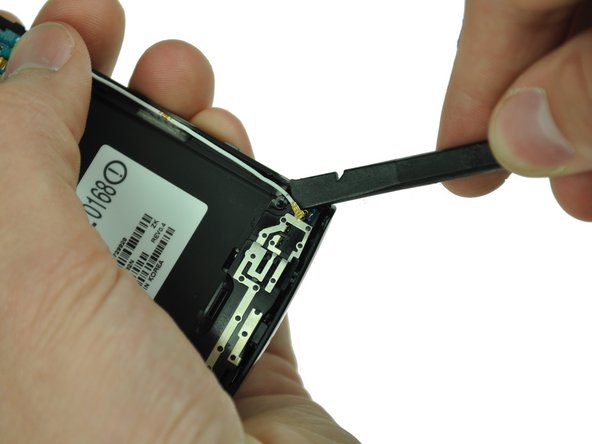
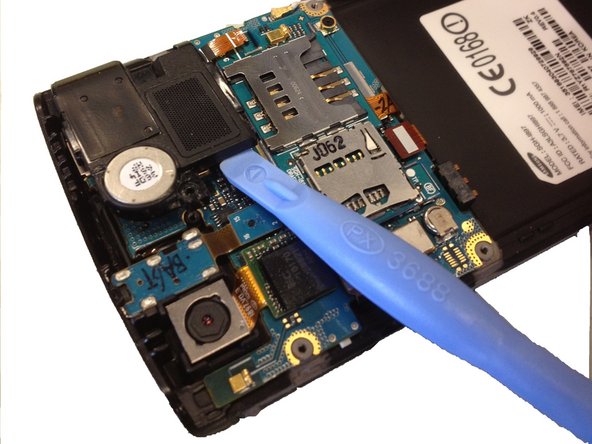
Starting at a bottom corner, use the spudger to separate the rear case from the front display.
-
Move the spudger towards the top on both sides. The plastic opening tool is easier to use for this step.
-
-
이 단계는 번역되지 않았습니다. 번역을 도와주십시오
-
Use a spudger tool to pry up the antenna cable from the connector on the motherboard.
-
Pry up the other end of the cable from the connector on the antenna array.
-
-
이 단계는 번역되지 않았습니다. 번역을 도와주십시오
-
Use the Phillips 00 screwdriver to remove the single screw holding the speaker assembly to the LCD.
-
-
이 단계는 번역되지 않았습니다. 번역을 도와주십시오
-
Pull out the ribbon cable.
-
Use a spudger or plastic opening tool to lift up the speaker, and use your hands to remove it.
-
-
이 단계는 번역되지 않았습니다. 번역을 도와주십시오
-
Lift up the black NEC chip with attached ribbon cable using either a spudger or plastic opening tool.
-
Gently lift the camera assembly out of the plastic housing.
-
-
이 단계는 번역되지 않았습니다. 번역을 도와주십시오
-
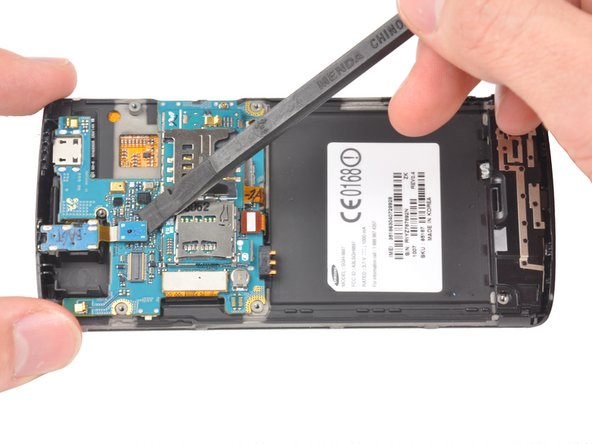
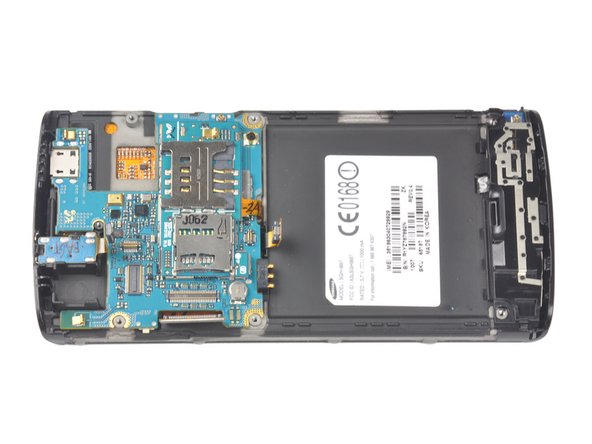
Using the spudger slide the tool under the three highlighted connectors to begin disconnection
-
Excluding the motherboard socket, pry straight from up under the connectors, Therefore ending disconnection.
-
-
이 단계는 번역되지 않았습니다. 번역을 도와주십시오
-
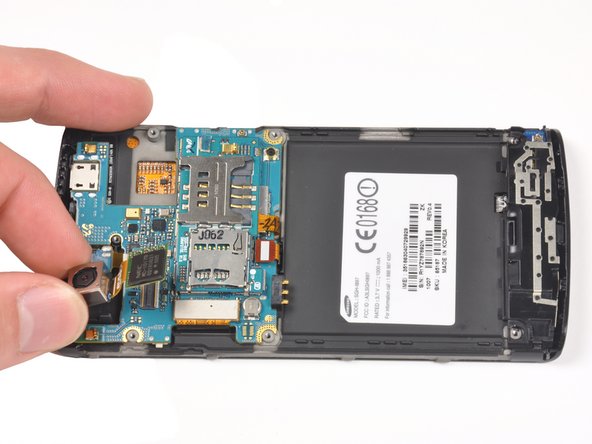
Use your fingers to carefully lift up the Samsung Capivate's Motherboard from the assembly.
-


다른 14명이 해당 안내서를 완성하였습니다.
팀

Cal Poly, Team 20-25, Maness Fall 2011 Cal Poly, Team 20-25, Maness Fall 2011 회원
CPSU-MANESS-F11S20G25
3 회원들
안내서 9개 작성하였습니다
댓글 한 개
hi, I have the captivate and I cannot get it to charge, i have had the charging port connection repaired in the past, but now I cannot get it to charge again