소개
This guide will help you change the battery in your Chromebook. It requires you to take the Chromebook apart, since the battery is located inside.
필요한 것
-
-
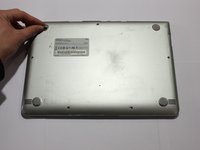
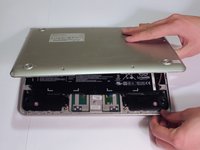
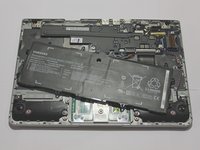
Lay the Chromebook down so that the bottom cover is facing up.
-
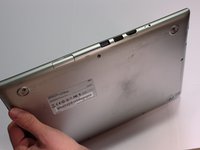
Remove the rubber feet on the four corners of the Chromebook in order to get to the screws underneath. They are stuck on with an adhesive.
-
-
-
-
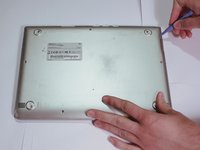
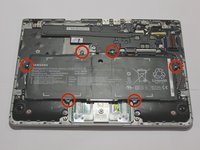
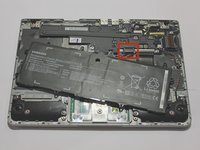
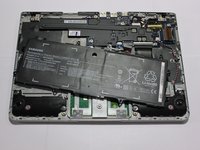
Remove six 3.5 mm screws holding the battery using a Phillips #00 screwdriver.
-
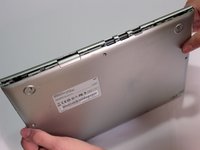
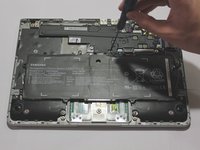
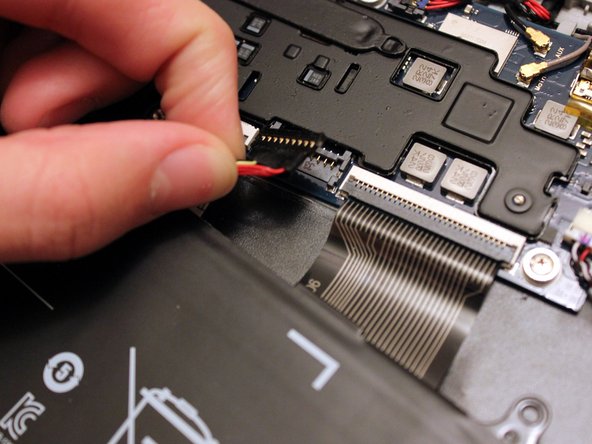
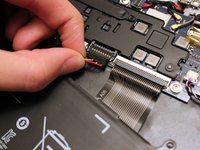
Pull out the battery partway in order to easily get to the battery connector.
-


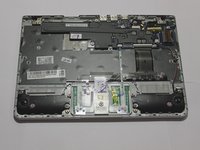
To reassemble your device, follow these instructions in reverse order.
To reassemble your device, follow these instructions in reverse order.
다른 26명이 해당 안내서를 완성하였습니다.
팀

댓글 7개
I have replaced my battery 2x and I can not charge them. They work when I get them and they keep the charge while it’s plugged in, but will not increase the charge . Any ideas what I can do?
It could be the AC power adapter is not functioning correctly. You may want to double check the charging port, too. (Samsung Chromebook Series 3 Charging Port Replacement)
I had a similar problem and it turned out I had not properly attached the battery connector -- the instruction is a little misleading. You do have to get those pins into the connector, which requires some horizontal movement. Here's a cute trick: plug in the AC adapter before you plug in the battery (and with the back still off -- plug in the AC directly, not through the hole in the case.) Because the battery is not connected, you'll see the green light. When you've made the connection, charging will begin and the light will change to yellow. So just fiddle -- gently -- with the battery connector until you see that yellow.
As an aside… When removing the back, the little spring-loaded “door” came loose and fell out before I was able to see how it was attached. I figured it out, but would love to have additional instructions for items such as this. I didn’t find a teardown for this model, but will keep looking.
Thanks for this contribution.
Joan Clark - 답글
The entire process was much simpler than I had imagined it would be. I was a little concerned about applying a lot of pressure to remove some of the screws. Otherwise, it came apart like the back of a cell phone, and pushed back together just as easily. Anyone know of a worth while battery recycling center?
Laro Nicol - 답글