주요 콘텐츠로 건너뛰기

Samsung Chromebook Series 3 Charging Port Replacement

필요한 것

  1. Samsung Chromebook Series 3 Charging Port Replacement, Bottom Cover: 1 단계, 이미지 1/3 Samsung Chromebook Series 3 Charging Port Replacement, Bottom Cover: 1 단계, 이미지 2/3 Samsung Chromebook Series 3 Charging Port Replacement, Bottom Cover: 1 단계, 이미지 3/3
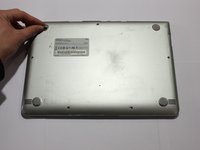
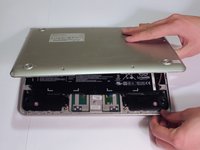
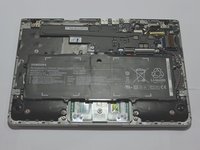
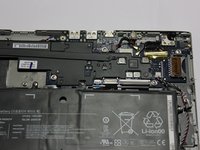
    • Lay the Chromebook down so that the bottom cover is facing up.

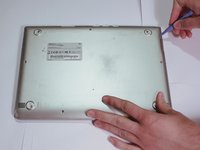
    • Remove the rubber feet on the four corners of the Chromebook in order to get to the screws underneath. They are stuck on with an adhesive.

  2. Samsung Chromebook Series 3 Charging Port Replacement: 2 단계, 이미지 1/3 Samsung Chromebook Series 3 Charging Port Replacement: 2 단계, 이미지 2/3 Samsung Chromebook Series 3 Charging Port Replacement: 2 단계, 이미지 3/3
    • Remove the nine 4.7 mm screws on the bottom cover using a Phillips #00 screwdriver.

  3. Samsung Chromebook Series 3 Charging Port Replacement: 3 단계, 이미지 1/3 Samsung Chromebook Series 3 Charging Port Replacement: 3 단계, 이미지 2/3 Samsung Chromebook Series 3 Charging Port Replacement: 3 단계, 이미지 3/3
    • Pry up the plastic strip on the back of the Chromebook using a plastic opening tool.

    • It is not necessary to remove it completely. It just needs to be separated from the bottom cover.

  4. Samsung Chromebook Series 3 Charging Port Replacement: 4 단계, 이미지 1/3 Samsung Chromebook Series 3 Charging Port Replacement: 4 단계, 이미지 2/3 Samsung Chromebook Series 3 Charging Port Replacement: 4 단계, 이미지 3/3
    • Pry off the bottom cover using a plastic opening tool.

  5. Samsung Chromebook Series 3 Charging Port Replacement, Charging Port: 5 단계, 이미지 1/3 Samsung Chromebook Series 3 Charging Port Replacement, Charging Port: 5 단계, 이미지 2/3 Samsung Chromebook Series 3 Charging Port Replacement, Charging Port: 5 단계, 이미지 3/3
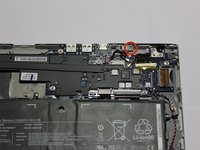
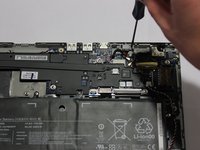
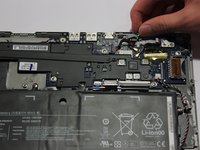
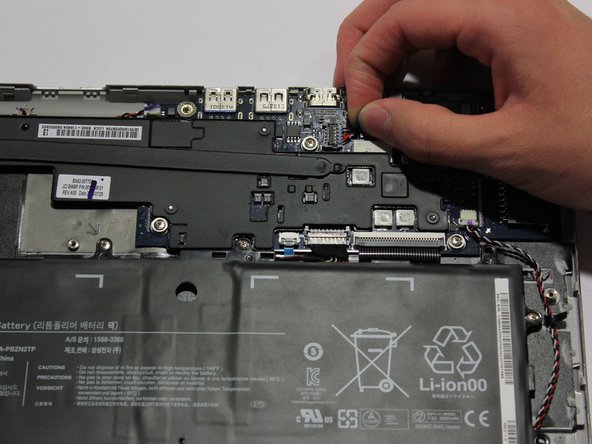
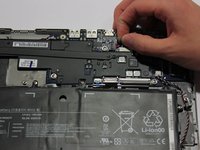
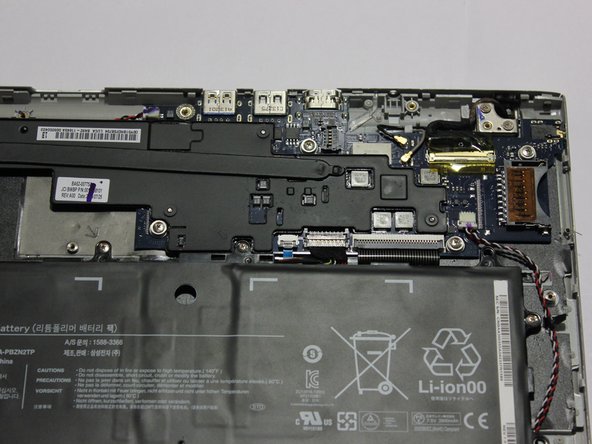
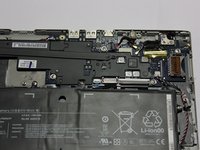
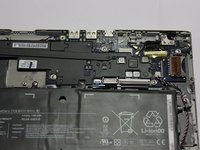
    • Unscrew the 3.4 mm screw holding down the charging port module using a Phillips #00 screwdriver.

  6. Samsung Chromebook Series 3 Charging Port Replacement: 6 단계, 이미지 1/2 Samsung Chromebook Series 3 Charging Port Replacement: 6 단계, 이미지 2/2
    • Remove the metal cover above the charging port module by pulling up and moving it slightly left.

  7. Samsung Chromebook Series 3 Charging Port Replacement: 7 단계, 이미지 1/3 Samsung Chromebook Series 3 Charging Port Replacement: 7 단계, 이미지 2/3 Samsung Chromebook Series 3 Charging Port Replacement: 7 단계, 이미지 3/3
    • Pull out the charging port module connector by pulling directly up on it.

    • When reassembling, reconnect by positioning the connector directly above its original position and pushing down.

  8. Samsung Chromebook Series 3 Charging Port Replacement: 8 단계, 이미지 1/2 Samsung Chromebook Series 3 Charging Port Replacement: 8 단계, 이미지 2/2
    • You can now pull out the charging port module.

결론

To reassemble your device, follow these instructions in reverse order.

다른 10명이 해당 안내서를 완성하였습니다.

Andrey Radchishin

회원 가입일: 01/21/15

1,833 평판

안내서 4개 작성하였습니다

UWT Liner: Group 1 UWT Liner: Group 1 회원

Community

5 회원들

안내서 8개 작성하였습니다

댓글 2개

What is the reference number for this charging port?

How to find it on ebay/other?

rafal - 답글

If you search "Samsung Chromebook XE303C12" together with "Charge Port" or "Charging Port" or "DC Jack" you should be able to find it! :)

Andrey Radchishin -

댓글 쓰기

조회 통계:

24 시간 전: 2

7일 전: 10

30일 전: 51

전체 시간: 17,419