이 버전에는 잘못된 편집 사항이 있을 수 있습니다. 최신 확인된 스냅샷으로 전환하십시오.
필요한 것
-
이 단계는 번역되지 않았습니다. 번역을 도와주십시오
-
Using the spudger, remove the four 1/2 inch skid pads from the back of the laptop.
-
-
-
이 단계는 번역되지 않았습니다. 번역을 도와주십시오
-
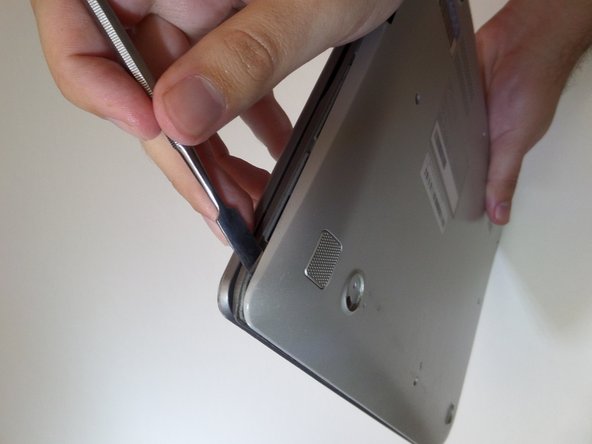
Starting at the center front of the laptop, insert the metal spudger between the keyboard panel and the bottom panel, separating the bottom panel from the laptop.
-
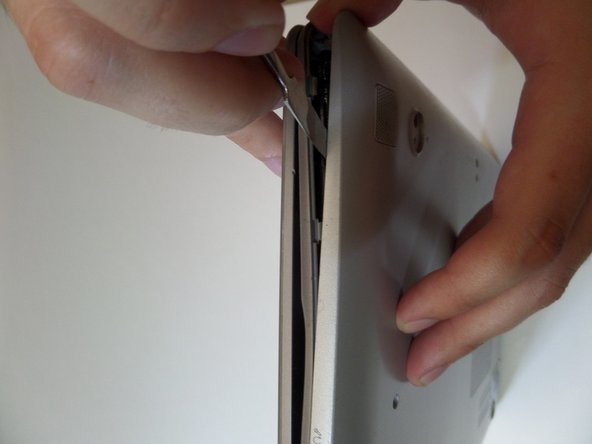
Continue prying around the sides to release more brackets.
-
-
이 단계는 번역되지 않았습니다. 번역을 도와주십시오
-
After deconnecting all the brackets, pull the back panel away from the laptop.
-
-
이 단계는 번역되지 않았습니다. 번역을 도와주십시오
-
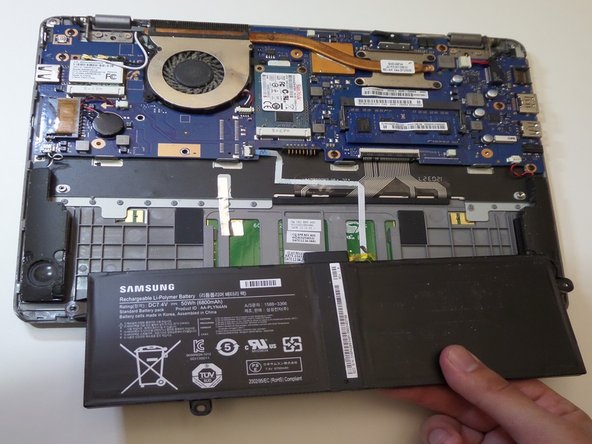
Remove the four 3mm screws holding the battery with the J0 screwdriver.
-
-
이 단계는 번역되지 않았습니다. 번역을 도와주십시오
-
Lift the battery up at an angle to disconnect the battery from the motherboard, then pull it away from the laptop.
-


다른 2명이 해당 안내서를 완성하였습니다.
팀

CSU Fullerton, Team S2-G7, Bruce Fall 2017 CSU Fullerton, Team S2-G7, Bruce Fall 2017 회원
CSUF-BRUCE-F17S2G7
3 회원들
안내서 14개 작성하였습니다