주요 콘텐츠로 건너뛰기
수리 커뮤니티 가입 - 계정 만들기

Samsung Exhibit II 4G Motherboard Replacement

필요한 것

  1. Samsung Exhibit II 4G Motherboard Replacement, Battery: 1 단계, 이미지 1개 중 1개
    • Insert plastic opening tool under back cover.

    • Apply pressure on tool while using a downward motion to pop off back cover.

  2. Samsung Exhibit II 4G Motherboard Replacement: 2 단계, 이미지 1개 중 1개
    • Insert plastic opening tool under battery.

    • Pry battery out.

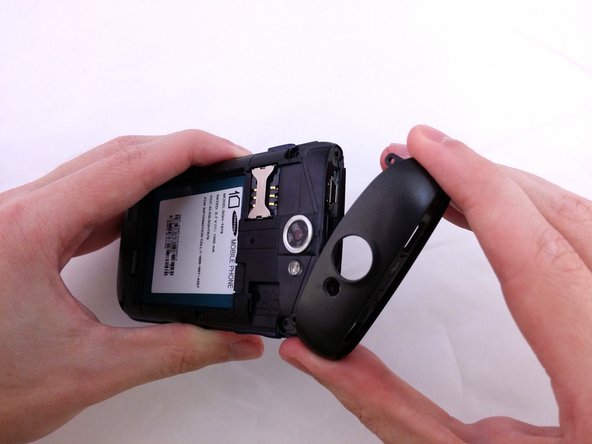
  3. Samsung Exhibit II 4G Motherboard Replacement, Top Rear Housing Cover: 3 단계, 이미지 1개 중 1개
    • Insert plastic opening tool under back cover.

    • Pry the top cover upward to remove it from the phone.

  4. Samsung Exhibit II 4G Motherboard Replacement: 4 단계, 이미지 1개 중 1개
    • Remove the top cover.

  5. Samsung Exhibit II 4G Motherboard Replacement: 5 단계, 이미지 2개 중 1개 Samsung Exhibit II 4G Motherboard Replacement: 5 단계, 이미지 2개 중 2개
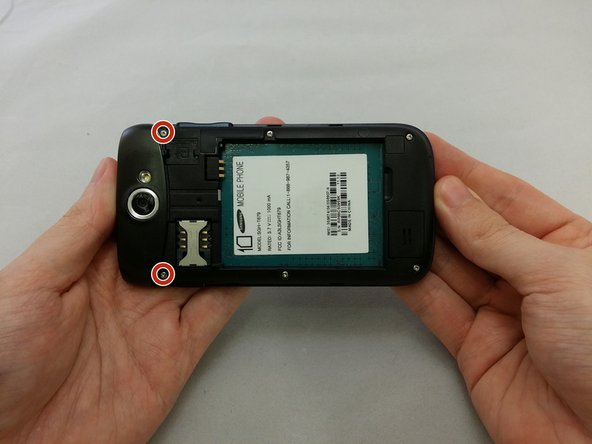
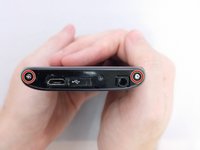
    • Remove the four 3.8mm Phillips #000 screws securing the top cover to the back assembly.

    • Two screws from top and two screws from back.

  6. Samsung Exhibit II 4G Motherboard Replacement: 6 단계, 이미지 3개 중 1개 Samsung Exhibit II 4G Motherboard Replacement: 6 단계, 이미지 3개 중 2개 Samsung Exhibit II 4G Motherboard Replacement: 6 단계, 이미지 3개 중 3개
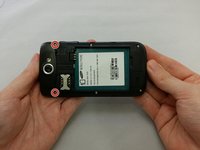
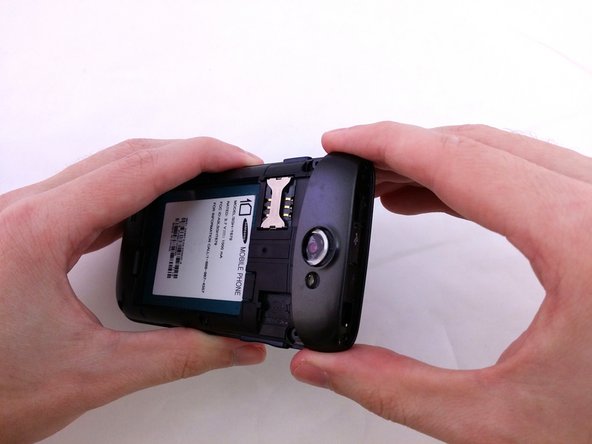
    • Insert plastic opening tool under top cover.

    • Using hand slide top cover away from phone.

  7. Samsung Exhibit II 4G Motherboard Replacement, Midframe: 7 단계, 이미지 1개 중 1개
    • Remove the four 3.8mm Phillips #000 screws securing the back assembly to the phone.

  8. Samsung Exhibit II 4G Motherboard Replacement: 8 단계, 이미지 1개 중 1개
    • Insert plastic opening tool between back assembly and phone.

    • Pry the back assembly away from phone.

  9. Samsung Exhibit II 4G Motherboard Replacement: 9 단계, 이미지 1개 중 1개
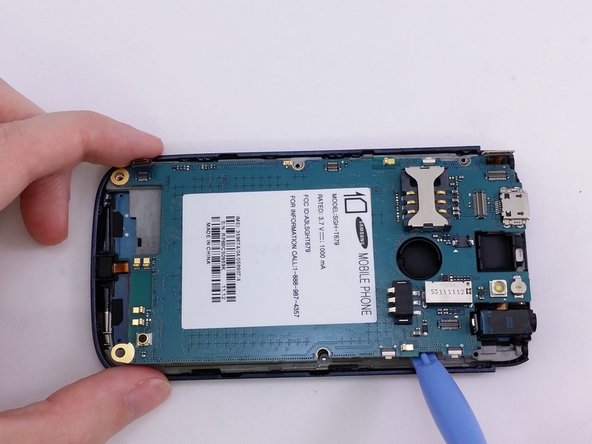
    • With plastic opening tool continue prying around the edge of the back assembly.

  10. Samsung Exhibit II 4G Motherboard Replacement: 10 단계, 이미지 1개 중 1개
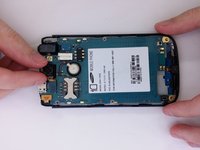
    • Pull back panel assembly away from main body.

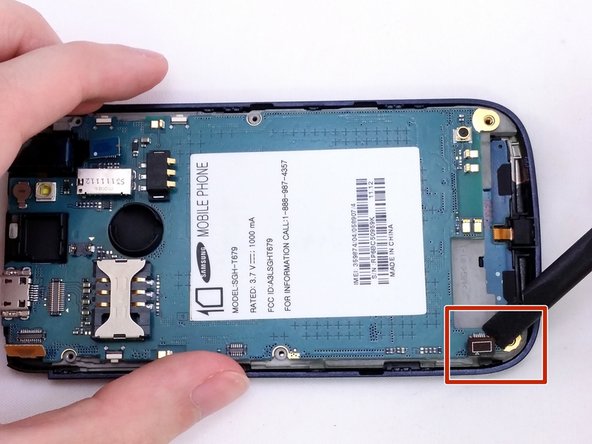
  11. Samsung Exhibit II 4G Motherboard Replacement, Vibration Motor: 11 단계, 이미지 2개 중 1개 Samsung Exhibit II 4G Motherboard Replacement, Vibration Motor: 11 단계, 이미지 2개 중 2개
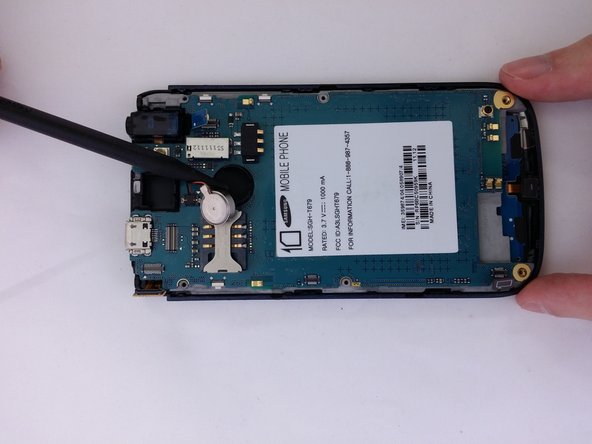
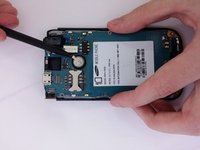
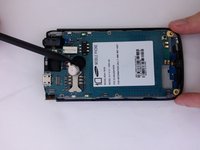
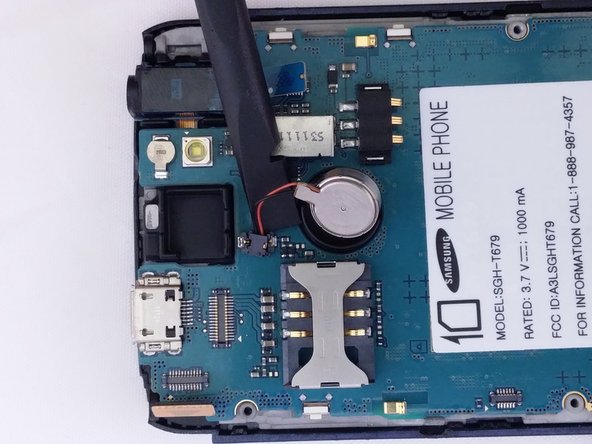
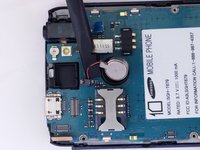
    • Insert the pointed end of a spudger into the gap in the round housing frame.

    • Using spudger to remove vibrator remove from the adhesive.

  12. Samsung Exhibit II 4G Motherboard Replacement: 12 단계, 이미지 2개 중 1개 Samsung Exhibit II 4G Motherboard Replacement: 12 단계, 이미지 2개 중 2개
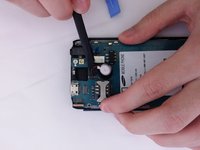
    • Use the flat end of a spudger to remove vibrator cable from motherboard.

  13. Samsung Exhibit II 4G Motherboard Replacement, Rear Facing Camera: 13 단계, 이미지 1개 중 1개
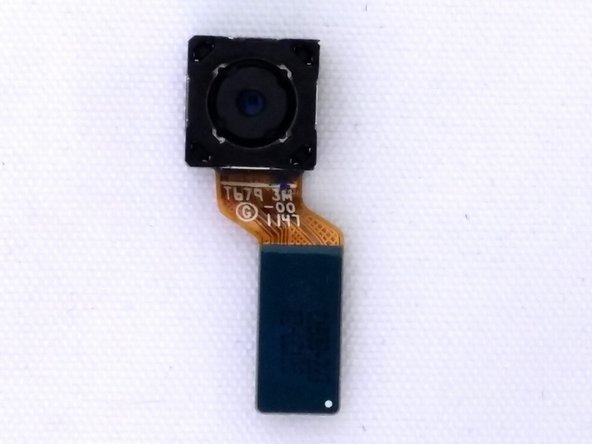
    • Use the flat end of a spudger to disconnect the camera assembly cable.

  14. Samsung Exhibit II 4G Motherboard Replacement: 14 단계, 이미지 2개 중 1개 Samsung Exhibit II 4G Motherboard Replacement: 14 단계, 이미지 2개 중 2개
    • Remove camera from square housing.

  15. Samsung Exhibit II 4G Motherboard Replacement, Motherboard: 15 단계, 이미지 3개 중 1개 Samsung Exhibit II 4G Motherboard Replacement, Motherboard: 15 단계, 이미지 3개 중 2개 Samsung Exhibit II 4G Motherboard Replacement, Motherboard: 15 단계, 이미지 3개 중 3개
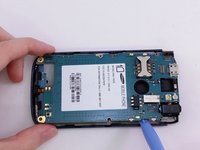
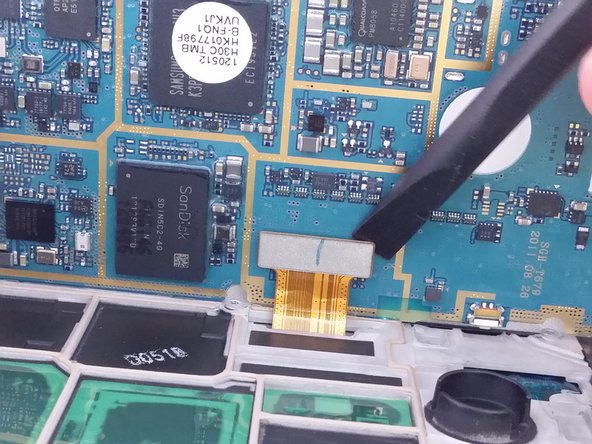
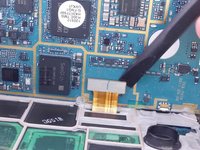
    • Insert the spudger under each corner ribbon cable and lift them out of the way.

    • Use care when lifting the ribbon cables.

    • Insert a plastic pry tool into the gap between motherboard and base of phone

  16. Samsung Exhibit II 4G Motherboard Replacement: 16 단계, 이미지 3개 중 1개 Samsung Exhibit II 4G Motherboard Replacement: 16 단계, 이미지 3개 중 2개 Samsung Exhibit II 4G Motherboard Replacement: 16 단계, 이미지 3개 중 3개
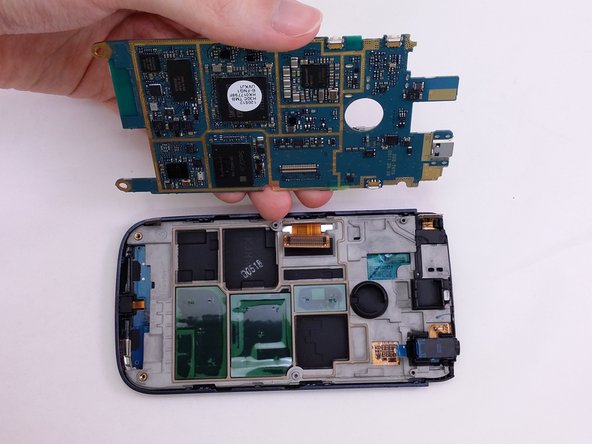
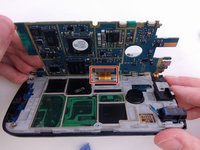
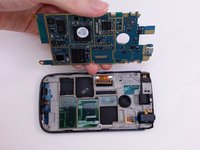
    • Tilt the motherboard up carefully.

    • Be sure not to damage the ribbon cable still connected at the bottom of the motherboard.

    • Use a spudger to pry the connector from the socket on the motherboard.

    • Lift motherboard from frame.

결론

To reassemble your device, follow these instructions in reverse order.

다른 3명이 해당 안내서를 완성하였습니다.

작성자

3다른 기여자 명과 함께

David R

회원 가입일: 07/20/15

1,152 평판

안내서 9개를 작성함

0가이드 댓글

댓글 쓰기

조회 통계:

지난 24시간: 0

지난 7일: 8

지난 30일: 38

전체 시간: 877