소개
Use this guide to replace a worn-out or dead battery in your Galaxy Buds Live. The photos for this guide were taken with the left earbud, but the procedure is the same for both buds.
Galaxy Buds Live are rated IPX2 for ingress-resistance, meaning they are splash resistant. After this repair, they may lose their water protection.
필요한 것
-
-
Place the tip of an opening pick between the plastic cases on the curved inside of the earbud.
-
Insert the pick at a steep angle.
-
-
-
Keep the opening pick at a steep angle and slide it along the top to loosen the case.
-
-
-
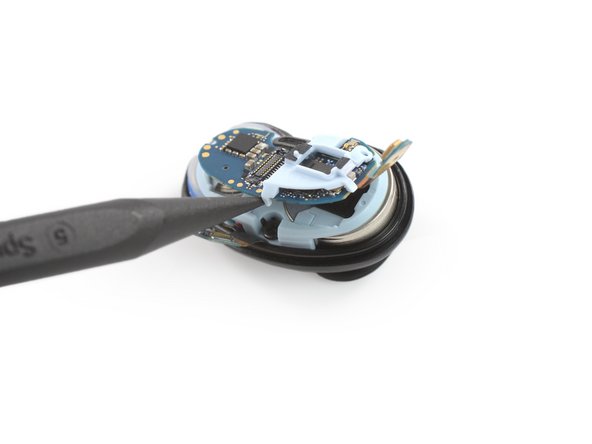
Use the pointed end of a spudger to lift up and disconnect the main connector.
-
-
-
-
Use a spudger to gently lift up the motherboard.
-
Remove the motherboard.
-
-
-
Use a Phillips screwdriver to remove the 3.4 mm-long screw which is securing the plastic frame.
-
-
-
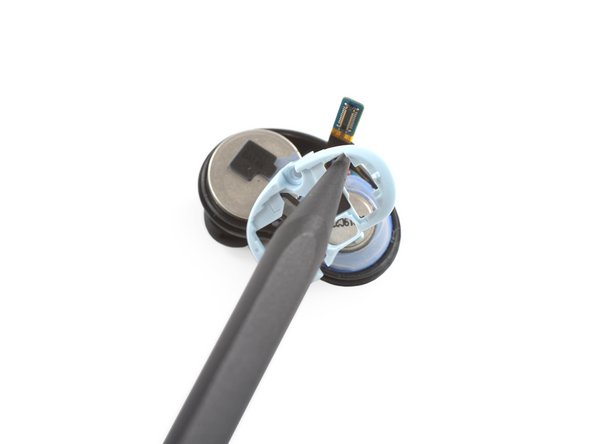
Use a spudger or your fingers to remove the plastic frame by pulling it upwards.
-
-
-
Use the pointed end of a spudger to slightly lift up the speaker driver obscuring the battery.
-
-
-
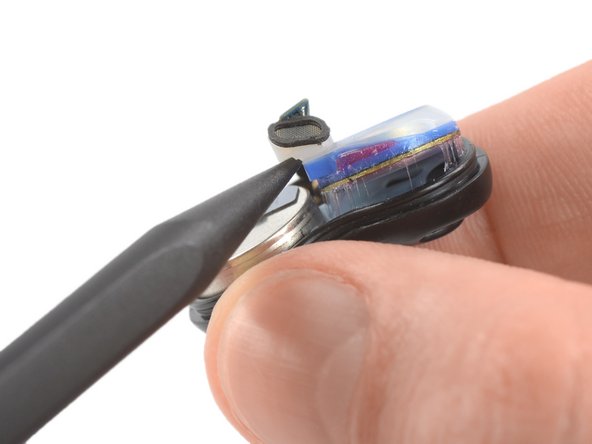
Insert the pointed end of a spudger underneath the battery.
-
Use constant, steady pressure to pry the battery up.
-


To reassemble your device, follow these instructions in reverse order.
For optimal performance, calibrate your newly installed battery: Charge it to 100% and keep charging it for at least 2 more hours. Then use your device until it shuts off due to low battery. Finally, charge it uninterrupted to 100%.
Take your e-waste to an R2 or e-Stewards certified recycler.
Repair didn’t go as planned? Try some basic troubleshooting, or ask our Answers community for help.
다른 10명이 해당 안내서를 완성하였습니다.


댓글 한 개
Thanks!!! This works great to clean the felt earwax filter underneath the metal grate as well!