소개
This guide will enable you to replace the screen in case of broken glass, failure to respond, etc. You will need a heat gun, Phillips #00 screwdriver, iFixit opening tool, and tweezers. Take care when using dangerous tools.
필요한 것
-
-
이 단계에 사용된 도구:iFixit Opening Tool$1.99
-
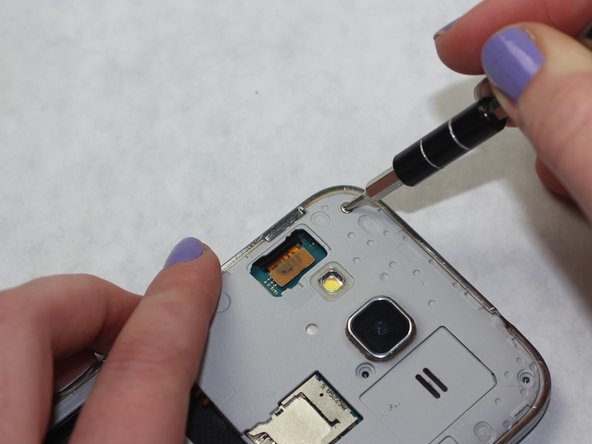
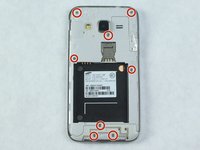
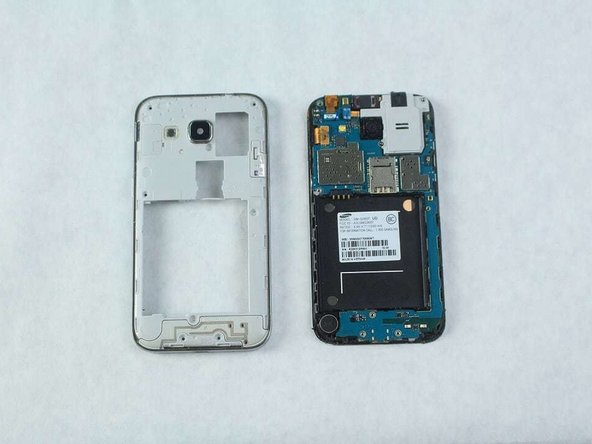
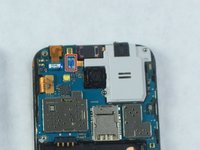
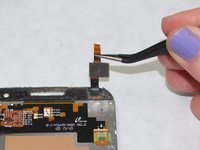
Use the iFixit Opening Tool to remove the mother board.
-
-
이 단계에 사용된 도구:iFixit Opening Tool$1.99
-
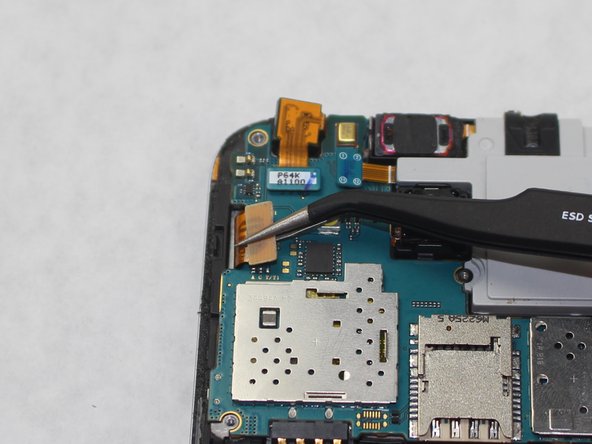
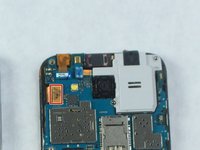
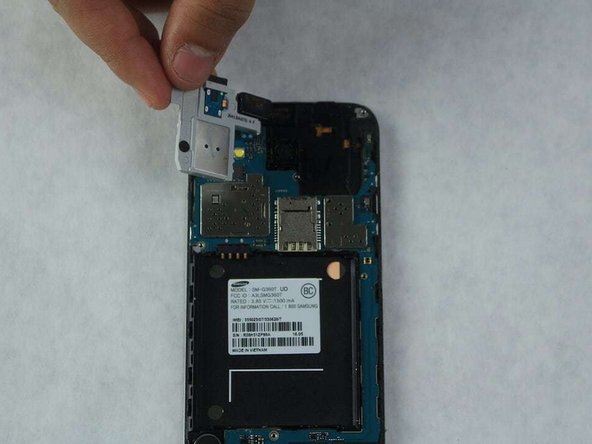
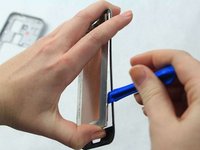
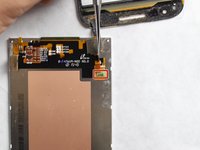
Lift the plastic panel that separates the digitizer and the motherboard with an iFixit Opening Tool
-
-
이 단계에 사용된 도구:iFixit Opening Tool$1.99
-
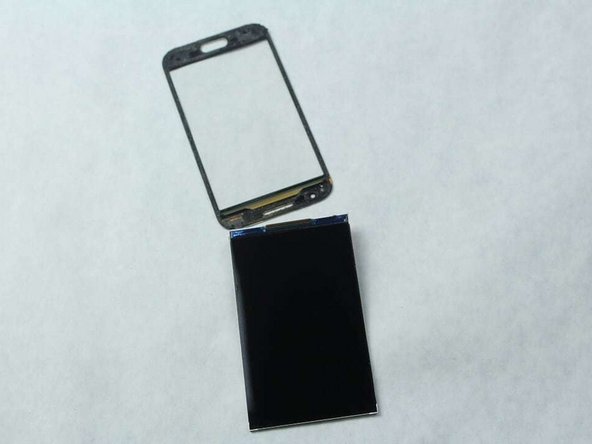
Use a heat gun and an iFixit Opening Tool tool to separate the screen from the digitizer.
-


To reassemble your device, follow these instructions in reverse order.
다른 7명이 해당 안내서를 완성하였습니다.
팀

Sam Houston State, Team S11-G2, Blackburne Fall 2018 Sam Houston State, Team S11-G2, Blackburne Fall 2018 회원
SHSU-BLACKBURNE-F18S11G2
4 회원들
안내서 5개를 작성함