주요 콘텐츠로 건너뛰기

Samsung Galaxy Grand Neo Plus Touch screen Digitizer Glass Replacement

필요한 것

동영상 개요

  1. Samsung Galaxy Grand Neo Plus Touch screen Digitizer Glass Replacement, SIM and Memory Cards: 1 단계, 이미지 1/3 Samsung Galaxy Grand Neo Plus Touch screen Digitizer Glass Replacement, SIM and Memory Cards: 1 단계, 이미지 2/3 Samsung Galaxy Grand Neo Plus Touch screen Digitizer Glass Replacement, SIM and Memory Cards: 1 단계, 이미지 3/3
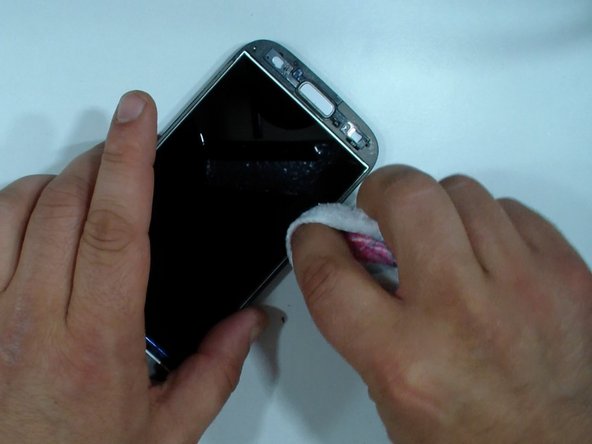
    • This is Samsung Galaxy Grand Neo Plus i9060i with broken screen.

    • Remove the battery and any installed SIM and memory cards.

  2. Samsung Galaxy Grand Neo Plus Touch screen Digitizer Glass Replacement, Rear Cover 1: 2 단계, 이미지 1/3 Samsung Galaxy Grand Neo Plus Touch screen Digitizer Glass Replacement, Rear Cover 1: 2 단계, 이미지 2/3 Samsung Galaxy Grand Neo Plus Touch screen Digitizer Glass Replacement, Rear Cover 1: 2 단계, 이미지 3/3
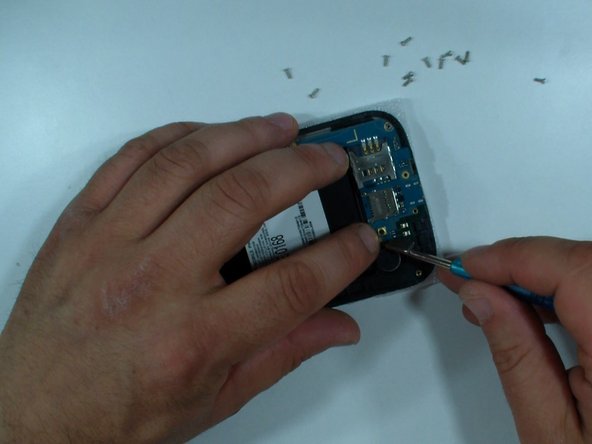
    • There are 12x small Phillips screws, remove them.

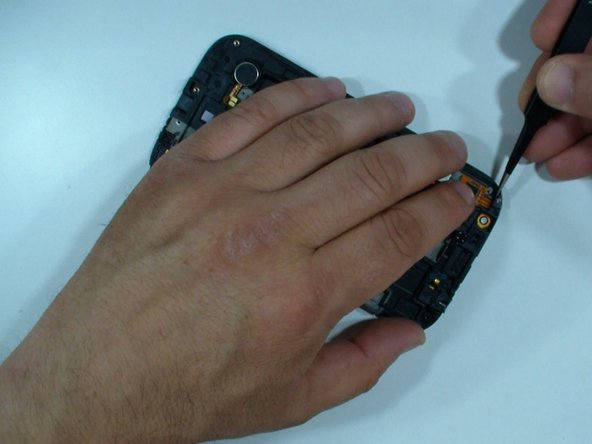
    • With a plastic tool start the disassembling from the bottom side.

    • You can use more then one plastic tool.

  3. Samsung Galaxy Grand Neo Plus Touch screen Digitizer Glass Replacement, Rear Cover 2: 3 단계, 이미지 1/2 Samsung Galaxy Grand Neo Plus Touch screen Digitizer Glass Replacement, Rear Cover 2: 3 단계, 이미지 2/2
    • The rear bezel is locked to the frame near to the battery connector. Use a tool with a sharp tip and unhook it.

    • Now you can separate the rear bezel.

    • This is the Loudspeaker (in case if you want to change it).

  4. Samsung Galaxy Grand Neo Plus Touch screen Digitizer Glass Replacement, Logic Board: 4 단계, 이미지 1/3 Samsung Galaxy Grand Neo Plus Touch screen Digitizer Glass Replacement, Logic Board: 4 단계, 이미지 2/3 Samsung Galaxy Grand Neo Plus Touch screen Digitizer Glass Replacement, Logic Board: 4 단계, 이미지 3/3
    • Remove one Phillips screw.

    • Disconnect:

    • Vloume UP/DWN buttons flex cable and Power ON button flex cable.

    • LCD flex cable

    • Front camera

    • Audio jack flex cable

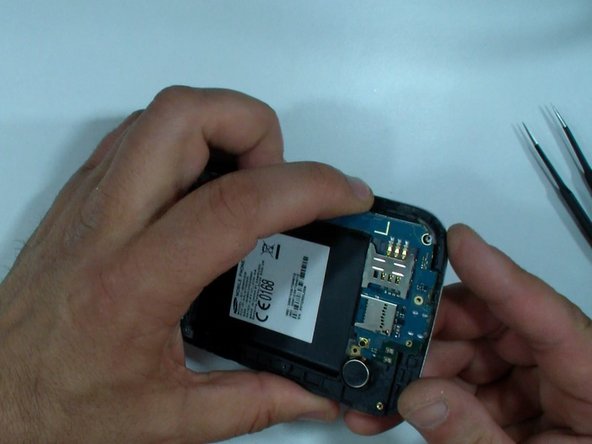
    • Now gently remove the logic board.

  5. Samsung Galaxy Grand Neo Plus Touch screen Digitizer Glass Replacement, Front Camera: 5 단계, 이미지 1/2 Samsung Galaxy Grand Neo Plus Touch screen Digitizer Glass Replacement, Front Camera: 5 단계, 이미지 2/2
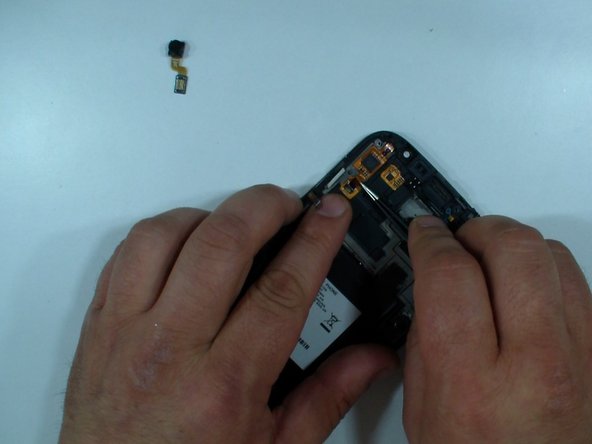
    • Remove the front camera.

    • Disconnect the touchscreen flex cable and unstuck it from the middle frame.

  6. Samsung Galaxy Grand Neo Plus Touch screen Digitizer Glass Replacement, Touch Screen Removal - Part 1: 6 단계, 이미지 1/3 Samsung Galaxy Grand Neo Plus Touch screen Digitizer Glass Replacement, Touch Screen Removal - Part 1: 6 단계, 이미지 2/3 Samsung Galaxy Grand Neo Plus Touch screen Digitizer Glass Replacement, Touch Screen Removal - Part 1: 6 단계, 이미지 3/3
    • At the bottom side, under the touch screen glass is the menu buttons flex cable. Be careful for it when you separating the glass from the frame.

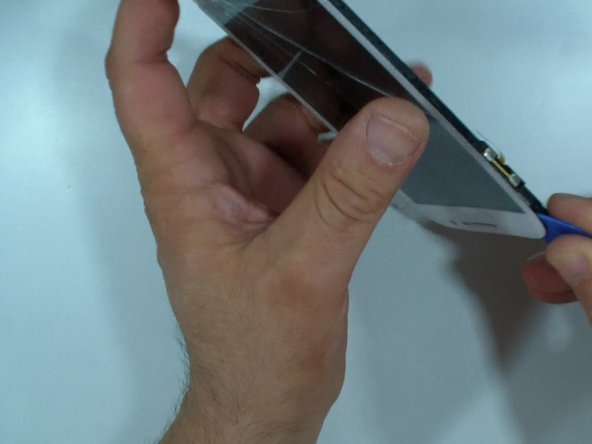
    • Warm the glass. This will soften the adhesive tape. You can use hot air gun or hair dryer.

    • With a plastic tool start the separation at the upper side.

  7. Samsung Galaxy Grand Neo Plus Touch screen Digitizer Glass Replacement, Touch Screen Removal - Part 2: 7 단계, 이미지 1/3 Samsung Galaxy Grand Neo Plus Touch screen Digitizer Glass Replacement, Touch Screen Removal - Part 2: 7 단계, 이미지 2/3 Samsung Galaxy Grand Neo Plus Touch screen Digitizer Glass Replacement, Touch Screen Removal - Part 2: 7 단계, 이미지 3/3
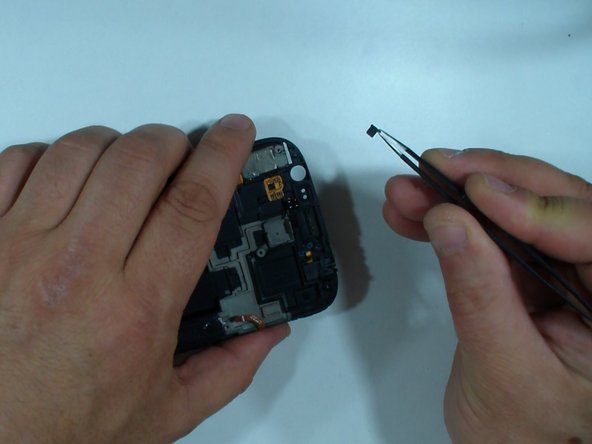
    • You can warm the glass again to separate the glass easier.

    • Gently unstuck the menu buttons flex cable and remove the glass.

  8. Samsung Galaxy Grand Neo Plus Touch screen Digitizer Glass Replacement, Cleaning: 8 단계, 이미지 1/3 Samsung Galaxy Grand Neo Plus Touch screen Digitizer Glass Replacement, Cleaning: 8 단계, 이미지 2/3 Samsung Galaxy Grand Neo Plus Touch screen Digitizer Glass Replacement, Cleaning: 8 단계, 이미지 3/3
    • There is a small plate in the touch screen flex cable slot. Remove it to allow the flex cable of the new touch screen to pass.

    • Remove the remnants of the adhesive sticker and clean the LCD.

  9. Samsung Galaxy Grand Neo Plus Touch screen Digitizer Glass Replacement, Installation of the new Touch Screen: 9 단계, 이미지 1/3 Samsung Galaxy Grand Neo Plus Touch screen Digitizer Glass Replacement, Installation of the new Touch Screen: 9 단계, 이미지 2/3 Samsung Galaxy Grand Neo Plus Touch screen Digitizer Glass Replacement, Installation of the new Touch Screen: 9 단계, 이미지 3/3
    • Install the new touch screen and start with the reassembling.

  10. Samsung Galaxy Grand Neo Plus Touch screen Digitizer Glass Replacement: 10 단계, 이미지 1/1
    • That's all. Thanks!

결론

To reassemble your device, follow these instructions in reverse order.

다른 29명이 해당 안내서를 완성하였습니다.

ZFix

회원 가입일: 12/09/13

191,182 평판

안내서 330개 작성하였습니다

Master Techs Master Techs 회원

Community

322 회원들

안내서 2,521개 작성하였습니다

댓글 한 개

very much helpful..this guide saved my repairing charge...this page is awesome..

Pravesh - 답글

댓글 쓰기

조회 통계:

24 시간 전: 1

7일 전: 10

30일 전: 26

전체 시간: 16,662