주요 콘텐츠로 건너뛰기

Samsung Galaxy J1 / J100 Touch Screen & LCD Replacement

필요한 것

동영상 개요

  1. Samsung Galaxy J1 / J100 Touch Screen & LCD Replacement, Touch Screen & LCD: 1 단계, 이미지 1/3 Samsung Galaxy J1 / J100 Touch Screen & LCD Replacement, Touch Screen & LCD: 1 단계, 이미지 2/3 Samsung Galaxy J1 / J100 Touch Screen & LCD Replacement, Touch Screen & LCD: 1 단계, 이미지 3/3
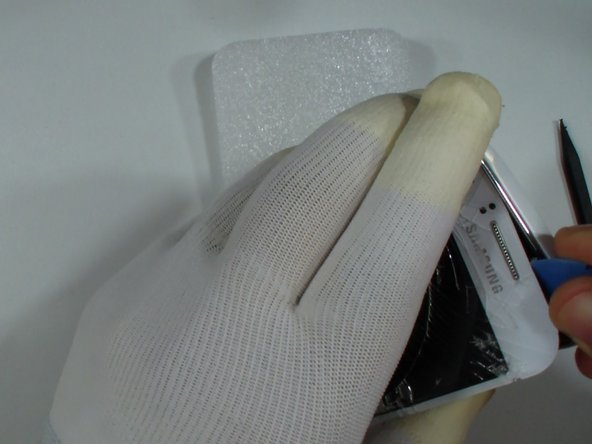
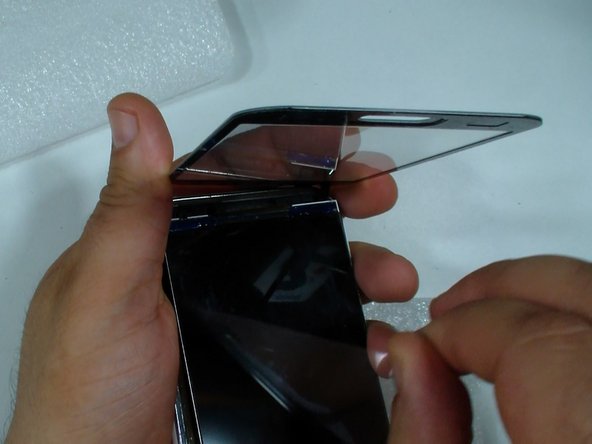
    • Here we have Samsung Galaxy J1 with broken glass and screen.

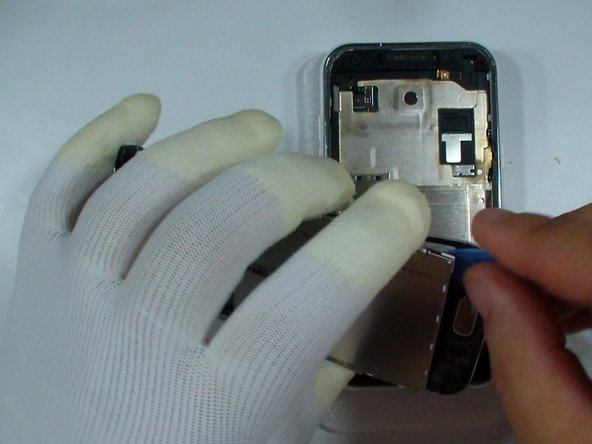
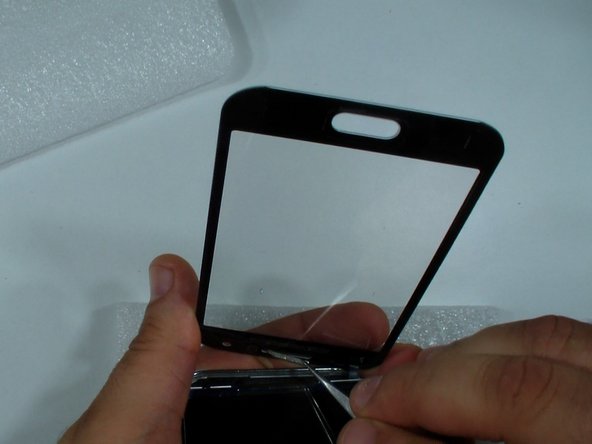
    • We will replace the touch screen and the LCD.

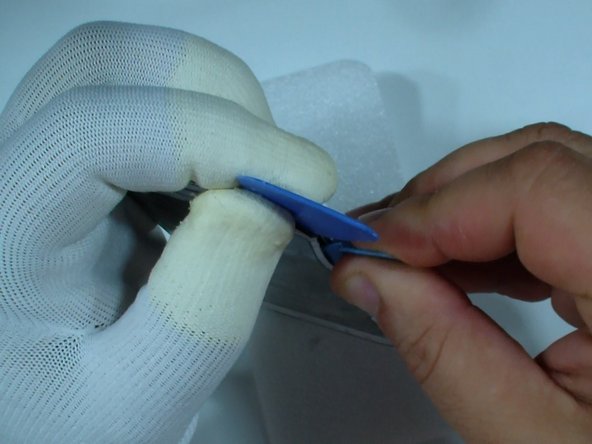
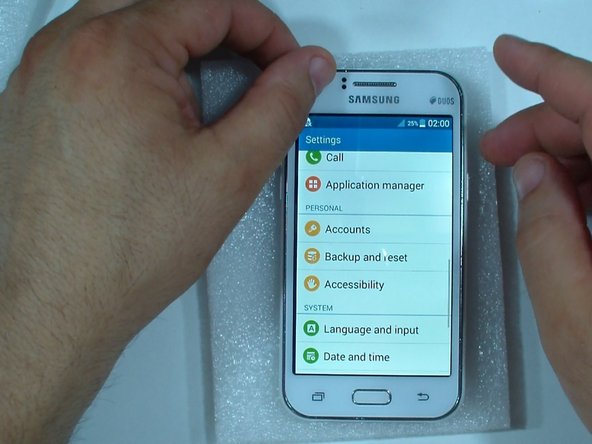
    • First remove the battery and any installed SIM and memory cards.

  2. Samsung Galaxy J1 / J100 Touch Screen & LCD Replacement: 2 단계, 이미지 1/3 Samsung Galaxy J1 / J100 Touch Screen & LCD Replacement: 2 단계, 이미지 2/3 Samsung Galaxy J1 / J100 Touch Screen & LCD Replacement: 2 단계, 이미지 3/3
    • Under this plastic is the LCD flex cable connector.

    • Use a tool with a needlepoint and remove it.

  3. Samsung Galaxy J1 / J100 Touch Screen & LCD Replacement: 3 단계, 이미지 1/3 Samsung Galaxy J1 / J100 Touch Screen & LCD Replacement: 3 단계, 이미지 2/3 Samsung Galaxy J1 / J100 Touch Screen & LCD Replacement: 3 단계, 이미지 3/3
    • Disconnect the LCD flex cable.

    • When I can, I always test new replacement part before I install it.

  4. Samsung Galaxy J1 / J100 Touch Screen & LCD Replacement: 4 단계, 이미지 1/3 Samsung Galaxy J1 / J100 Touch Screen & LCD Replacement: 4 단계, 이미지 2/3 Samsung Galaxy J1 / J100 Touch Screen & LCD Replacement: 4 단계, 이미지 3/3
    • Use hot air to warm the glass and to make adhesive soften.

    • With a cutter or knife start the separation.

    • When you have enough space between the glass and the frame, continue with a plastic tool.

  5. Samsung Galaxy J1 / J100 Touch Screen & LCD Replacement: 5 단계, 이미지 1/3 Samsung Galaxy J1 / J100 Touch Screen & LCD Replacement: 5 단계, 이미지 2/3 Samsung Galaxy J1 / J100 Touch Screen & LCD Replacement: 5 단계, 이미지 3/3
    • You can warm the glass again to make the separation more easy.

    • If you want to change only the touch screen, be careful, don't break the LCD.

    • Finally remove the screen and the glass from the frame.

  6. Samsung Galaxy J1 / J100 Touch Screen & LCD Replacement: 6 단계, 이미지 1/3 Samsung Galaxy J1 / J100 Touch Screen & LCD Replacement: 6 단계, 이미지 2/3 Samsung Galaxy J1 / J100 Touch Screen & LCD Replacement: 6 단계, 이미지 3/3
    • If you want to change only the glass, disconnect the touch screen flex cable and gently separate the glass from the LCD.

  7. Samsung Galaxy J1 / J100 Touch Screen & LCD Replacement: 7 단계, 이미지 1/3 Samsung Galaxy J1 / J100 Touch Screen & LCD Replacement: 7 단계, 이미지 2/3 Samsung Galaxy J1 / J100 Touch Screen & LCD Replacement: 7 단계, 이미지 3/3
    • Connect the touch screen to the LCD flex cable.

    • Put the LCD and the screen in their place.

    • Remove the protector from the touch screen.

    • Install the earpiece metal plate - take it from the old touch screen.

    • Remove the protector from the LCD (if it's new).

  8. Samsung Galaxy J1 / J100 Touch Screen & LCD Replacement: 8 단계, 이미지 1/2 Samsung Galaxy J1 / J100 Touch Screen & LCD Replacement: 8 단계, 이미지 2/2
    • Connect the LCD flex cable and you are ready.

결론

To reassemble your device, follow these instructions in reverse order.

다른 113명이 해당 안내서를 완성하였습니다.

ZFix

회원 가입일: 12/09/13

191,278 평판

안내서 330개 작성하였습니다

Master Techs Master Techs 회원

Community

322 회원들

안내서 2,528개 작성하였습니다

댓글 24개

Bonjour, ou peux t on trouver l'écran et la vitre de protection ? Merci d'avance

Romain - 답글

How much is the cost for Galaxy J1 replacement glass?

Charles Young - 답글

It costs from 18€ up to 25€.

Johannes Franzen -

Gracias bro .. se ve interesante el único problema es que no se muy bien el ingles

Luis Fernando Ibarra casquete - 답글

댓글 쓰기

조회 통계:

24 시간 전: 5

7일 전: 13

30일 전: 70

전체 시간: 148,094