주요 콘텐츠로 건너뛰기

Samsung Galaxy J3V Motherboard Replacement

필요한 것

  1. Samsung Galaxy J3V Motherboard Replacement, Front Camera: 1 단계, 이미지 1/3 Samsung Galaxy J3V Motherboard Replacement, Front Camera: 1 단계, 이미지 2/3 Samsung Galaxy J3V Motherboard Replacement, Front Camera: 1 단계, 이미지 3/3
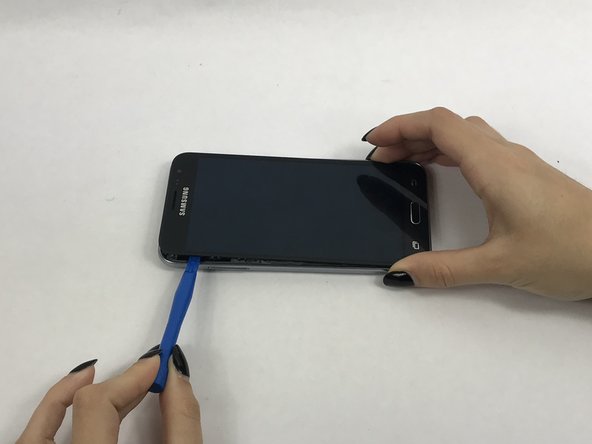
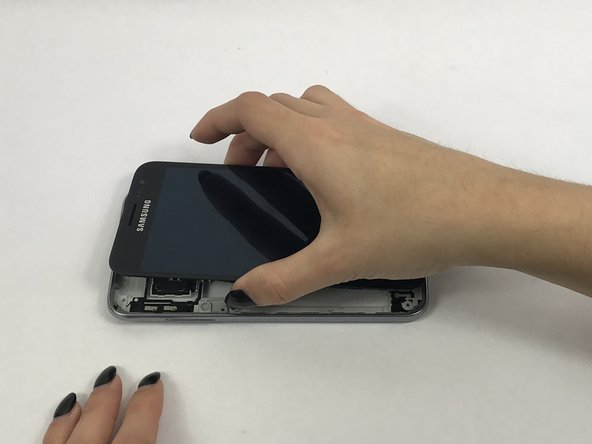
    • Place your thumb on the top left corner and pry the tab open and lift off the back cover.
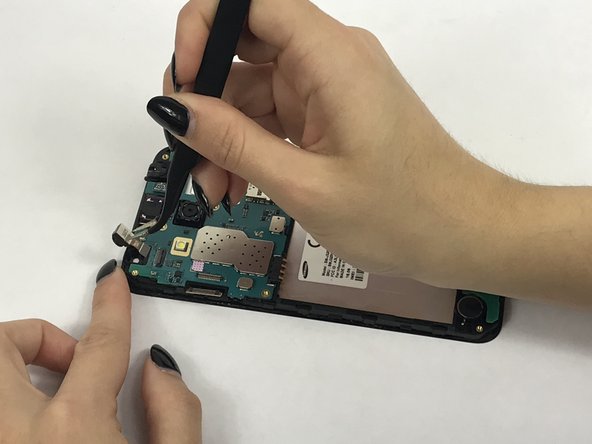
  2. Samsung Galaxy J3V Motherboard Replacement: 2 단계, 이미지 1/3 Samsung Galaxy J3V Motherboard Replacement: 2 단계, 이미지 2/3 Samsung Galaxy J3V Motherboard Replacement: 2 단계, 이미지 3/3
    • Remove the ten 2.0 mm screws with the Phillips #J000 screwdriver.

  3. Samsung Galaxy J3V Motherboard Replacement: 3 단계, 이미지 1/3 Samsung Galaxy J3V Motherboard Replacement: 3 단계, 이미지 2/3 Samsung Galaxy J3V Motherboard Replacement: 3 단계, 이미지 3/3
    • Use a small suction cup to pull the screen up. Then slip a small plastic opening tool under the screen to pry it upwards.

    • If this is the first time the screen is being removed then there will be adhesive around the edges of the screen. It may be difficult to remove the screen because of this adhesive seal and it is going to take a few tries and some force to pry the entire screen off.

  4. Samsung Galaxy J3V Motherboard Replacement: 4 단계, 이미지 1/3 Samsung Galaxy J3V Motherboard Replacement: 4 단계, 이미지 2/3 Samsung Galaxy J3V Motherboard Replacement: 4 단계, 이미지 3/3
    • Use tweezers to flip tab of the front camera to remove it.

  5. Samsung Galaxy J3V Motherboard Replacement, Motherboard: 5 단계, 이미지 1/3 Samsung Galaxy J3V Motherboard Replacement, Motherboard: 5 단계, 이미지 2/3 Samsung Galaxy J3V Motherboard Replacement, Motherboard: 5 단계, 이미지 3/3
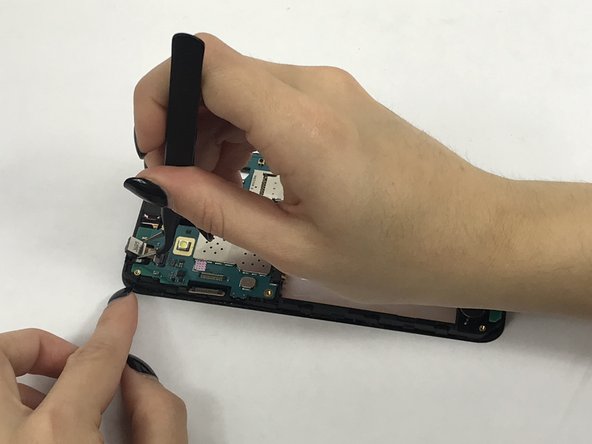
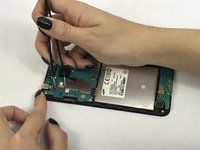
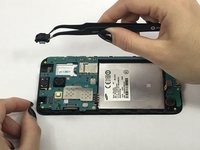
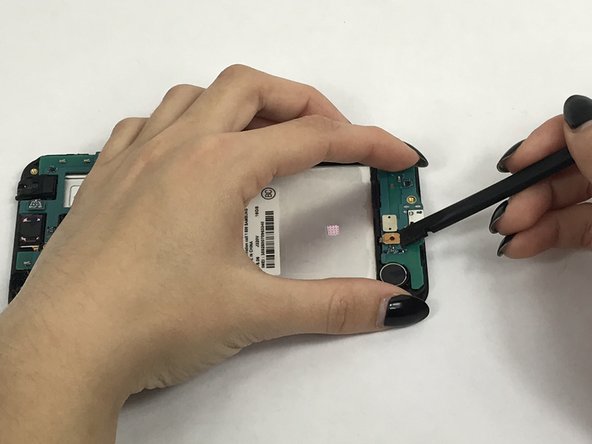
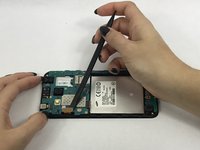
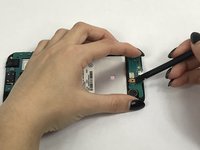
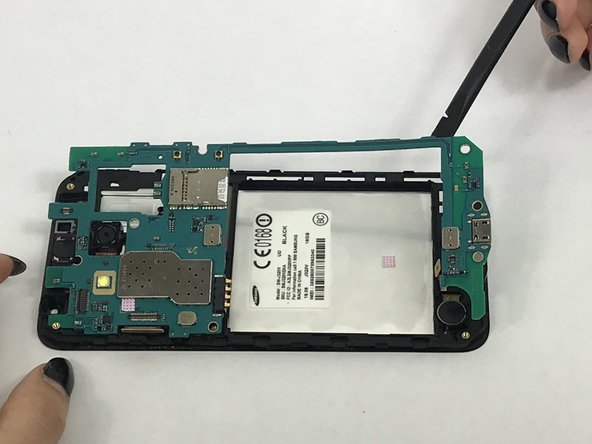
    • Remove connector tab with spudger then carefully remove headphone jack with tweezers.

  6. Samsung Galaxy J3V Motherboard Replacement: 6 단계, 이미지 1/2 Samsung Galaxy J3V Motherboard Replacement: 6 단계, 이미지 2/2
    • Remove these connectors from the motherboard with spudger.

  7. Samsung Galaxy J3V Motherboard Replacement: 7 단계, 이미지 1/2 Samsung Galaxy J3V Motherboard Replacement: 7 단계, 이미지 2/2
    • Carefully use the spudger to pry the motherboard out of the plastic tabs.

결론

To reassemble your device, follow these instructions in reverse order.

다른 6명이 해당 안내서를 완성하였습니다.

Carry Corrales

회원 가입일: 09/28/17

738 평판

안내서 5개 작성하였습니다

USF Tampa, Team S3-G3, Nance Fall 2017 USF Tampa, Team S3-G3, Nance Fall 2017 회원

USFT-NANCE-F17S3G3

4 회원들

안내서 5개 작성하였습니다

댓글 0개

댓글 쓰기

조회 통계:

24 시간 전: 0

7일 전: 0

30일 전: 3

전체 시간: 1,753