주요 콘텐츠로 건너뛰기

Samsung Galaxy J7 V Earpiece Speaker Replacement

필요한 것

  1. Samsung Galaxy J7 V Earpiece Speaker Replacement, Screen: 1 단계, 이미지 1/1
    • Be very careful during this step. The OLED (organic light-emitting diode) display is very fragile and can break easily.

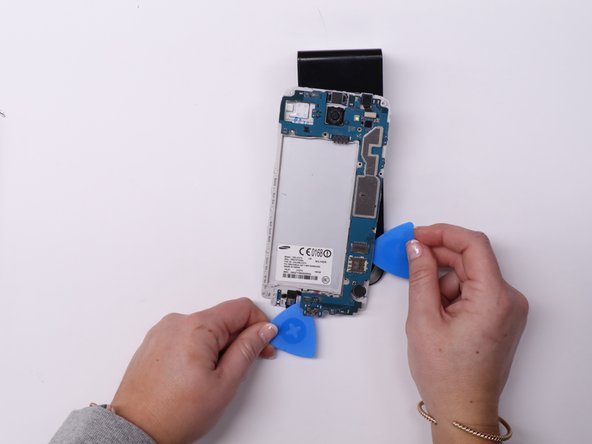
    • Insert a Jimmy tool under one of the corners of the display and gently raise the display.

  2. Samsung Galaxy J7 V Earpiece Speaker Replacement: 2 단계, 이미지 1/1
    • Gently slide the Jimmy tool around the entire perimeter of the phone.

  3. Samsung Galaxy J7 V Earpiece Speaker Replacement: 3 단계, 이미지 1/1
    • Be extra careful with the display's ribbon cables. They are fragile.

    • Carefully lift the display to remove it.

  4. Samsung Galaxy J7 V Earpiece Speaker Replacement, Home button: 4 단계, 이미지 1/1
    • Locate the socket of the home button.

    • Fit the metal spudger in between the socket and the home button.

  5. Samsung Galaxy J7 V Earpiece Speaker Replacement: 5 단계, 이미지 1/1
    • Take the metal spudger and slide it underneath the home button.

    • Lift up until the home button is removed from its socket.

  6. Samsung Galaxy J7 V Earpiece Speaker Replacement, Motherboard: 6 단계, 이미지 1/1
    • Remove fourteen screws from the midframe using a Phillips #00 screwdriver.

  7. Samsung Galaxy J7 V Earpiece Speaker Replacement: 7 단계, 이미지 1/1
    • Flip the phone to the back side where the battery was removed.

    • Apply pressure with your hands to pop the midframe off.

  8. Samsung Galaxy J7 V Earpiece Speaker Replacement: 8 단계, 이미지 1/2 Samsung Galaxy J7 V Earpiece Speaker Replacement: 8 단계, 이미지 2/2
    • Flip the phone back over.

    • Remove the single black screw from the motherboard using a Phillips #00 screwdriver.

    • Place a few iFixit opening picks beneath the motherboard.

    • Spread the opening picks evenly around the motherboard to ensure it does not bend as you remove it.

    • Lift the motherboard using the iFixit opening picks.

  9. Samsung Galaxy J7 V Earpiece Speaker Replacement, Earpiece Speaker: 9 단계, 이미지 1/1
    • Use the tweezers to remove the back of the earpiece speaker.

결론

To reassemble your device, follow these instructions in reverse order.

다른 3명이 해당 안내서를 완성하였습니다.

Ella Hamm

회원 가입일: 02/08/22

154 평판

안내서 1개 작성함

University of Kentucky, Team 1-5, Kaufmann Spring 2022 University of Kentucky, Team 1-5, Kaufmann Spring 2022 회원

UKY-KAUFMANN-S22S1G5

3 회원들

안내서 3개 작성하였습니다

댓글 0개

댓글 쓰기

조회 통계:

24 시간 전: 3

7일 전: 8

30일 전: 31

전체 시간: 696