이 버전에는 잘못된 편집 사항이 있을 수 있습니다. 최신 확인된 스냅샷으로 전환하십시오.
필요한 것
-
이 단계는 번역되지 않았습니다. 번역을 도와주십시오
-
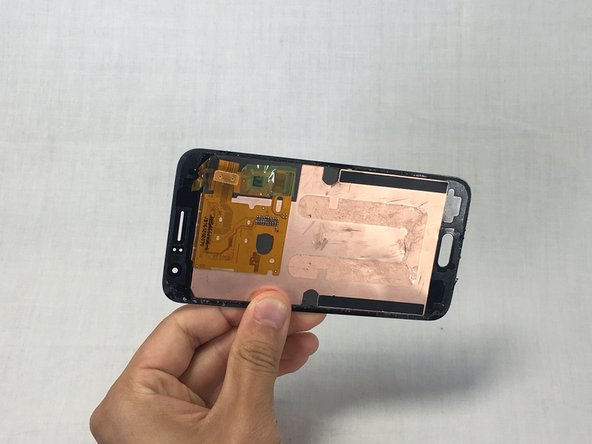
Apply pressure to the middle section of the screen while pulling up the lower edge by pivoting your wrist.
-
-
-
이 단계는 번역되지 않았습니다. 번역을 도와주십시오
-
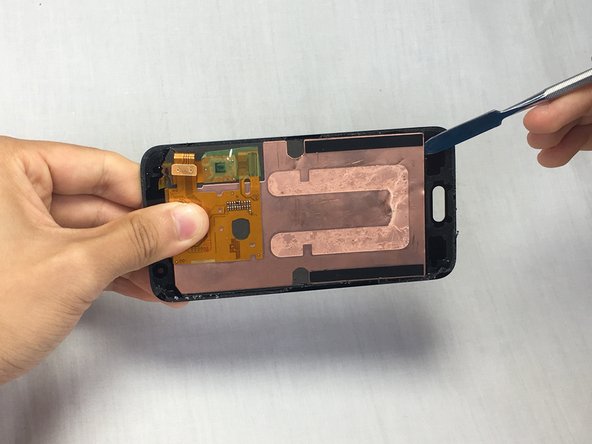
Once you've opened a large enough gap, insert a Spudger tool between the glass and the motherboard.
-
Slide the Spudger tool around the gap until the screen is completely separated from the motherboard.
-
-
이 단계는 번역되지 않았습니다. 번역을 도와주십시오
-
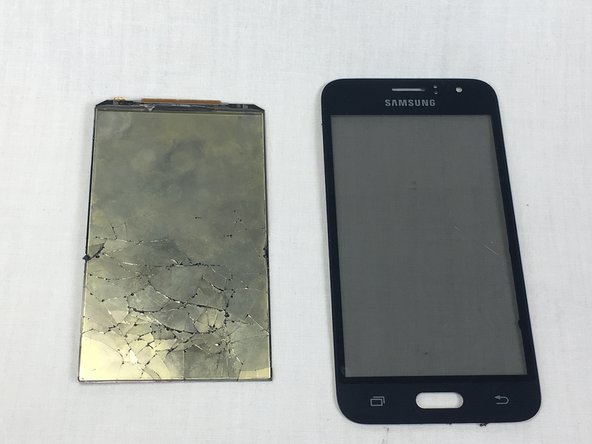
Place the spudger tool between the LCD and the glass screen.
-
Slide the spudger tool in between the screen and the display until both are completely separated from each other.
-


다른 2명이 해당 안내서를 완성하였습니다.
팀

USF Tampa, Team S6-G1, Eyestone Spring 2018 USF Tampa, Team S6-G1, Eyestone Spring 2018 회원
USFT-EYESTONE-S18S6G1
4 회원들
안내서 5개 작성하였습니다
댓글 2개
Hola, cual es el numero de parte de la pantalla a reemplazar?
It appears that OEM screens are no longer available for this phone. I was able to find this third party display assembly that looks like it would work, but I can’t attest to its functionality, so there would be a bit of risk involved for you. Hope that helps!