주요 콘텐츠로 건너뛰기

Samsung Galaxy Luna Motherboard Replacement

필요한 것

  1. Samsung Galaxy Luna Motherboard Replacement, SIM Card: 1 단계, 이미지 1/1
    • Using a plastic opening tool, pry the divot to the left of the camera to take off the rear case.

  2. Samsung Galaxy Luna Motherboard Replacement: 2 단계, 이미지 1/1
    • Pull the corner nearest to the divot to remove the case from the phone.

  3. Samsung Galaxy Luna Motherboard Replacement: 3 단계, 이미지 1/2 Samsung Galaxy Luna Motherboard Replacement: 3 단계, 이미지 2/2
    • Place your fingernail or a prying tool at the bottom of the battery and pry it out of the case.

  4. Samsung Galaxy Luna Motherboard Replacement: 4 단계, 이미지 1/2 Samsung Galaxy Luna Motherboard Replacement: 4 단계, 이미지 2/2
    • By using your finger or a plastic opening tool, push the SIM card further into its container until a click is heard.

    • Once the click is heard grab the SIM card and slide it out of the container.

    • Remove the SIM card completely.

    • During reassembly, slide the new SIM card into the slot until a click is heard.

  5. Samsung Galaxy Luna Motherboard Replacement, Motherboard: 5 단계, 이미지 1/3 Samsung Galaxy Luna Motherboard Replacement, Motherboard: 5 단계, 이미지 2/3 Samsung Galaxy Luna Motherboard Replacement, Motherboard: 5 단계, 이미지 3/3
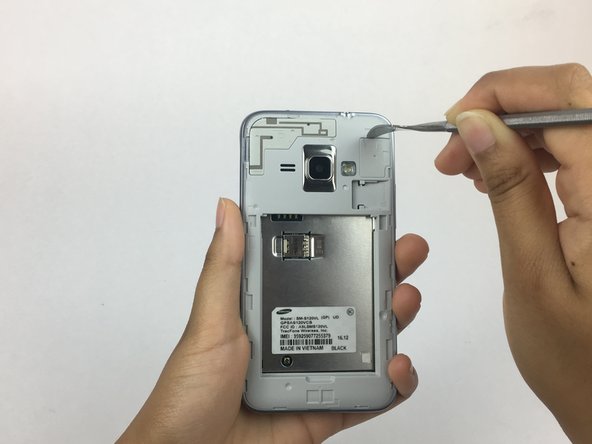
    • Use a plastic opening tool, or your fingernail to to take off the rear case by prying the divot to the left of the camera.

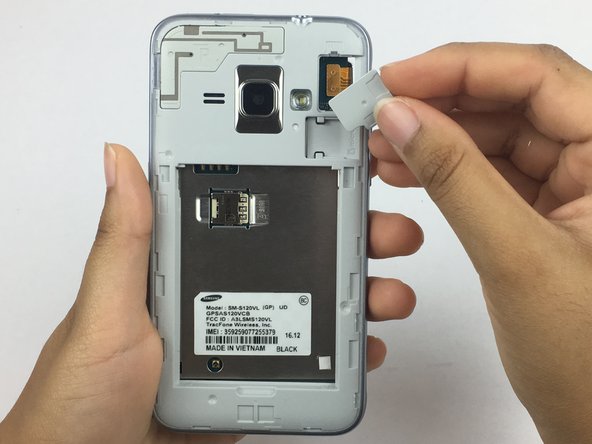
    • Lift the rear case by the corner nearest the divot and remove it from the phone.

    • Using an opening tool, take off the cover for the digitizer connector.

    • detach the connector with a tweezer or a plastic spudger.

  6. Samsung Galaxy Luna Motherboard Replacement: 6 단계, 이미지 1/3 Samsung Galaxy Luna Motherboard Replacement: 6 단계, 이미지 2/3 Samsung Galaxy Luna Motherboard Replacement: 6 단계, 이미지 3/3
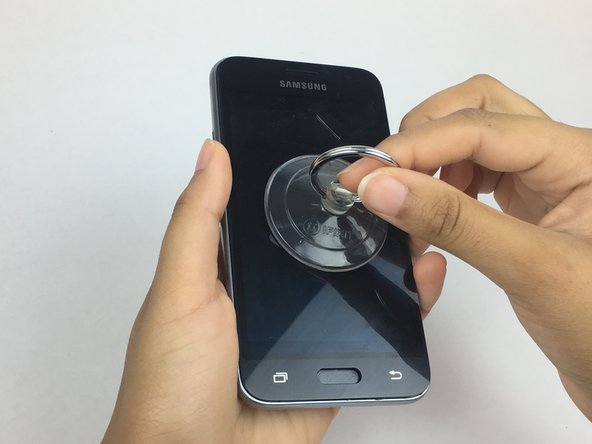
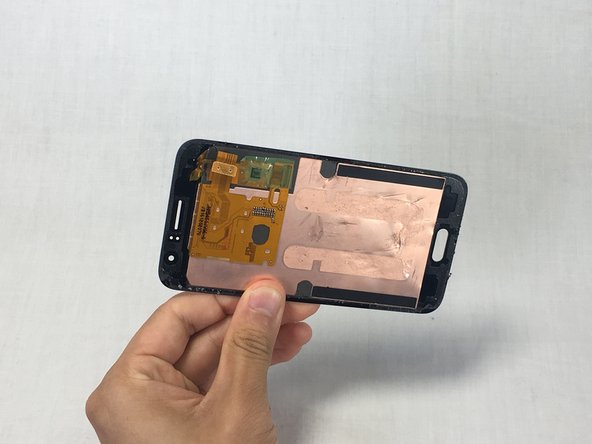
    • Place small suction cup on the center of screen and press firmly.

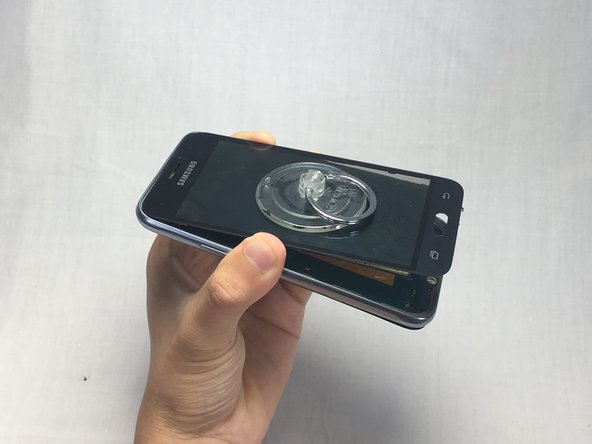
    • Hold the back of the phone and pull on the suction cup gently until the screen begins to bend.

  7. Samsung Galaxy Luna Motherboard Replacement: 7 단계, 이미지 1/2 Samsung Galaxy Luna Motherboard Replacement: 7 단계, 이미지 2/2
    • Insert the small metal spudger into an opening on the phone and pry off the screen.

    • Avoid tearing any exposed circuits as the screen is being removed.

    • Make sure the screen is completely detached from the motherboard before removing it.

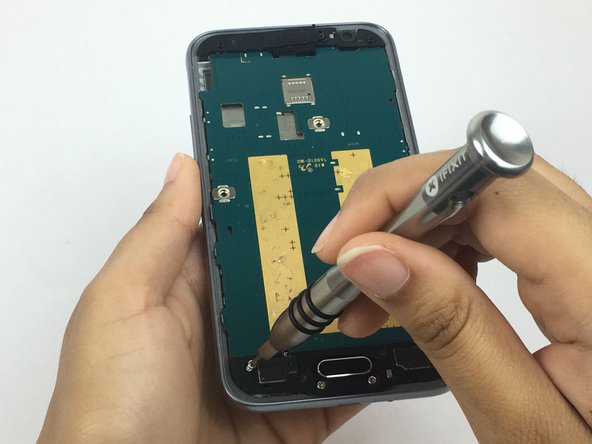
  8. Samsung Galaxy Luna Motherboard Replacement: 8 단계, 이미지 1/2 Samsung Galaxy Luna Motherboard Replacement: 8 단계, 이미지 2/2
    • Using a Philips PH000 screwdriver, remove the nine 3 mm screws.

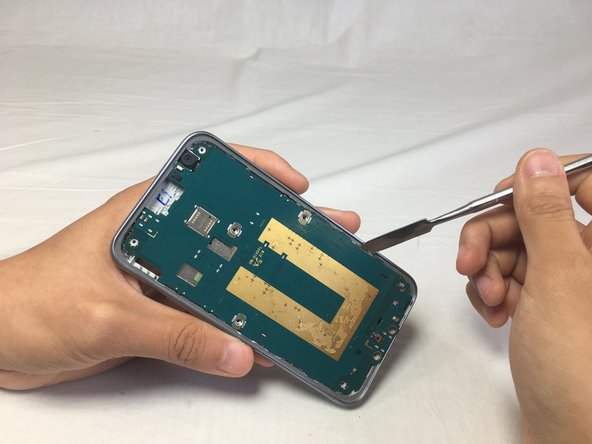
  9. Samsung Galaxy Luna Motherboard Replacement: 9 단계, 이미지 1/2 Samsung Galaxy Luna Motherboard Replacement: 9 단계, 이미지 2/2
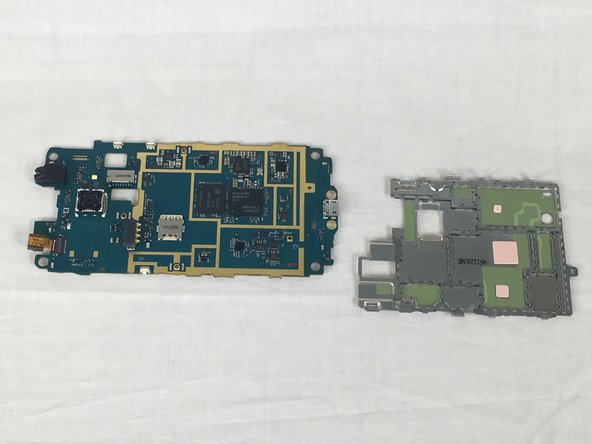
    • Using a metal spudger, gently pry the button frame off the motherboard.

    • Do the same for the motherboard.

    • Avoid scraping the circuitry on the motherboard, as they can be very fragile.

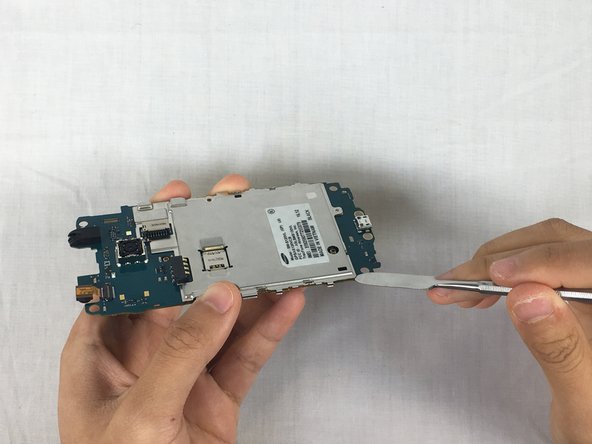
  10. Samsung Galaxy Luna Motherboard Replacement: 10 단계, 이미지 1/3 Samsung Galaxy Luna Motherboard Replacement: 10 단계, 이미지 2/3 Samsung Galaxy Luna Motherboard Replacement: 10 단계, 이미지 3/3
    • Using a Philips PH000 screwdriver, remove the black screw.

    • Use the metal spudger to pry open the motherboard cover.

    • Be careful when prying the cover of the motherboard. avoid scratching the motherboard circuitry.

결론

To reassemble your device, follow these instructions in reverse order.

다른 2명이 해당 안내서를 완성하였습니다.

Jahina Al Balushi

회원 가입일: 02/14/18

188 평판

안내서 1개 작성함

USF Tampa, Team S6-G1, Eyestone Spring 2018 USF Tampa, Team S6-G1, Eyestone Spring 2018 회원

USFT-EYESTONE-S18S6G1

4 회원들

안내서 5개 작성하였습니다

댓글 0개

댓글 쓰기

조회 통계:

24 시간 전: 0

7일 전: 0

30일 전: 2

전체 시간: 676