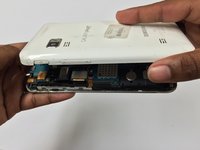
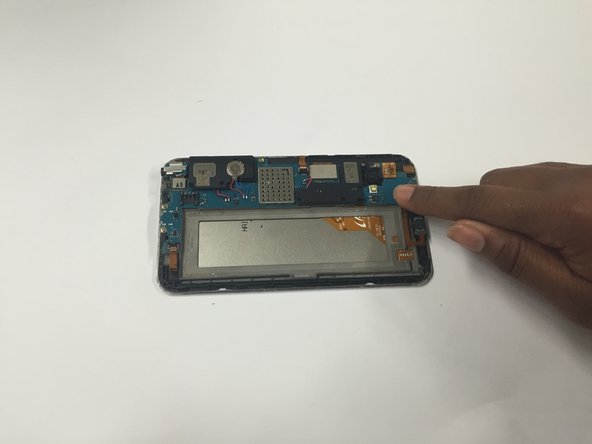
주요 콘텐츠로 건너뛰기

Samsung Galaxy Media Player 5 Earpiece Speaker Replacement

필요한 것

  1. Samsung Galaxy Media Player 5 Earpiece Speaker Replacement, Earpiece Speaker: 1 단계, 이미지 1/2 Samsung Galaxy Media Player 5 Earpiece Speaker Replacement, Earpiece Speaker: 1 단계, 이미지 2/2
    • Remove the SD Memory Card before working on the device.

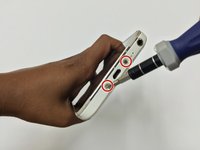
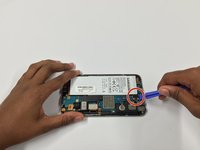
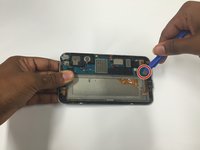
    • Use a Phillips screwdriver to remove the 10 mm screw near the SD Memory Card port.
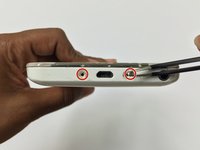
  2. Samsung Galaxy Media Player 5 Earpiece Speaker Replacement: 2 단계, 이미지 1/1
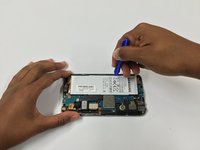
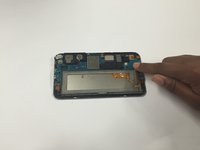
    • White caps cover screws on both sides of the charging port. Use the angled tweezers to remove them.

    • Use a blow dryer on low heat if necessary to loosen the adhesive.

  3. Samsung Galaxy Media Player 5 Earpiece Speaker Replacement: 3 단계, 이미지 1/2 Samsung Galaxy Media Player 5 Earpiece Speaker Replacement: 3 단계, 이미지 2/2
    • Using a Phillips head screwdriver, unscrew the two 10 mm screws located on either side of the charging port.

  4. Samsung Galaxy Media Player 5 Earpiece Speaker Replacement: 4 단계, 이미지 1/3 Samsung Galaxy Media Player 5 Earpiece Speaker Replacement: 4 단계, 이미지 2/3 Samsung Galaxy Media Player 5 Earpiece Speaker Replacement: 4 단계, 이미지 3/3
    • Using the opening pick, pry at the bottom and work around each edge of the device until the front cover and back cover housing is separated.

    • You will hear a popping sound to indicate the separation.

  5. Samsung Galaxy Media Player 5 Earpiece Speaker Replacement: 5 단계, 이미지 1/2 Samsung Galaxy Media Player 5 Earpiece Speaker Replacement: 5 단계, 이미지 2/2
    • Using the plastic opening tool, apply an upward force to detach the battery and the tab attached to it.

  6. Samsung Galaxy Media Player 5 Earpiece Speaker Replacement: 6 단계, 이미지 1/3 Samsung Galaxy Media Player 5 Earpiece Speaker Replacement: 6 단계, 이미지 2/3 Samsung Galaxy Media Player 5 Earpiece Speaker Replacement: 6 단계, 이미지 3/3
    • Using the plastic opening tool, apply an upward force to detach the speaker earpiece.

    • Use the tweezers to attach the new earpiece speaker in place of the original.

    • Use a blow dryer, on low heat settings, to loosen the adhesive on the speaker earpiece.

결론

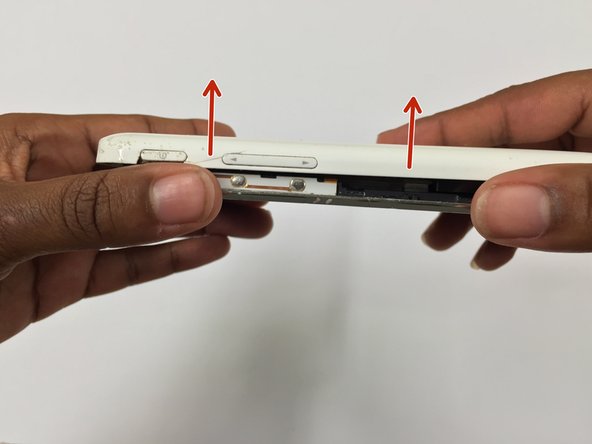
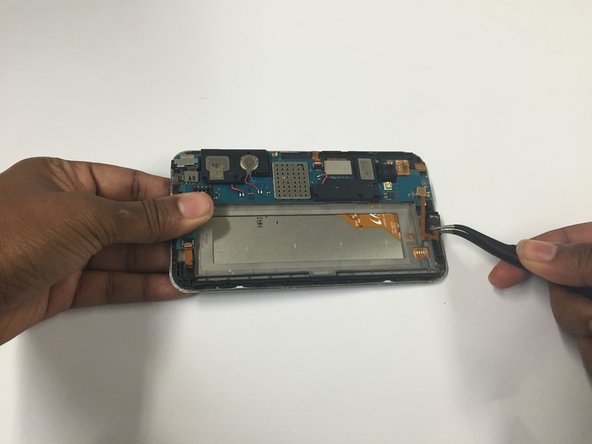
To reassemble your device, follow these instructions in reverse order.

다른 2명이 해당 안내서를 완성하였습니다.

China Ayala

회원 가입일: 03/05/15

584 평판

안내서 4개 작성하였습니다

Sam Houston State, Team 11-7, Blackburne Winter 2015 Sam Houston State, Team 11-7, Blackburne Winter 2015 회원

SHSU-BLACKBURNE-W15S11G7

3 회원들

안내서 8개 작성하였습니다

댓글 0개

댓글 쓰기

조회 통계:

24 시간 전: 0

7일 전: 0

30일 전: 2

전체 시간: 372