주요 콘텐츠로 건너뛰기

Samsung Galaxy Mega 2 LCD/Digitizer Replacement

필요한 것

  1. Samsung Galaxy Mega 2 LCD/Digitizer Replacement, LCD/Digitizer: 1 단계, 이미지 1/1
    • Before beginning, make sure the phone is turned off.

    • On the back of the phone, find the slot at the charging port located at the bottom of the phone.

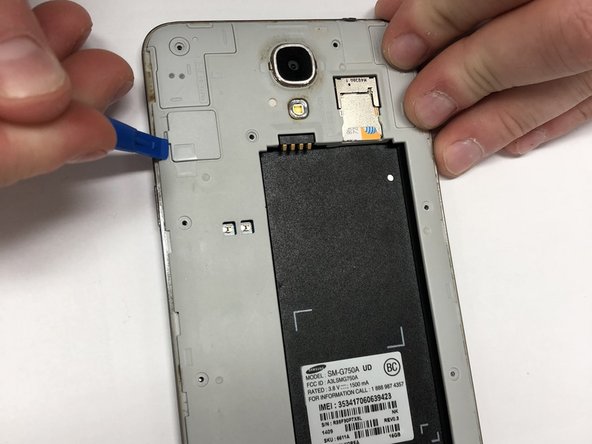
    • Either insert the plastic opening tool or use your fingernail to pull up on the back cover.

    • Once the corner is released, slide your finger around the outside until the back cover releases.

  2. Samsung Galaxy Mega 2 LCD/Digitizer Replacement: 2 단계, 이미지 1/2 Samsung Galaxy Mega 2 LCD/Digitizer Replacement: 2 단계, 이미지 2/2
    • Locate the battery

    • Insert fingernail or plastic opening tool into the slot on the bottom of the battery and gently lift up.

    • Remove the battery

  3. Samsung Galaxy Mega 2 LCD/Digitizer Replacement: 3 단계, 이미지 1/3 Samsung Galaxy Mega 2 LCD/Digitizer Replacement: 3 단계, 이미지 2/3 Samsung Galaxy Mega 2 LCD/Digitizer Replacement: 3 단계, 이미지 3/3
    • Use phillips head PH000 and remove all 13, 1.4 mm visible screws.

    • Using the pry tool, carefully pop the Digitizer cover off the device.

    • Use the pry tool to disconnect the digitizer

  4. Samsung Galaxy Mega 2 LCD/Digitizer Replacement: 4 단계, 이미지 1/3 Samsung Galaxy Mega 2 LCD/Digitizer Replacement: 4 단계, 이미지 2/3 Samsung Galaxy Mega 2 LCD/Digitizer Replacement: 4 단계, 이미지 3/3
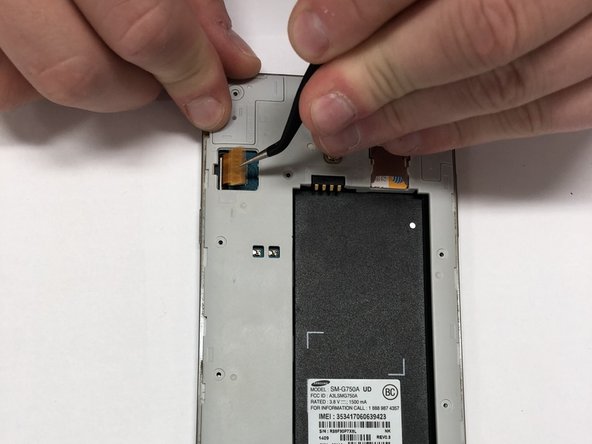
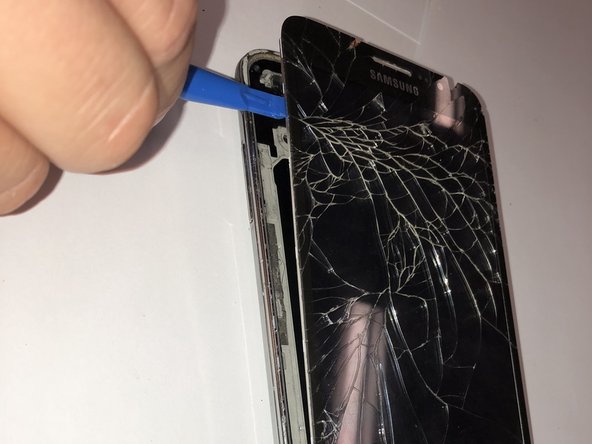
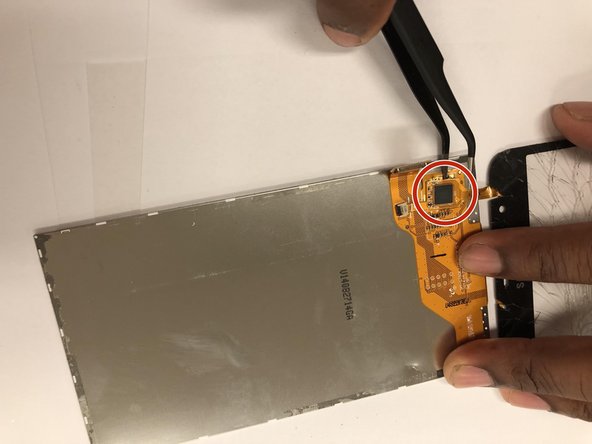
    • Insert the pry tool along the side of the device, then work your way around the borders of the screen, separating the screen from the rear assembly frame.

    • Be careful and do not lift the screen completely off yet, leave the screen at an angle.

    • Use the heat gun to heat up the bottom to loosen the adhesive from the menu and back buttons.

    • Once heated, gently pull the screen upward.

    • Make sure that the buttons are separating from the adhesive.

  5. Samsung Galaxy Mega 2 LCD/Digitizer Replacement: 5 단계, 이미지 1/3 Samsung Galaxy Mega 2 LCD/Digitizer Replacement: 5 단계, 이미지 2/3 Samsung Galaxy Mega 2 LCD/Digitizer Replacement: 5 단계, 이미지 3/3
    • Flip the screen over.

    • Locate the LCD/Digitizer.

    • Then disconnect the LCD/Digitizer using tweezers.

결론

To reassemble your device, follow these instructions in reverse order.

다른 3명이 해당 안내서를 완성하였습니다.

Taylor Powell

회원 가입일: 09/08/17

753 평판

안내서 5개 작성하였습니다

댓글 0개

댓글 쓰기

조회 통계:

24 시간 전: 0

7일 전: 0

30일 전: 4

전체 시간: 1,782