이 버전에는 잘못된 편집 사항이 있을 수 있습니다. 최신 확인된 스냅샷으로 전환하십시오.
필요한 것
-
이 단계는 번역되지 않았습니다. 번역을 도와주십시오
-
Using the nylon spudger or plastic opening tool along the edges of the screen, separate the back case off of the device.
-
-
이 단계는 번역되지 않았습니다. 번역을 도와주십시오
-
Remove the three 3mm screws on the top right side of the device with the Phillips PH000 screw head.
-
Remove the one 3mm screw on the top left side of the device with the same method.
-
-
이 단계는 번역되지 않았습니다. 번역을 도와주십시오
-
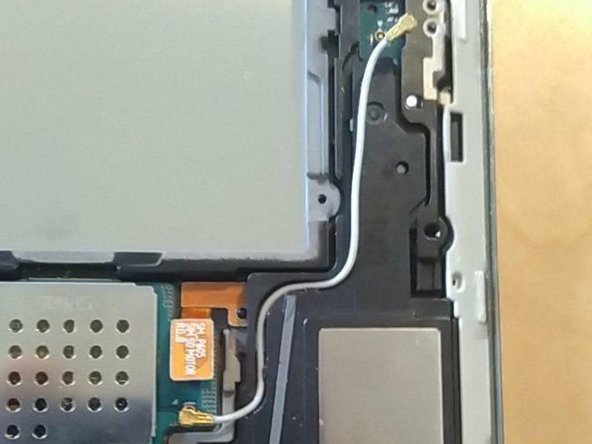
Remove the gray rubber piece.
-
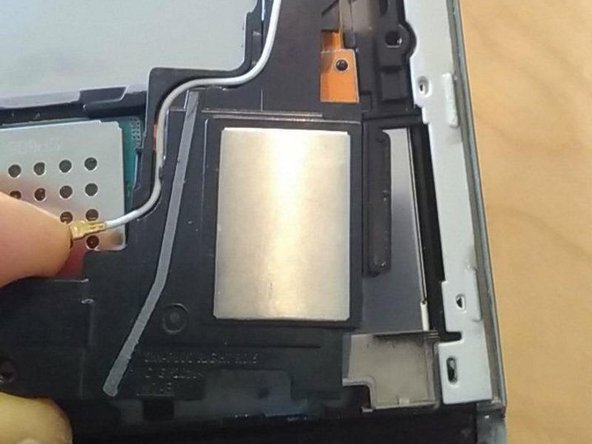
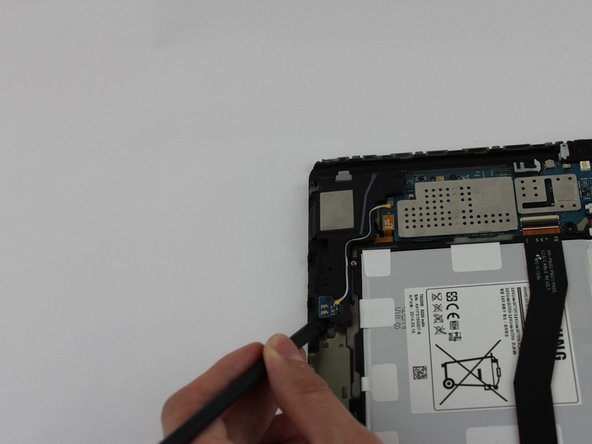
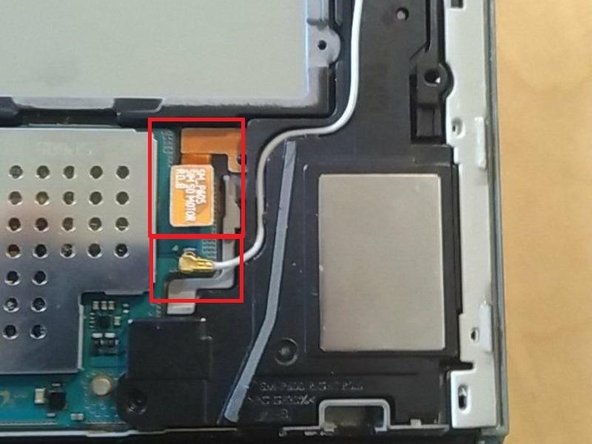
Use a spudger or fingernail to disconnect the blue antenna cable from the motherboard.
-
Remove the right speaker unit.
-
-
이 단계는 번역되지 않았습니다. 번역을 도와주십시오
-
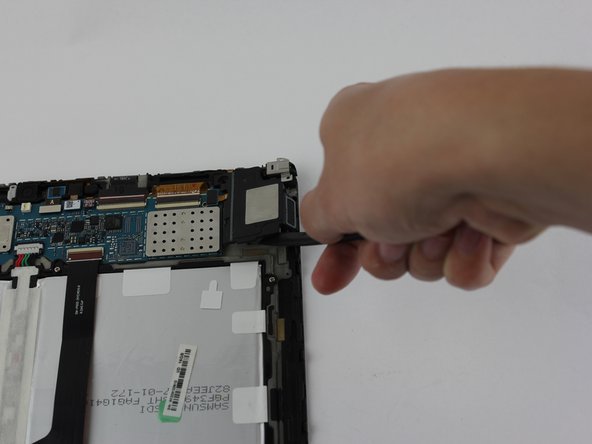
Remove the loudspeaker modules located on the parts where the screws were removed by using the black nylon spudger.
-
-
-
이 단계는 번역되지 않았습니다. 번역을 도와주십시오
-
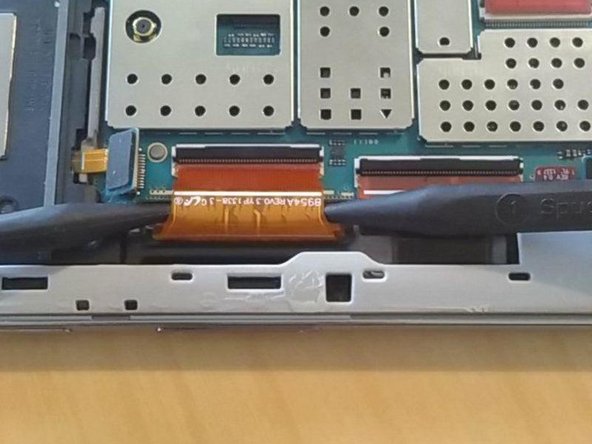
Place your finger on the thin black bar at the end of the ribbon tape and flip each one up.
-
Gently pull the ribbon tape on the battery away from the bar. Repeat this process for the second ribbon tape.
-
-
이 단계는 번역되지 않았습니다. 번역을 도와주십시오
-
Remove the six 3mm screws around the battery with the Phillips PH000 screwdriver.
-
-
이 단계는 번역되지 않았습니다. 번역을 도와주십시오
-
Lift up the battery from the bottom and situate the black nylon spudger underneath the battery.
-
Use the black nylon spudger to disconnect the multi-colored wires from the rest of the device.
-
-
이 단계는 번역되지 않았습니다. 번역을 도와주십시오
-
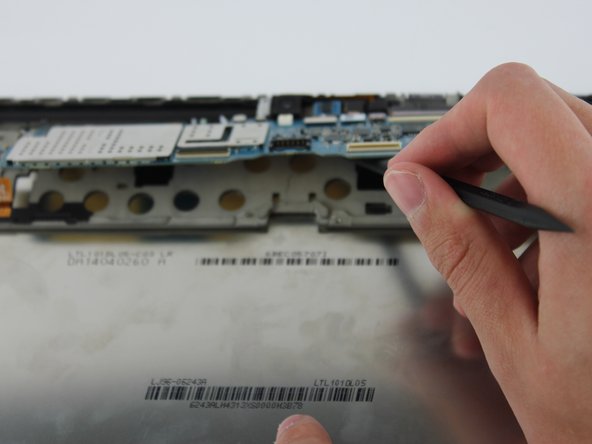
Use the black nylon spudger to gently lift the motherboard away from the frame.
-
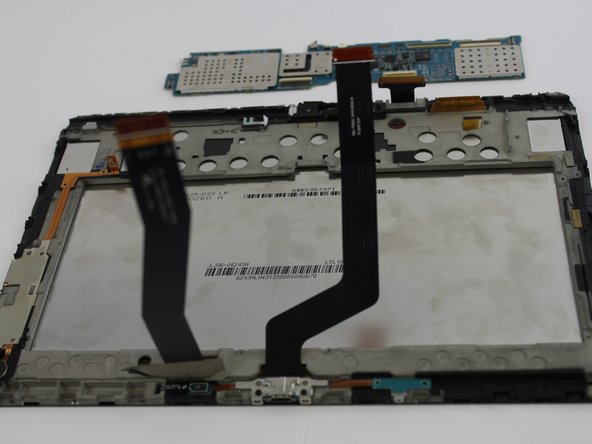
Remove the motherboard.
-
다른 한 분이 해당 안내서를 완성하였습니다.


