이 버전에는 잘못된 편집 사항이 있을 수 있습니다. 최신 확인된 스냅샷으로 전환하십시오.
필요한 것
-
이 단계는 번역되지 않았습니다. 번역을 도와주십시오
-
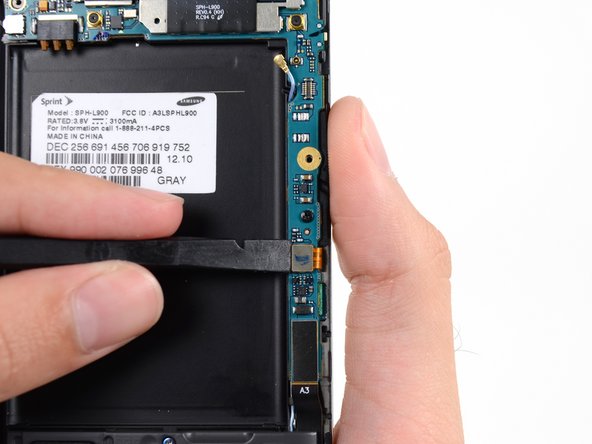
Use a spudger to disconnect the vibrator/power button assembly cable connector.
-
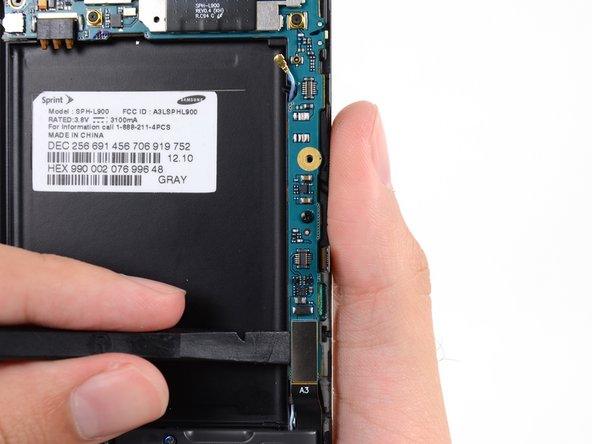
Disconnect the antenna cable connector.
-
Disconnect the display cable connector.
-
-
이 단계는 번역되지 않았습니다. 번역을 도와주십시오
-
Disconnect the front-facing camera cable connector.
-
Disconnect the headphone jack cable connector.
-
Disconnect the digitizer cable connector.
-
-
-
이 단계는 번역되지 않았습니다. 번역을 도와주십시오
-
Use the spudger to disconnect the antenna cable connector from the motherboard.
-
Disconnect the soft button cable connector.
-
Disconnect the USB board cable connector.
-
-
이 단계는 번역되지 않았습니다. 번역을 도와주십시오
-
Remove the 3 mm Phillips #00 screw securing the motherboard to the display assembly.
-