소개
Follow this guide to remove and replace the display assembly for your Samsung Galaxy Note5. The display assembly includes the front glass and the OLED panel.
This guide instructs you to replace only the display while leaving the original frame, logic board, and battery in place. However, some replacement screens for this phone come pre-installed in a new frame (a.k.a. chassis), which requires a very different procedure—transplanting your phone's internals and installing a new battery. Make sure you have the correct part before starting this guide.
Note: If the frame is damaged or bent, it's important to replace it, or else the new screen may not mount correctly and can suffer damage from uneven pressure.
Warning: The process of separating the display from the frame usually destroys the display, so don't follow this guide unless you intend to replace the display.
필요한 것
-
-
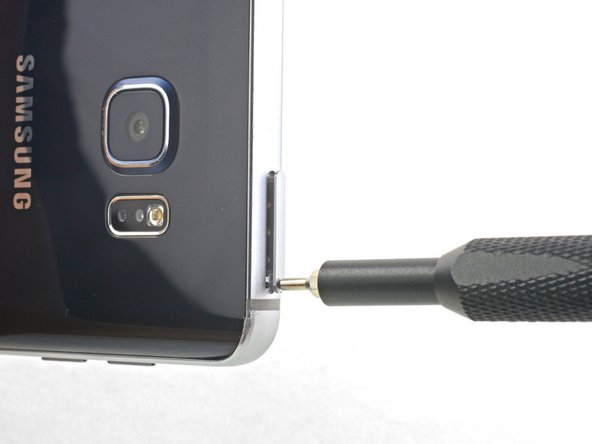
Insert a SIM eject tool, SIM eject bit, or a straightened paperclip into the small hole in the SIM card tray at the top of the phone.
-
Press to eject the tray. This may require some force.
-
Remove the SIM card tray.
-
-
-
Using your fingernail, push the S-Pen button until it clicks and pops out of the phone.
-
Remove the S-Pen.
Hola mi priblema es que meti al reves el spen en el orificio y al sacarlo pues ya no funciona …. Tiene reparacion es un galaxy note 5
-
-
-
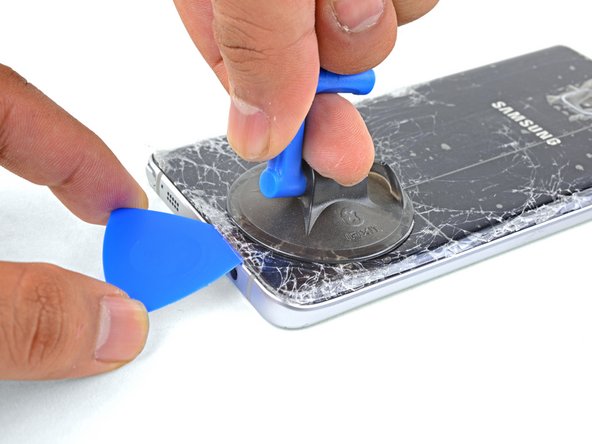
Apply a suction cup as close as possible to the bottom edge of the phone.
-
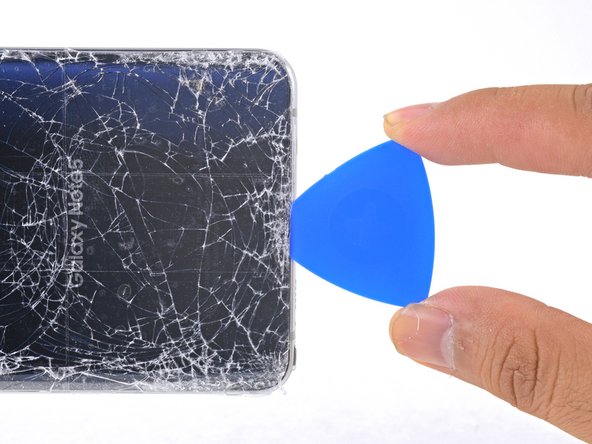
Lift on the suction cup and insert an opening pick under the rear glass.
Yes very fragile, i dont know how to remove without cracking the glass back.
It IS possible, because I just did it. You have to be extremely patient and use firm but gentle pressure. It took me nearly an hour just to get the back off.
One more thing: I discovered that the only way that I could get enough heat into it to soften the adhesive it is to fold the hot iOpener so that you heat from both sides.
-
-
-
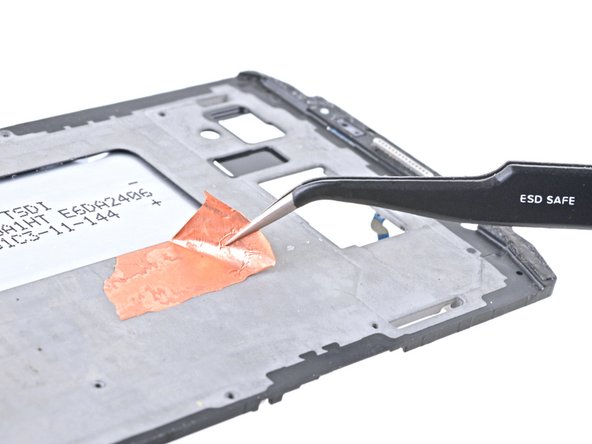
Use tweezers to peel away any remaining adhesive from both the back cover and the phone's chassis.
-
Clean the adhesion areas with high concentration isopropyl alcohol (at least 90%) and a lint-free cloth. Swipe in one direction only, not back and forth. This will help prep the surface for the new adhesive.
-
Be sure to turn on your phone and test your repair before installing new adhesive and resealing the phone.
-
After installing the rear cover, apply strong, steady pressure to your phone for several minutes to help the adhesive form a good bond, such as by placing it under a stack of heavy books.
-
-
-
-
Remove the twenty 3.3 mm Phillips screws.
the phone was gave to me and I bought a replacement battery but two of the screw around the camera won't come out it's like their stripped what do I do
wadefultz2 - 답글
-
-
-
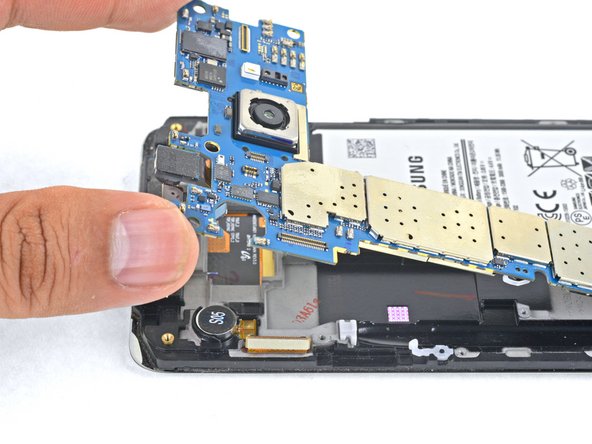
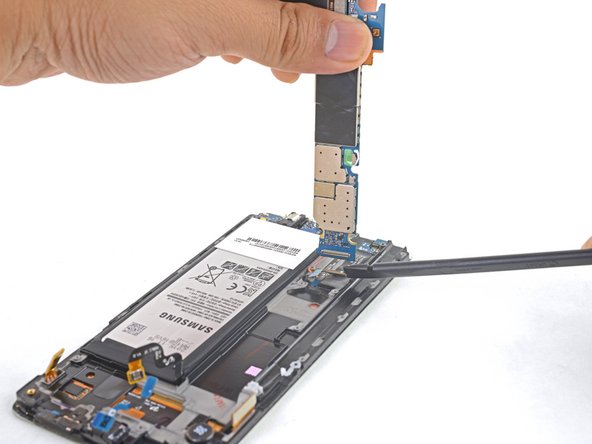
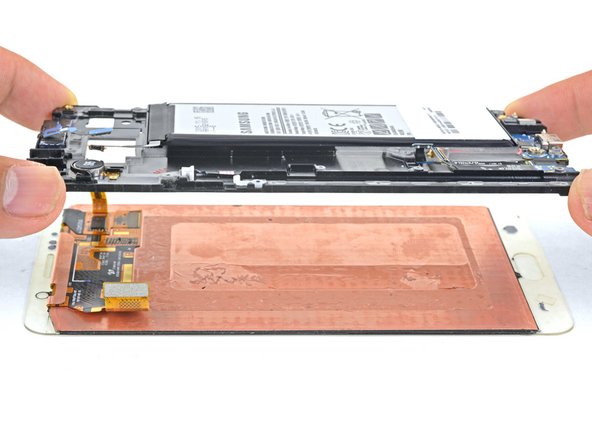
Hold the midframe by the edges and lift it upwards while pushing down against the battery with one finger.
-
Remove the midframe.
During this step, I destroyed my phone. Some of the circuit board at the bottom of the battery is attached to the mid-frame. When I pushed on the battery as instructed, it broke apart. The phone is useless.
Hi Edward,
I’m sorry to hear that! My guess would be that a stray screw held the board to the midframe. If your phone had an extra screw that I missed, please notify me and I’ll correct it!
-
-
-
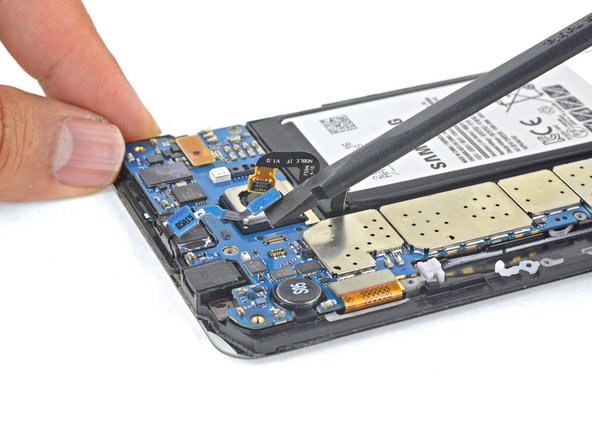
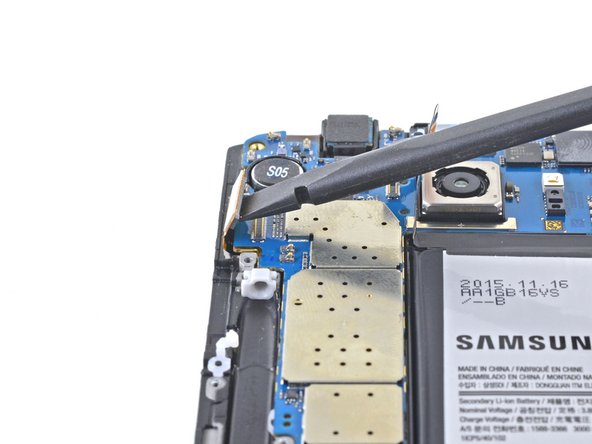
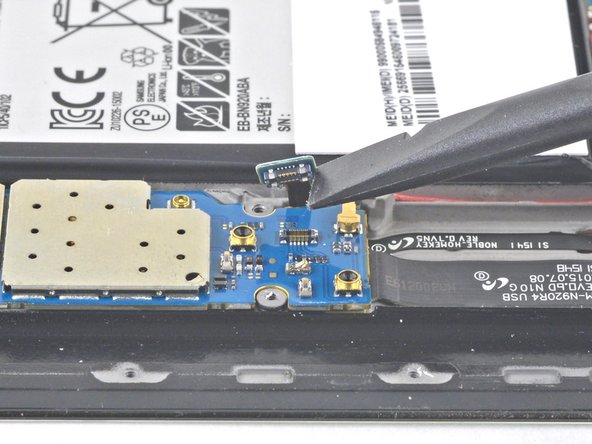
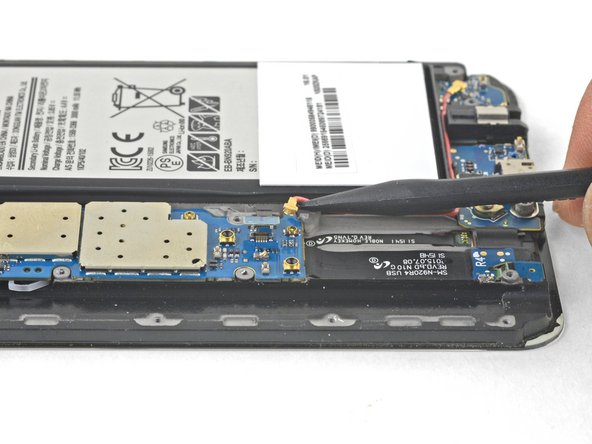
Using the flat end of a spudger, lift the battery connector straight up from its socket on the motherboard.
-
-
-
Prepare an iOpener and apply it to the left edge of the display for about two minutes.
-
-
-
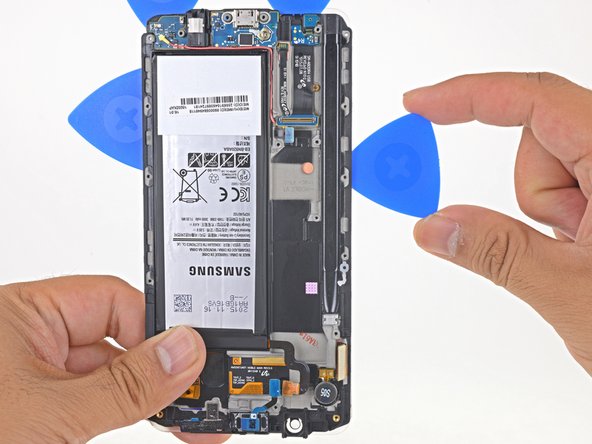
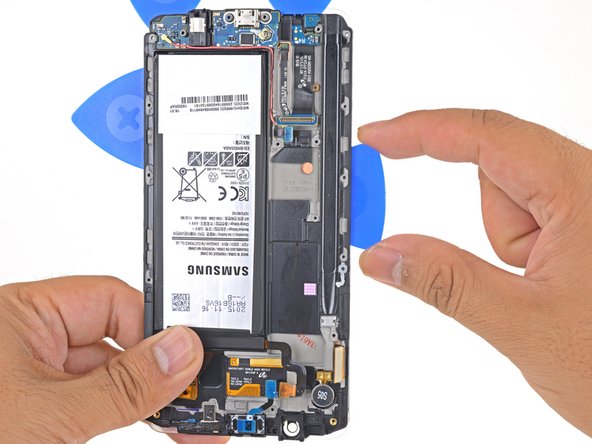
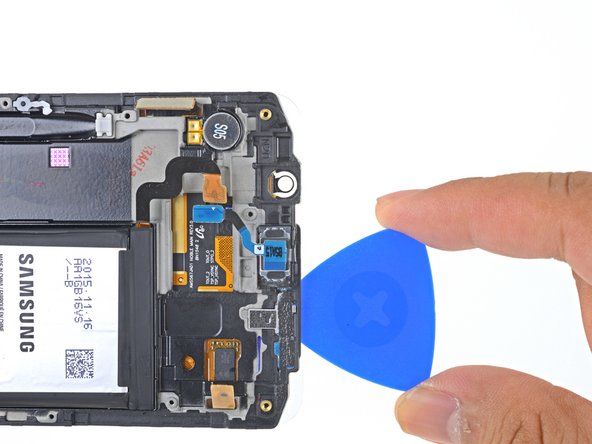
Slide the opening pick down the battery-side of the phone, separating the adhesive.
-
Stop when you get to the bottom of the battery to avoid damaging delicate capacitive buttons at the bottom of the display.
-
Go slowly so that the tip doesn't slip out of the seam. If sliding becomes difficult, reheat and reapply the iOpener.
-
Leave the pick in place and grab a second pick as you proceed to the next step. Leaving the pick inserted can help prevent the glue you just separated from re-adhering.
-
-
-
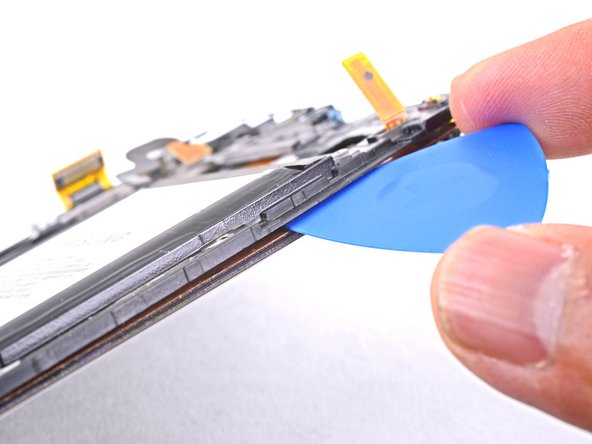
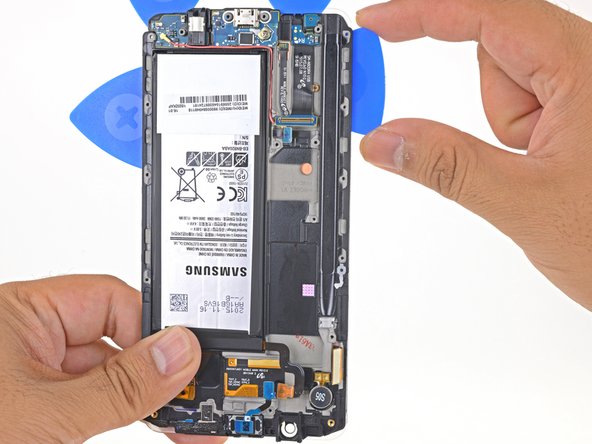
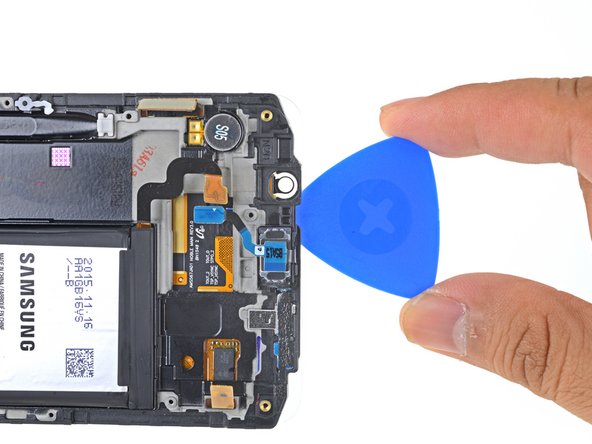
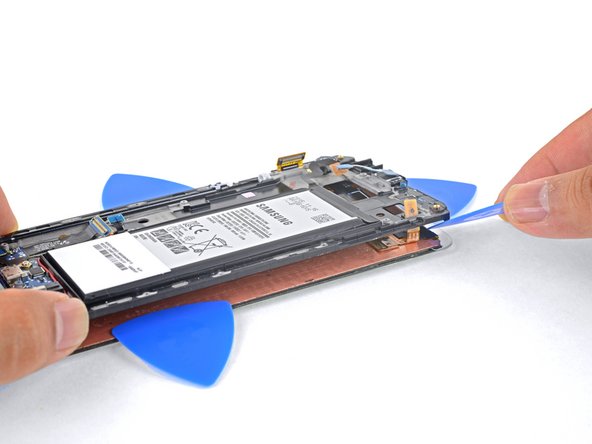
Heat an iOpener and apply it to the non-battery-edge of the phone.
-
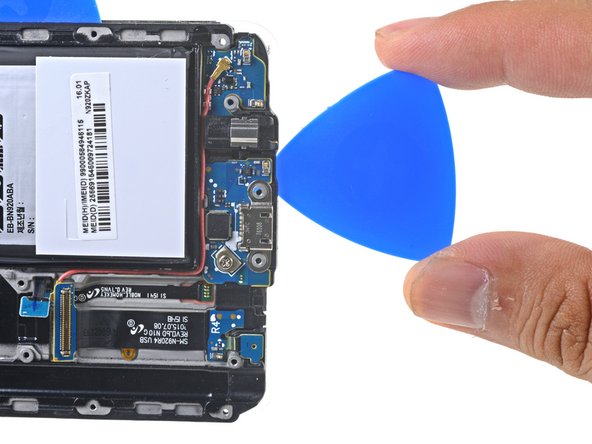
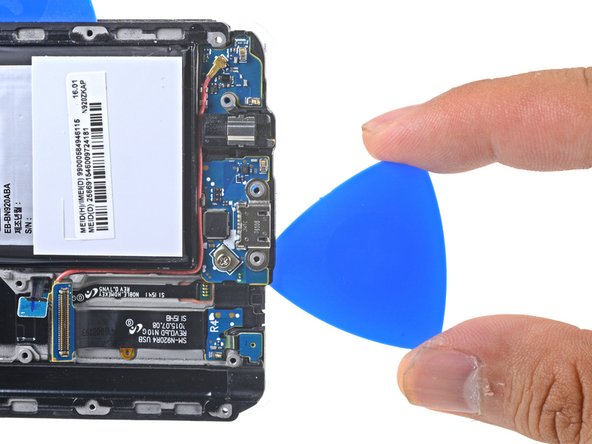
Insert a pick no more than 0.25 inches (~6 mm) into the bottom edge of the phone.
-
Carefully slide the pick along the edge, starting at the headphone jack, until you reach just past the charging port.
-
-
-
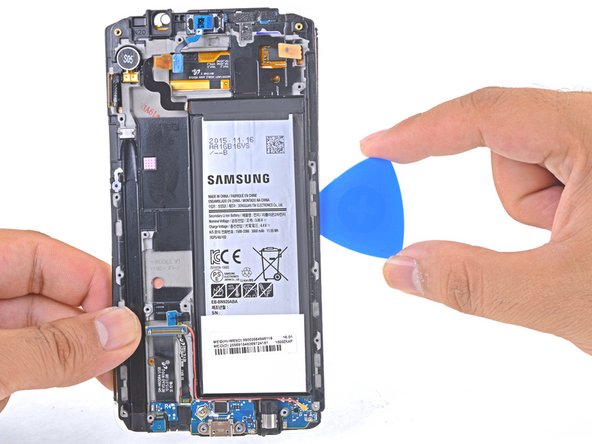
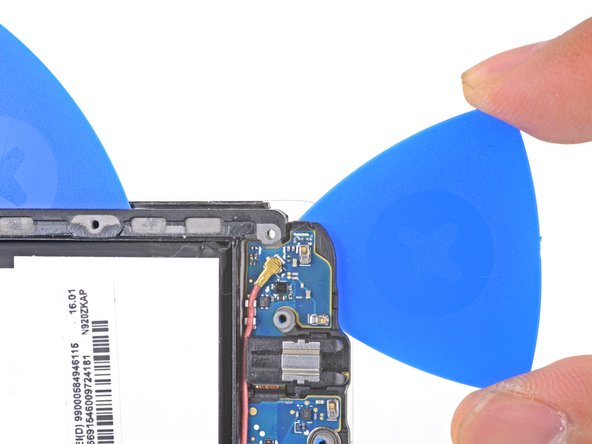
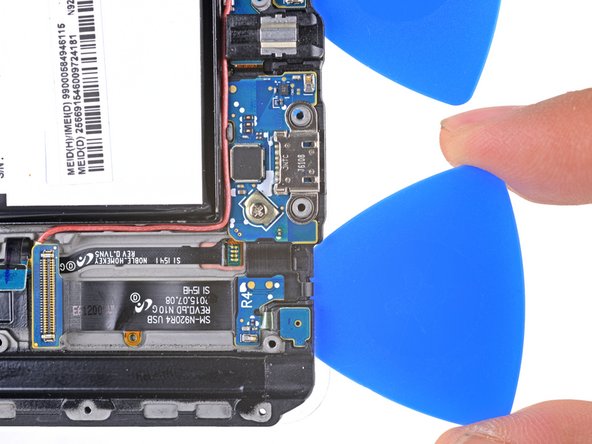
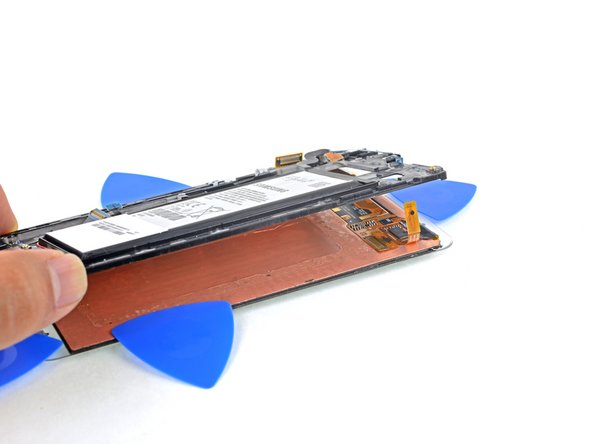
Heat an iOpener and apply it to the non-battery-edge of the phone.
-
Slide an opening pick down the non-battery-edge of the phone, separating the adhesive.
-
-
-
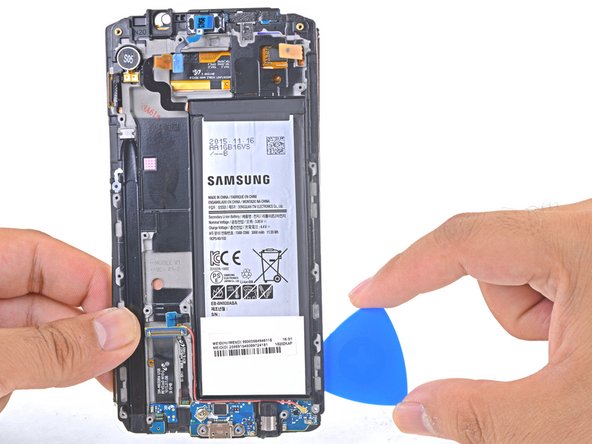
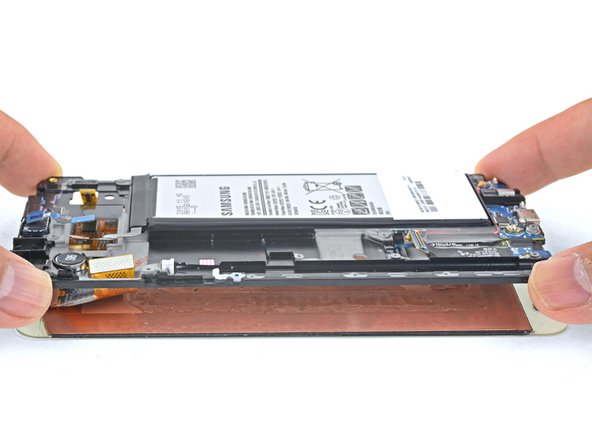
Heat an iOpener and apply it to the non-battery-edge of the phone.
-
Cut along the top edge of the phone, making sure not to insert the pick more than 0.25 inches (~6 mm) to avoid damaging the front-facing sensors.
-


Compare your new replacement part to the original part. You may need to transfer remaining components or remove adhesive backings from the new part before installing.
To reassemble your device, follow the above steps in reverse order. Take your e-waste to an R2 or e-Stewards certified recycler.
Repair didn’t go as planned? Check out our Answers community for troubleshooting help.
다른 29명이 해당 안내서를 완성하였습니다.


댓글 한 개
Sorry to say this but this does not video had me cause a problem to the USB charging Board ribbon.
it mentioned starting removing the front panel from down, not mentioning that there is a fine ribbon that can be damaged!
you should start from Top.
apparently the Battery had previously been removed because I could not remove this easy.
I found another video on YouTube which helped me diagnose the error and was more informative.